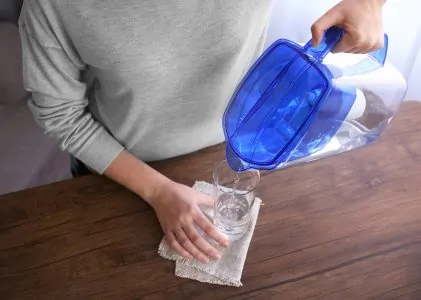
If you have noticed problems with the smell or taste of your water, you should consider investing in a water filter. A water filter will remove sediment from your water, but it can also rid it of harmful microorganisms and make it safe to drink.
Your first challenge is to choose the right water filter for your home and water supply. Once you have done that, you need to install it correctly. To play it safe, you could pay to have it installed, but a relatively experienced DIYer can save money by doing it personally.
In this article, we will take a brief look at some of the main types of water filters available today. Then, we will provide detailed step-by-step guides on how to install a water filter.
Key Takeaways
- Choose the right water filter for your needs, such as a whole house filter or under-sink filter.
- Turn off the water supply before starting the installation process.
- Follow manufacturer instructions and use the provided diagrams/templates when installing the filter.
- Check for leaks and change your water filter regularly according to the manufacturer’s recommendations.
How to Install a Whole House Water Filter
If you decide to install a whole house water filter, your new filter will be placed near your home’s main water inlet.
The advantage of a whole house water filter is that all of the water in your house will be filtered. This also means less sediment and debris circulating in your plumbing system. If there are any harmful chemicals in your water supply, a whole house filter will reduce your exposure to them.
These filters provide an excellent solution for heavy-duty filtering requirements, such as if your water comes from a well. While they are great at filtering water, they also require greater effort to install, so let’s look at how to install a whole house water filter.
Step 1: Turn Off the Water and Drain the System
Before you do anything else, shut off your water supply. If you know where your home’s external shut-off is, we recommend turning it off here to be safe. Even if you don’t turn the water off completely, it is important to know where it is. If you have an unexpected plumbing emergency, you will be able to shut off the water quickly.
This will usually be near where the water pipes enter your home. You might have an old-fashioned flower knob, but most will have a clearly labeled lever that can be moved 90 degrees.
Once your water is off, it’s time to drain the system. Open a tap on the lowest level or the one nearest the main inlet. This will allow any water currently in the system to drain out. You will then be ready to proceed with the installation.
Step 2: Cut Your Pipe
Your new filter should include a whole house water filter diagram to use during installation. Use this template to mark your pipes, then use a pipe cutter to make the necessary cuts. Once the pipe is cut, remove that section and file any sharp edges you have created.
You will want a bucket to hand for this step. Use it to catch any water left in the pipe that leaks out when you cut it. This will prevent any unnecessary cleanup.
Location Is Everything
Step 3: Attach Your Fittings and Position the Filter
Before placing your new filter, attach the brass fittings to both the input and output ports. Always install them according to the manufacturer’s instructions and apply some Teflon tape to create the best seal possible.
Now, carefully position the water filter. The most important part of this step is making sure the input and output are properly orientated. If they aren’t, the filter won’t work as intended.
Try to hold the unit as level as possible during installation. This will prevent any damage to the inner filter and allow the unit to work as it should. Tighten the fittings but don’t overtighten them, as this can cause problems later.
Step 4: Turn the Water Back On
Having completed your water filtration system installation, it’s time to turn the water back on. Open your home’s main inlet valve and any other valves that you previously closed.
Don’t rush this step. Turn the lever in multiple stages, about a quarter of a turn each time. This way, if there’s a problem with the installation or a leak, you will be able to spot it without causing a flood.
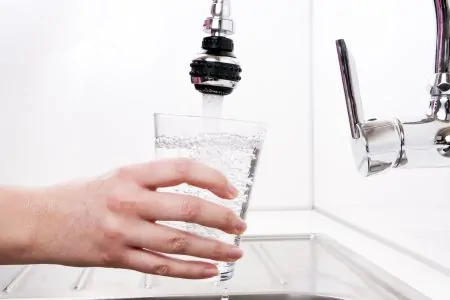
If there are no leaks, you are ready to start filtering. In just a few minutes, you will be able to enjoy clean, fresh-tasting water. Whole-house filter installation is no joke, so you should be proud of what you have achieved.
If there is a leak, check your connections and ensure there are no threading issues in your filter unit.

How to Install an Under Sink Water Filter
Under sink water filters are an ideal option for removing impurities from drinking water and the water you use while cooking and cleaning. Some space-saving models are appropriate for even the tightest areas, so it’s worth knowing how to install an under-sink water filter.
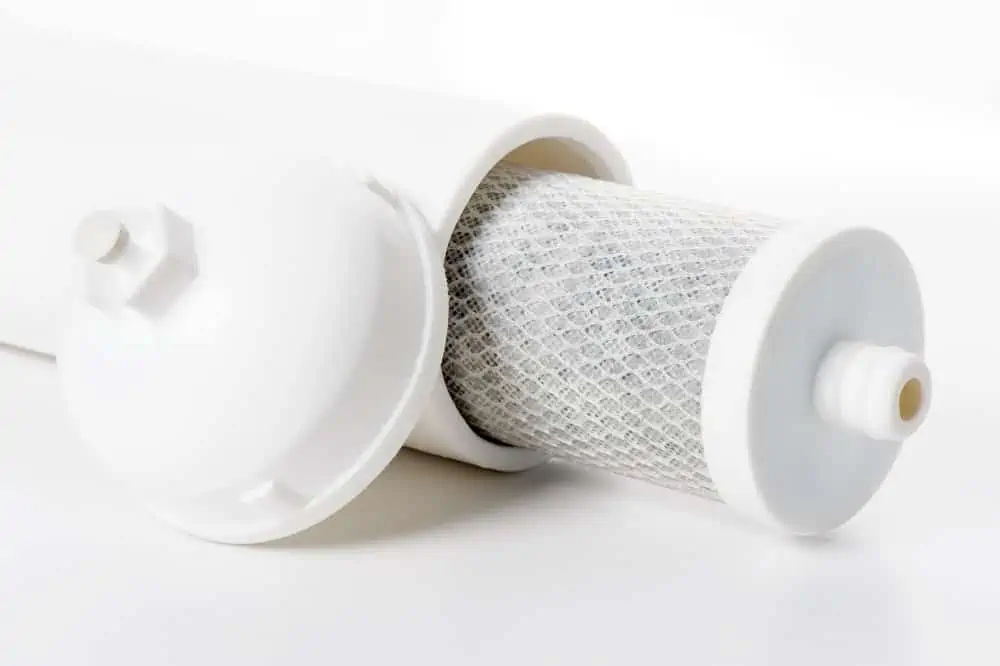
Many under sink filters use charcoal as their main filtering component. Charcoal is excellent for purifying water of chemicals and heavy metals. However, most charcoal units won’t be powerful enough to cleanse well water.
Under sink water filter installation is usually more straightforward than whole house filter installation, but there are still some important steps you need to take.
Step 1: Turn Off the Water
As you aren’t going to be interrupting the whole house’s water system, just turn off the main valve. There is likely also an isolation valve dedicated to your sink or kitchen as a whole. Turn that one off as well to prevent any water still in the system from escaping.
Open the kitchen sink faucet to release any remaining water. Once this is done, you are ready to detach the current cold water hose. You will need a wrench to loosen the connecting nut.
Place your bucket under the hose when you detach it. This will prevent any leftover water from flooding your cabinet. Once the hose has been removed, you’re ready to proceed with the installation.
Step 2: Affix Your Water Filter Bracket
Most under sink water filters will include a mounting bracket. Place this bracket on the side of the cabinet where it will be installed and mark where you need to drill.
Remove the bracket and drill your screws part-way. Once the filter is in place, you will be able to screw them in fully.
Choose The Location Carefully
Step 3: Attach Your Plumbing Hoses
Once the bracket is installed, you are ready to attach the plumbing to the new filter. If your filter doesn’t include hoses, you will need to purchase them separately. Make sure you have appropriately-sized connectors for the job.
Teflon tape is useful during this step as it can provide a more secure seal. As usual, don’t overtighten these connections; hand-tightening will often be sufficient.
Step 4: Place Your Filter and Make the Final Connections
Water filter installation for the first time can be a little intimidating, so it can help to tackle this step with a partner. One person can turn on the water while the other watches the new seal for leaks. This should prevent any unnecessary water damage if the filter is not secured properly.
Now that all the components are where they should be, you are ready to hang your water filter. Once it is in place, go ahead and tighten the screws you partially screwed earlier.
Double-check your connections to ensure they are sufficiently hand-tightened. When you’re satisfied, it’s time to turn the water back on.
Start by turning on the main water supply. Once it is back on, move to the sink’s water valve. You should open this a little at a time. This will make the system repressurize slowly, so you can turn it back off quickly at the first sign of any leaks.
FAQs
Is Buying a Water Filter Worth It?
Whether or not it is worth investing in a water filter largely depends on the quality of your local water supply. If your local supply is particularly hard (contains a lot of minerals), adding a water filter will help to protect your plumbing from deposits that can inhibit its ability to function. If your water is soft, you probably don’t need one, but it can still improve the taste of your water. If your water comes from a well, a filtration system is almost always a good idea.

How Long Do Water Filters Last?
On average, a water filter should last about six months. This can vary significantly depending on the quality of your local water supply and how often the filter is called into action by people in your home. With hard or particularly dirty water, you will probably have to replace the filter more frequently. Pay attention to how your water looks and tastes to ensure you are changing your filter often enough.

How Long Does It Take To Install a Water Filter?
The time taken to install a filter will vary depending on the complexity of the filter system and your home’s plumbing. A whole-house system will usually take a professional plumber two to four hours, and it will probably take you longer. An under-sink system will usually be far quicker. Whichever system you choose, the most important thing is to take your time to install it properly.

Can I Install a Water Filtration System Myself?
You can install a water filtration system by yourself if you have a little bit of plumbing experience. However, if you have never worked with pipes, it’s best to call in a professional plumber.
If you want to install the filter on your own, remember to turn off the water supply to your home before beginning any step of the installation process for any kind of filtration system. If you don’t, you will receive an unpleasant “water under pressure” surprise.

How Much Does It Cost to Install a Water Filtration System?
A water filtration system for the residence costs approximately $2,078 for the system and labor. On the low end, you should anticipate spending $1,000; on the high end, you could spend $3,100 or more.
Alternately, you may choose to install a filtering system beneath the sink. These point-of-use devices are simple to install and cost between $150 and $1,200.

How Long Should You Run Water After Installing a Water Filter?
While it depends on the exact water filter, you should run water for about 5 to 15 minutes after installing a water filter. However, this rule isn’t set in stone.
Before being put to use, certain water filters require being flushed with water for a few minutes, while others call for being immersed for the night. Be sure to verify the directions provided by the filter’s manufacturer for any further information.

Why Is Water Cloudy After Installing a Water Filter?
When a high-end water filter cartridge is changed, the water generated by the new filter usually appears murky. Extremely small air bubbles cause a foggy appearance in the water.

How Often Do I Need to Change My Water Filter?
You need to change your water filter based on the instructions given by the manufacturer.

Which Water Filters Last the Longest?
Membranes used in reverse osmosis systems have a longer lifespan than those used in other filter components. The vast majority of models require replacement every two to five years.
Change Your Filter Regularly
Now that you know how to install a water filter, make sure you replace the filter regularly. There is more to having clean water than just knowing how to install a water purifier.
The quality of your water source will have a significant impact on how frequently you should change your filter, and each product should include recommendations on when to change it. Make sure you have all the equipment you need before you start and you should have your new water filter setup installed in no time.
Installing a water filter will improve the quality of your water and ensure you have easy access to clean, fresh-tasting water whenever you need it. Knowing how to install a water filtration system could save you a lot of money that you would otherwise spend on a plumber.