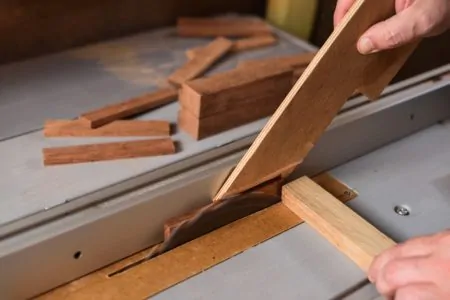
Table saws are versatile tools that are easy to use and can make quick, precise cuts. If you are a carpenter or regularly need to cut pieces of wood, you are probably already familiar with the basics of using a table saw.
However, there might be a lot more to your table saw than you realize. Seasoned woodworkers and other professionals use these techniques to achieve a superior finish, so they are well worth learning.
In this article, we will share 16 table saw tricks that will make your experience of using one smoother and help you work more accurately. This includes how to make different cuts, accessories you can add to improve your work, and answers to some frequently asked questions about table saws.
Key Takeaways
- Quickly make table legs by cutting tapered pieces, gluing and nailing them together.
- Use a stable plywood base for your table saw to improve stability and accuracy.
- Prevent kickbacks by using a cut-off block, ensuring a safe gap between the workpiece and the blade.
- Use a digital angle gauge to make accurate angled cuts with minimal effort.
16 Table Saw Tips & Tricks
Table saws are relatively simple tools that can be used to make a wide range of different cuts. Here are 16 of our best table saw tricks and tips:
1. Quickly Make Table Legs
You will need four pieces of 1 x 6 to make the legs. Start by marking 1.5 inches from the left side of the wooden board and 3.25 inches on the same side at the base. This provides the taper that you need to strengthen the legs. Draw a line to join the two points along the length of the board.
Next, make a rip cut along the line to create two tapered pieces. Glue and nail the two strips together to create one table leg. Repeat this process three more times to complete a set of four legs.
Remember
2. Use a Stable Plywood Base
Take a sheet of 0.75-inch plywood and cut it to be a couple of inches wider and longer than the table saw unit. Next, cut a 1-square-foot hole in the center of the board. Pick up your table saw and place it at the center. Then, mark the mounting holes and drill 0.125-inch holes where you have marked them.
Turn the board over and drill 1-inch diameter holes approximately 0.25 inches deep to accommodate the carriage bolt heads. You can now mount the table saw with washers and nuts.
Top Tip
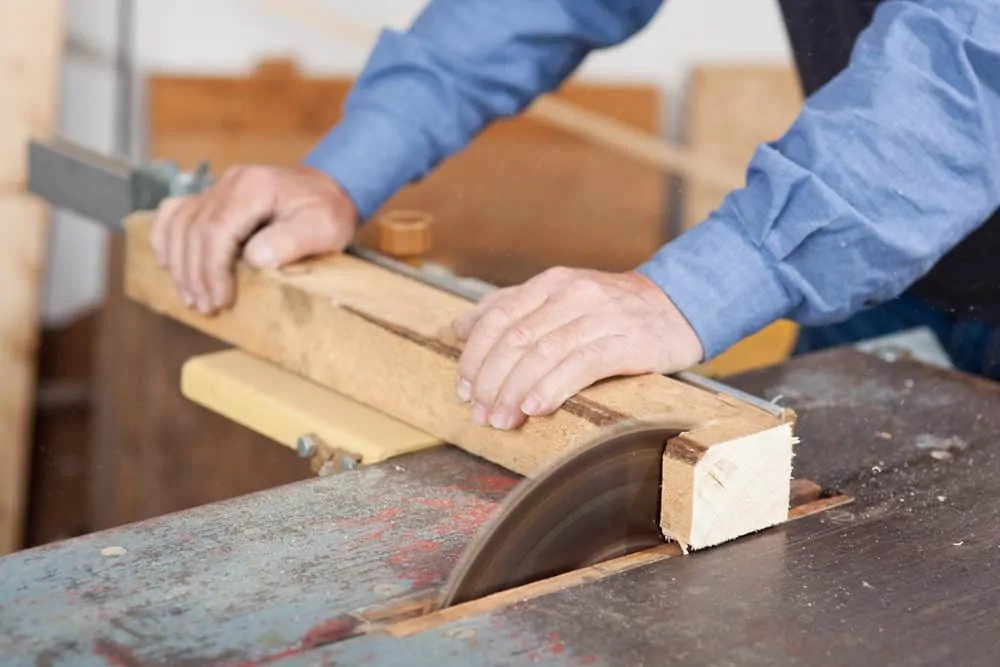
3. Cut-Off Block to Reduce Kickback
Kickbacks occur when the workpiece gets caught between the saw’s fence and blade, making it jerk back unexpectedly. This is one of the biggest hazards when using a table saw.
To help prevent kickbacks, cut a block of wood and clamp it to your safety fence. Then, adjust the fence to include the thickness of the wooden block.
As you move the material you are cutting toward the table saw blade, it shouldn’t be in contact with the safety block. This technique leaves a safe gap so the workpiece won’t bind, reducing the risk of kickbacks.
4. Get a Digital Angle Gauge

Digital angle gauges, such as the Wixey Angle Gauge with Magnetic base, will help you make accurate angled cuts far more easily. Set the blade at 90 degrees and place the magnetic base of the gauge against the blade. To calibrate it, press zero. This will reset the gauge.
Now, when you adjust the blade, the gauge will show you a precise angle reading. Whether you need to cut at 22.5 degrees, 45 degrees, or any other angle your table saw allows, these gauges are quick and straightforward to use. You will be able to cut accurate angles with minimal effort.
5. Straighten a Crooked Board
Trying to cut a crooked board by sliding it along your table saw fence will only result in a lopsided board. It could even lead to the board binding and causing a kickback, which can be dangerous.
A simple solution is to take a sheet of plywood with a straight edge and screw the crooked board to the plywood, making sure there is an overhang. You can then slide the plywood along the table fence, and the cut will be straight even if the board is crooked.
6. Cut Rabbets Faster With a Dado Blade
Cutting rabbets with a dado blade is straightforward but it is still possible to speed up the process. Place an auxiliary fence against the table saw fence and set the blade so it cuts slightly wider than the width of the rabbet.
Then, you can adjust the table saw fence to change the width of the rabbet, allowing the dado blade to cut into the auxiliary fence.
7. Mount a Featherboard for Accurate Rip Cuts
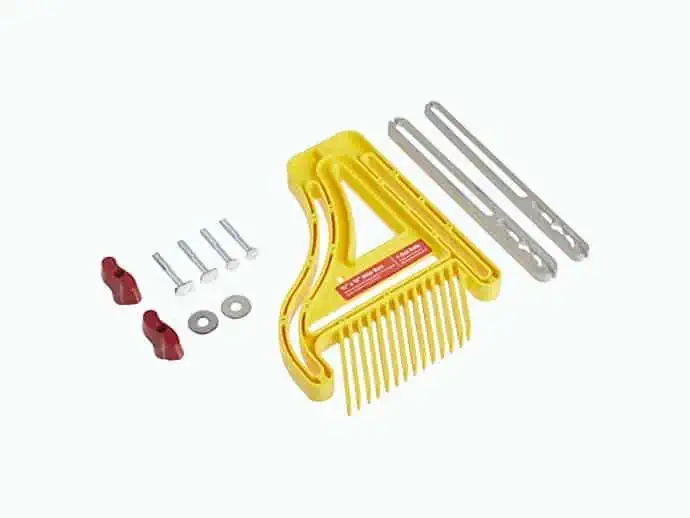
Featherboards will increase the accuracy of your rip cuts. You can buy magnetic versions that will stick to a cast iron table. These are easy to use and work by gently guiding the stock, making an accurate channel as the workpiece approaches the blade.
The key to doing this effectively is to ensure that the contact between the table saw fence and featherboard is light at all times. The featherboard should be placed just before the infeed side of the blade to prevent binding.
You can make your own featherboard out of wood and clamp it to the table. Consult the instruction manual of your table saw for further details on how to mount it or check online for more information.
8. Add a Floating Fence
Edging your plywood sheets with wood can be tricky. Rather than trying to match the edge to the thickness of the plywood, fit an edge about 0.125 inches wider than the board.
Clamp a tall floating fence to the table saw fence, making sure the fence’s surface is flush with the blade. Then, feed the wooden edging with the protruding side over the blade. This will trim the edge to be level with the plywood.
9. Blade-Loc for Safer Blade Changes

Table saw blades are very sharp, so you are right to be wary when you need to replace them. There is an excellent solution to this in the form of the Bench Dog Blade-Loc, which grips the blade’s teeth while you loosen or tighten the arbor nut. This significantly reduces the risk of any accidents occurring and will protect your hands.
10. Make Your Own Flip-Up Stop
This is a very cheap and easy trick. Take a block of wood and cut it in two. Then, use a sturdy hinge to screw the two halves together. You can now flip it up to make crosscuts and lower it for rip cuts.
11. Cut Long Boards With a Clamped Fence
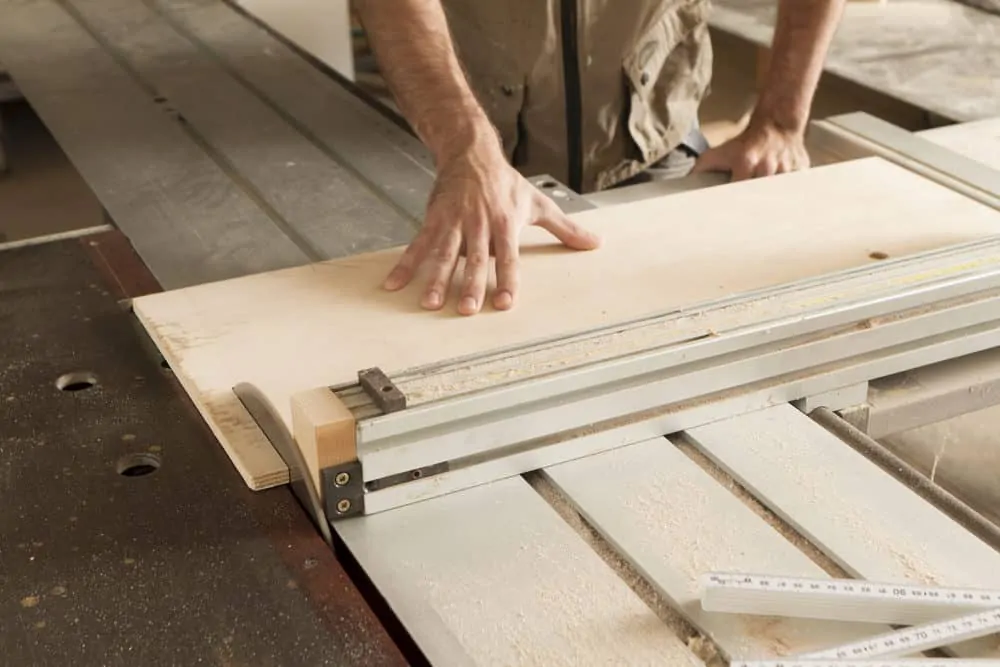
Sometimes you will need to extend your fence to rip-cut long pieces of wood. Either clamp a long level to your table saw fence or a long, sturdy board. Make sure the board is perfectly straight. The addition of an extended fence will make cutting extended pieces much easier.
12. Try a Dandy Outfeed Table
You will need two lengths of 10-foot 2 x 4 and an 8-foot sheet of 0.75-inch thick plywood. You’ll also need two sawhorses. Screw the 2 x 4 to the underside of the plywood on each outer edge, leaving the extra 2 feet of 2 x 4 protruding.
Make sure you notch the 2 x 4 so your table saw fits flush with the plywood. Then, bolt the table saw to the wooden struts to increase the rigidity of the structure. To strengthen the outfeed table, screw the 2 x 4 to the top of the sawhorses.
13. Dado Guide Using a Standard Blade
Your first task is to attach an extension to the miter fence using a strip of 1 x 3. Mark the width of the dado with the kerf of the blade included. Then, make the first cut, following the guide marks for the width of the dado.
This establishes the top of the dado. Cut along the inner edge of the dado width, again taking care to include the blade’s kerf. You should now have two cuts that correspond with the original dado measurement.
Run the dado across the blade, making cuts between the two original lines. Repeat this to make several cuts. These strips of wood can then be easily chiseled out. Make adjustments if the dado is too tight.
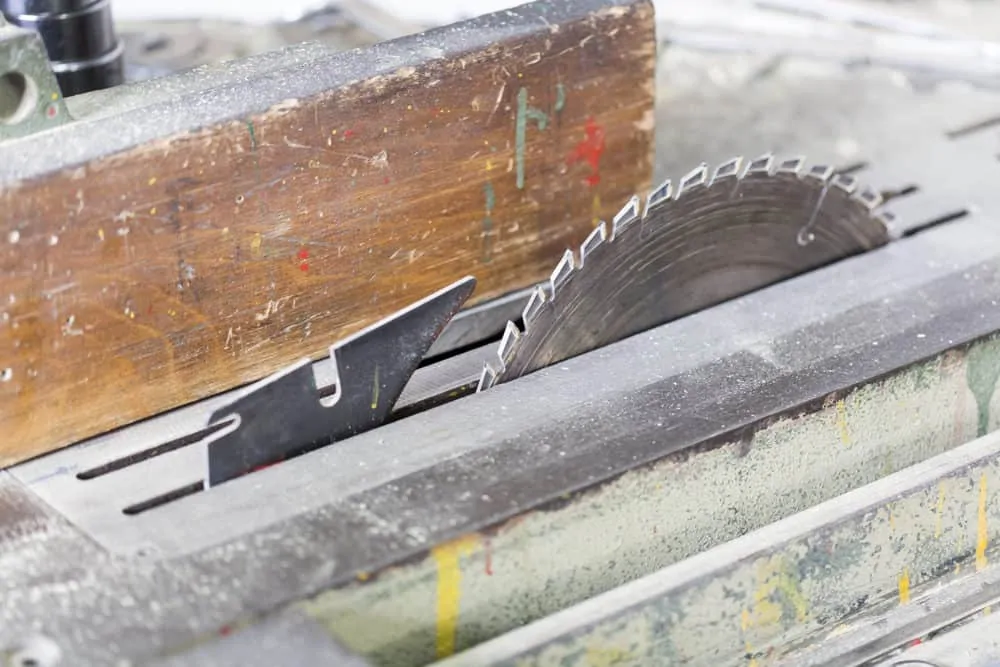
14. Cut Skinny Strips Safely

Cutting thin strips with a table saw can be dangerous as the user’s hands will be in close proximity to the blade. A simple way to make this safer is to use a scrap piece of plywood as a width extension for the push stick.
Cut a length of plywood and attach a heel strip to the edge that sits next to the workpiece. Press the plywood against the stock and it will push the stock toward the blade without your hands getting close. You can even leave the blade guard in place for even greater safety.
Top Tip
15. Calibrate Your Miter Gauge
Calibrating the miter gauge is crucial if you want to make precise angled cuts. Most DIY and art supply stores sell draft triangles that will help you set the miter very accurately.
Place one edge of the triangle against the saw blade with it set at 90 degrees, and the other on the miter saw fence. Now, make sure the miter fence is flush with the edge. This will let you know that the miter is calibrated and will help you make accurate cuts.
If you use a right-angle tool, you will only be able to set your miter gauge to 90 degrees.
Remember
16. Convert Your Worktable
If you want to cut on a workbench, it is possible to adapt your table saw. Lower the blade to its lowest height, then measure the width and length of the table saw. Use two strips of 2 x 4 and cut a sheet of plywood to size.
Make sure the fences have been removed. Then, screw the plywood top to the 2 x 4s and place it on the table saw. Cleats at either end should prevent the new tabletop from sliding off. You now have a useful worktop that will also protect the saw below.
FAQs

What Can’t You Cut on a Table Saw?
Cutting pieces containing nails or screws is dangerous as these objects can become wedged in the blade and break it.
For safety reasons, you should avoid using a table saw to cut any piece that has been painted, varnished, or stained. These coatings can be flammable, and the heat generated by friction while cutting could cause them to catch fire.

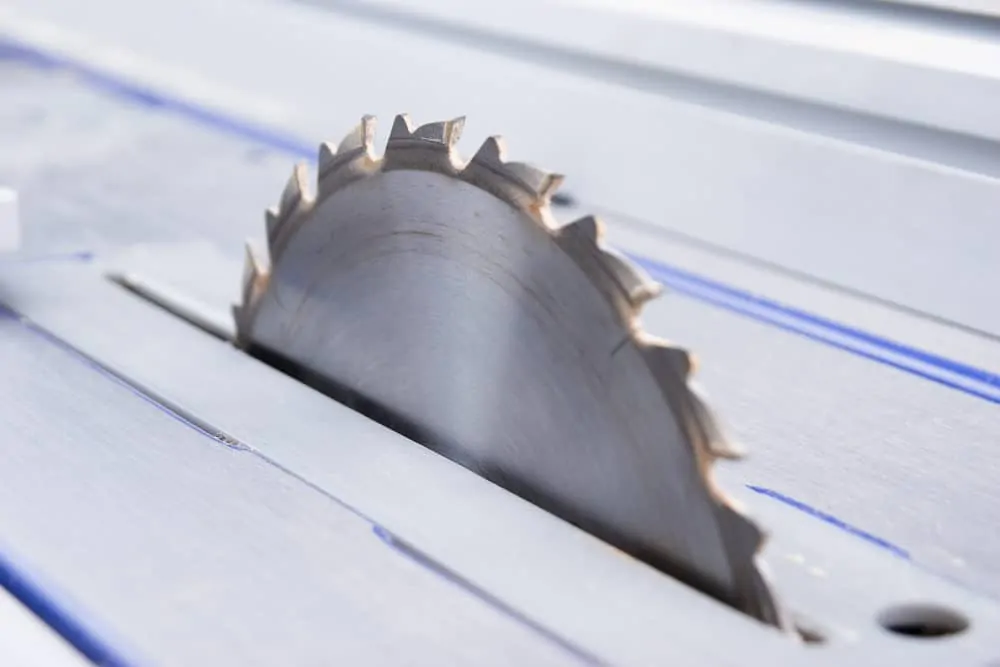
How Much Runout Is Acceptable on a Table Saw Blade?
Table saw blade runout, also known simply as wobble, is how much the blade moves side to side when it spins. This can be measured in fractions of an inch and affects the accuracy of your cuts.
The amount of runout that is acceptable on a table saw blade depends on the size of the plate. For a 10-inch plate, the accepted amount of runout is less than 0.005 inches.
This ensures that the blade cuts true and provides precision and accuracy. Too much runout can lead to the blade vibrating when cutting, resulting in an inaccurate finish.
Excessive wobbling can also cause unnecessary wear and tear on your table saw’s components. Always check for runouts when replacing your blades to ensure they will cut as intended.

What Is the Best Speed for a Table Saw?
The optimal speed for a table saw depends on the type of wood you are cutting and the size of the blade you are using.
Generally, a table saw should spin at around 4,000-5,000 RPM for ripping through hardwoods and 3,500-4,000 RPM for softer woods. Larger blades should spin at lower speeds than their smaller counterparts.
Running your table saw too fast can cause it to burn or scorch the material and make inaccurate cuts. With these tips in mind, you should be able to find the optimal speed settings for your project. If in doubt, you can test by cutting a scrap piece of the same wood.

Does a Table Saw Use a Lot of Electricity?
A table saw uses a significant amount of electricity. You will need about 1,725 watts to run a table saw in your workshop. If your project is large and complex, use an electric motor with a greater power output that can handle the strain of more intense cutting.
Always check that you have a sufficient power source for your table saw, as some models require 4,500 watts or more.

Why Am I Getting Kickback on My Table Saw?
Kickbacks are one of the main hazards of using a table saw and are usually caused by a combination of improper technique, an incorrectly positioned fence, or a dull blade. To reduce the risk of kickback, ensure your saw’s blade is sharp and the fence is parallel to the blade.
Always use a push stick to move material through the blade. Never force it past the blade and always keep both hands at a safe distance. Following these simple tips will help you use your table saw safely and significantly reduce kickbacks.

What Should I Keep In Mind When Using a Table Saw?
Safety should always be your top priority when using a table saw. Read the manufacturer’s instructions thoroughly before using the saw, wear appropriate safety gear including eye protection and a dust mask, and keep both hands away from the blade.
Never force wood through the saw and always use a push stick to guide it safely. Make sure your blade is sharp, the fence is parallel to the blade, and your stock is properly supported before you start cutting.