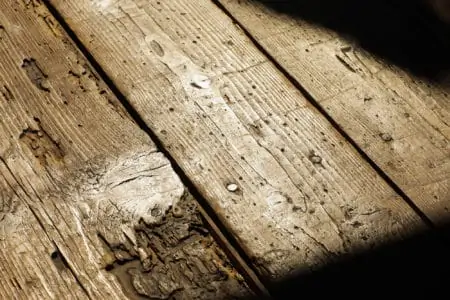
Painted wood looks great when it’s fresh, but it fades, peels and cracks over time. Getting a new coat of paint works wonders for the way your surfaces look. It protects the woodwork, sealing it against the elements.
However, before you get to that stage, you need to know how to remove paint from wood, so you have a smooth surface to work with. Here’s our handy guide to stripping paint from wood.
Key Takeaways
- Use a paint stripper: Apply chemical or natural paint stripper to remove old paint, ensuring you wear a face mask and gloves for safety.
- Try heat guns or infrared devices: These tools can quickly lift paint from wood surfaces, but be cautious of high temperatures and potential lead paint hazards.
- Choose eco-friendly alternatives: Steam strippers, vinegar, and citrus-based strippers are environmentally friendly options to remove paint from wood.
- Prep the surface: After paint removal, clean the wood surface thoroughly and remove any debris before applying a new coat of paint.
What You Need
- A face mask (some old paint contains lead, so you need protection from dust particles).
- A brush to apply the paint stripper.
- Microfiber cloths to clean the work area.
- Sandpaper (a heavy grit removes paint quickly).
- Chemical or natural paint stripper.
- Heat-resistant gloves for the heat gun.
- Hand-held paint scraper.
- Hand-held sanding tool.
How To Remove Paint From Wood
Removing paint from wood using a paint stripper is relatively straightforward. You just need to be careful when applying powerful chemicals to the surface of your woodwork. It’s always a great idea to get in a little practice before you make a start on your project.
Before you get going, don your face mask and gloves. This keeps you safe from splashes of the stripper and dangerous paint particles when you start stripping it away.
It is a good idea to keep one eye on children and pets while you work. Keep them away from the worksite because paint stripper is extremely dangerous if swallowed or if it comes into contact with eyes.
1. Is It Worth Exposing
Before committing to stripping your wooden surfaces, it’s worth checking that the wood underneath is worth all the effort. Find a spot out of sight and scrape the paint down to the bottom layer.
If the wood looks good underneath, you are good to go. If not, forget it and go and make a coffee.
2. Check for Lead
Sometimes when you start to remove the paint, you may uncover older layers applied pre the 1970s. If so, this paint may contain lead and is highly poisonous. You can purchase a 3M lead testing kit for a small amount.
All you need to do is swab it on, and you should get a chemical reaction if the lead is present. After that, you will need to check the Environment Protection Agency’s website for the safest way to remove the paint.
3. Call in the Professionals
If you have a house full of lead paint, sometimes you need to admit defeat and call in the professionals. Safety is paramount, and the pros will have the experience to deal with these situations every day.
It might cost more, but at least you get the job done properly.
4. Get the Right Tools
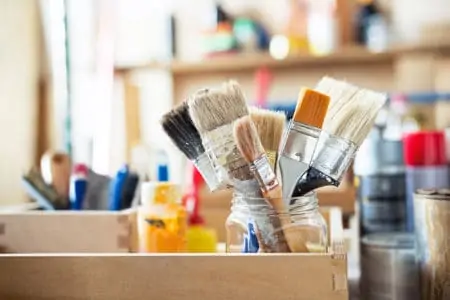
You need to be prepared, so make sure you have all the tools listed above. You will need paintbrushes to apply the stripper, sandpaper, and scrapers to remove the old paint and cloths for the cleanup.
5. Apply the Paint Stripper
Most paint strippers start to work after a few minutes. It depends on the thickness of the paint. If you have several layers to remove, you might be better leaving it for an hour or two to allow it to penetrate to the base layer.
If you are removing paint from vertical surfaces, use a paint stripper with a thicker viscosity to stick to the surface. Chemical strippers often come in a gel or paste-like consistency.
6. Use a Paint Scraper
Use a putty knife or a paint scraper to gently remove the excess paint. Apply light pressure to avoid gouging lines and grooves into the surface of the wood. If you find areas where the paint is still adhering, apply more paint stripper and wait while it takes effect.
The important thing is to not scrape at it too hard, especially in hard-to-reach spots where the paint may be thicker.
7. Cleanup Time
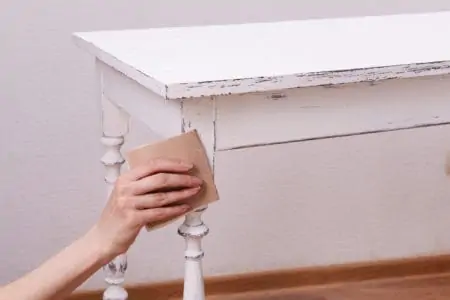
When all the paint is removed, use an abrasive pad or sandpaper to wipe any excess paint and stripper off the wooden surface and then clean it with a microfiber cloth. Make sure the surface is completely free of dust before you apply the first layer of the new paint.
If dust remains, you will have an uneven and pitted surface, which means you will be removing it and starting again.
How To Remove Paint From Wood Naturally
Rather than pollute the environment with a chemical stripper, some alternatives are far kinder to your wood, the environment, and you. Some methods are faster and better for working across large surface areas.
Heaters
You need to be cautious when using a heat gun because while the paint blisters, it could also damage the wood beneath. At best, you will scar the surface of the wood, and at worst, you could start a fire.
Heat guns are excellent for working over large areas like doors and paneling, and they are easy to master, but you need to proceed with caution because heat guns can burn your skin, which is why you need to wear heat-resistant gloves.
When lead paint reaches 900 to 1,000 degrees Fahrenheit, it vaporizes, releasing toxic gasses into the air. If you are working indoors, there is the danger that these toxins spread throughout the house. For this reason, it is a bad idea to use a heat gun when scraping off lead paint.
As an added precaution, wear long sleeves and keep a fire extinguisher or water bucket handy. You should plan for the worst-case scenario.
Sanders
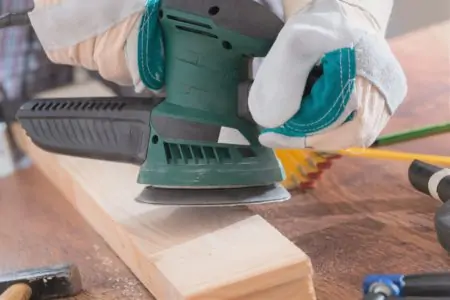
When you sand wood, you need to wear a mask to protect you from harmful particles of paint and wood. You can use heavy-grit sandpaper or a sanding tool like an orbital or belt sander. Never use a sander when removing lead paint because it will kick harmful dust into the atmosphere and spread it around your home.
If you are using the sanding method, make sure you do it in a well-ventilated area or outdoors.
Pressure Washers
If you remove flaking and peeling paint from your deck or siding, a 2,500 PSI pressure washer is an excellent tool to use. It works quickly to lift the paint, and you can get large areas done in one hit.
If you are removing paint from your siding, make sure you have prepped the house so that water doesn’t get in. It might be labor-intensive, but it will be worth it.
Infrared Devices
Infrared devices are another version of heat guns, but instead of heat, they use infrared light to remove the paint. These tools are a great choice if you have any lead paint because lead vaporizes at 900 to 1,000 degrees Fahrenheit, producing harmful gasses.
Unlike heat guns, infrared devices only get to 500 to 600 degrees Fahrenheit, which is enough to lift the paint without releasing toxins into the atmosphere.
Steam Strippers
Traditionally, steam strippers are used for removing wallpaper, but the heat and steam produced can soften the paintwork enough so you can use a paint scraper to remove the paint in strips.
This method is slower than using a heat gun or chemical stripper, but it is a useful eco-friendly alternative.
Vinegar
While vinegar is not going to remove all the paint from your wooden surfaces, it will soften the layers enough so that you can remove them with a paint scraper or putty knife.
Boil the vinegar on the stove and apply it in layers with a paintbrush. Wait 10 minutes or so, and then start to scrape away the paint. If you need to use more vinegar, do so in stubborn areas until it starts to lift.
Citrus-Based Strippers
Much like chemical-based strippers, natural strippers work in the same way but without damaging the environment. They are non-toxic and eco-friendly, so you can strip away your paint with a clear conscience.
Choose Your Method
With so many ways to remove paint from wood, choosing the right method should come down to a few factors: is it harmful to you and the environment, does it work quickly, and is it easy to apply?
By far, the best and swiftest technique is using a heat gun. It gives the most instant results and removes several layers at a time. However, if you have lead paint, use a paint stripper instead.
Whichever method you choose, remember that before you apply the new coat of paint, ensure that the surface is entirely clean and free of debris.