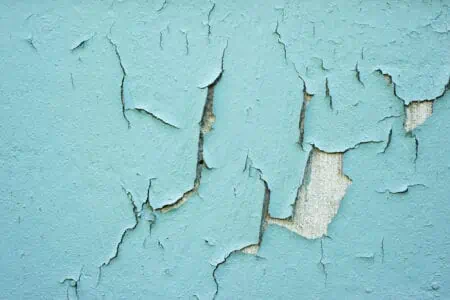
If your home has pre-1978 paintwork, it is likely to contain lead. Removing this toxic material from your home is the best way to keep you and your family safe.
We show you how to remove lead paint and the average costs of calling in a certified lead paint removal contractor.
Key Takeaways
- Identify lead paint using a testing kit, like the SCITUS kit, by cutting into the paint and using a swab to detect lead.
- Consider hiring an EPA certified contractor for safe lead paint removal, with average costs around $10,000.
- Removal methods include encapsulation, enclosure, removal, and replacement, depending on the condition of the paint and surfaces.
- Prepare your home for lead paint removal by removing furniture, covering flooring, wearing safety gear, and sealing windows and doors.
How to Identify Lead Paint
How do you know if the paint on your walls contains lead? It’s not like it glows in the dark or comes with a warning label, but there are tests you can do to get to the truth.
Lead paint test swabs, like this SCITUS kit, are available online or at hardware stores. They are simple to use and cost less than $20. Here’s how to perform the test:
- Choose the appropriate testing kit.
- Cut a quarter-inch into the suspected lead paint.
- Press a swab from the kit against the incision, ensuring it touches every layer of paint.
- Follow the kit’s instructions to read any change in the swab.
- Repeat with another swab to ensure the result is accurate.
Take Care
Always wear a face mask and goggles when cutting into lead paint. You should also wear safety gloves.
Can You Remove Lead Paint Yourself?
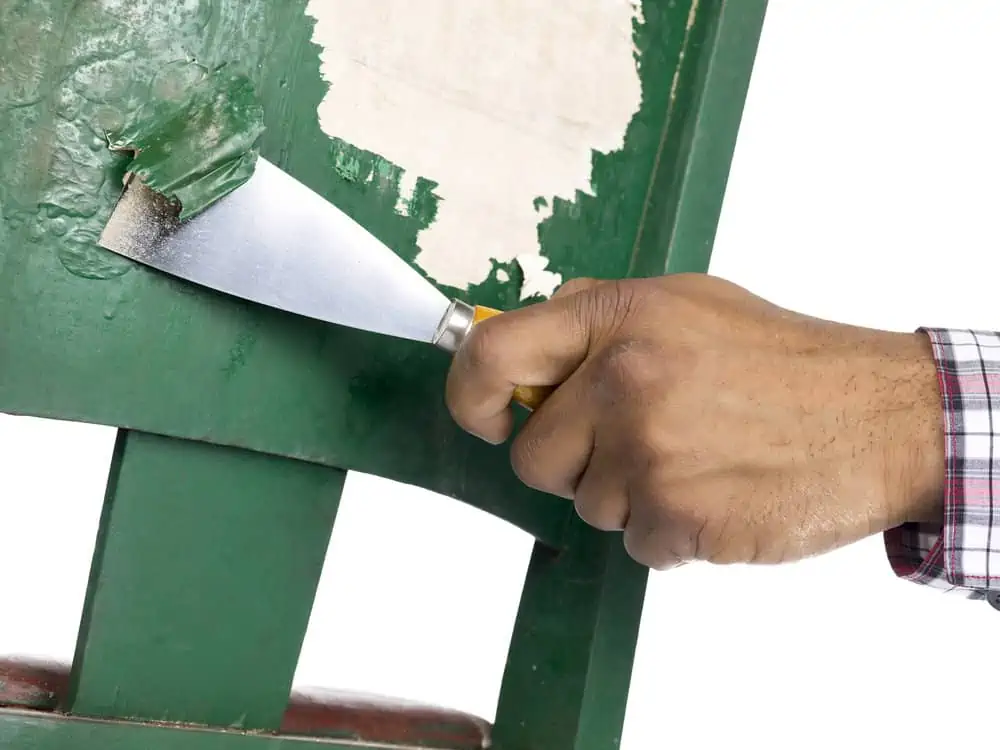
Lead is deadly because it can cause brain and organ damage. You have no idea you are being poisoned until it’s too late.
Many people remove lead paint themselves, but you need to check the rules before going down that route.
We always recommend hiring an EPA (Environmental Protection Agency) certified contractor to remove lead paint safely. They have the tools, equipment, and experience. They also know the regulations inside out, so they will know what they can and can’t do.
Your certified contractor will leave the site contaminant-free once the work is done. Lingering lead paint dust is dangerous, causing lung and organ failure.
However, it doesn’t mean you can’t prepare your home ahead of the pros coming. It reduces the cost and makes the removal procedures run smoother and faster. More on that later!
Lead Paint Removal Costs
Okay, so we’ve established the dangers of lead paint and that it’s a better idea to employ the service of a contractor. But, what are the costs of using the pros? Will you need a second mortgage to fund it, or is it more reasonable than you thought?
Brace yourselves because the average lead paint removal project costs $10,000. According to the EPA, contractors charge between $8 to $15 per square foot. So, for an average 1,200 to 2,000 square foot home, the final bill ranges from $9,600 to $30,000.
You might need to sell a kidney to raise funds, but the price includes labor, equipment, safe paint disposal, and leaving the site contaminant-free.
Types of Lead Paint Removal
Lead paint can be anywhere, from your house walls to the furniture, but it doesn’t mean you will drop dead immediately. In fact, lead paint in good condition poses a minimal risk if left untouched.
So, what are your options when it comes to lead paint removal? There are several methods, ranging from sealing the lead paint to complete removal. Before scraping off the old paint, consider whether stripping is the best policy.
Encapsulation
Encapsulation is a convenient method of containing the lead. It seals the paint, creating a protective barrier. You can buy specialist paint like this ECOBOND Lead Defender online or at your local hardware store.
Encapsulation paint costs between $50 and $60 per gallon, so if you have a 1,200 to 2,000 square-foot home, it could set you back $800 to $1,400.
Enclosure
What the eye can’t see can’t harm you, or something like that. Enclosure involves hiding the lead paint with drywall or other coverings. This is particularly effective at concealing lead paint from plaster walls.
Again, just like the encapsulation method, you should only do this if the wall is in good condition. It won’t work on flaking walls because the lead dust will still enter the atmosphere.
Removal
Ultimately, removing the paint from walls and other surfaces is the best policy. However, stripping an entire exterior of a home will cost you thousands, so start saving now.
There are several methods of removing lead paint, from wet sanding to scraping with lead paint remover. Wet sanding is an excellent technique for removing lead paint from wood and from metal.
When sanding, it is a requirement to use a HEPA attachment to suck up 99.97 percent of the lead pollutants. Lead cannot enter the air inside your home.
Take Note
Your contractor is not allowed to use a heat gun, sand blaster, or pressure washer without a method of trapping the paint flakes in the water that drains away.
Replacement
If the lead is contained in window and door frames, replacing them may be a better option. The window contractor will dispose of the old items following the regulations, which will remove that headache.
Is It Worth Removing Lead Paint?
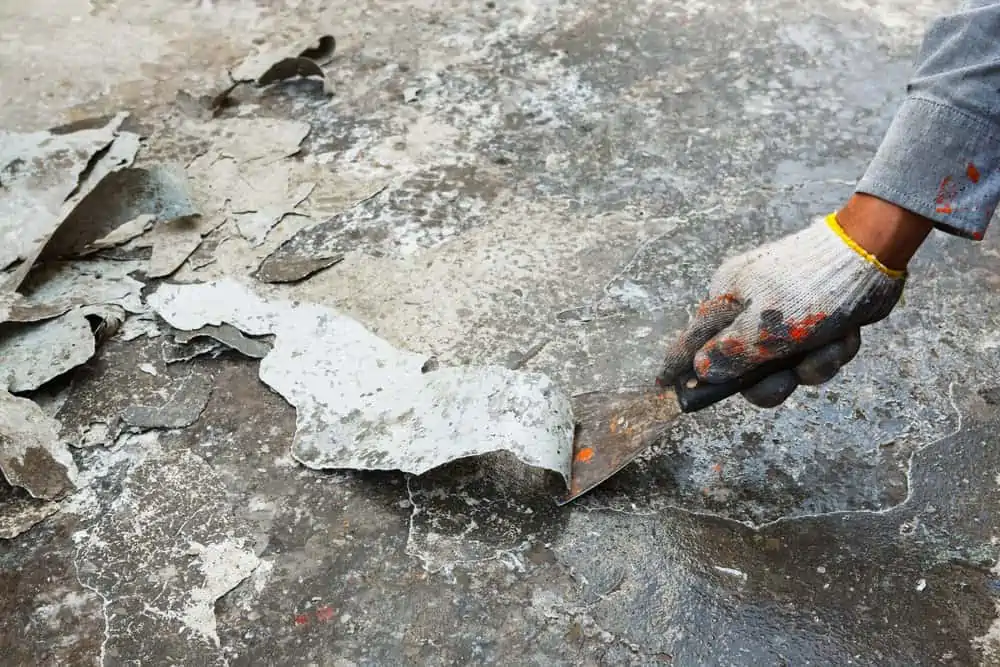
The answer to this lies in your attitude towards risk and the condition of the paint. It might be better to do nothing for lead paint in a garage, basement, or infrequently used rooms.
If you have exterior surfaces like sheds and fencing coated in lead paint, unless it is flaking, leave it be.
Choosing to do nothing is free, but it’s not ideal for everyone, especially if you have kids and pets. Their safety is paramount, and exposure to contaminated surfaces is not recommended.
How to Prepare a House for Lead Paint Removal
Before the contractors arrive, it makes sense to prep as much as possible to make their job easier and speed up the process.
What You’ll Need
- Plastic sheets.
- Duct tape.
- Utility knife.
- Assistance (optional).
- HEPA vacuum cleaner.
- Respirator with HEPA filter.
- Goggles.
- Rubber gloves.
- Spray water bottle.
1. Remove Furniture
Unless you want your soft furnishings contaminated, you will need to remove everything from the room. Get some assistance for the heavier items. You’ll also need somewhere to store the furniture while the work is carried out.
A garage or spare room is always the best choice for furniture storage. Choose a room on the same level, unless you want to cart heavy objects up and down stairs.
2. Cover Flooring
Fitted carpets absorb lead paint dust and release it every time you step on the floor. You can’t rip out an expensive carpet, so the next best thing is to cover it. Use the dust sheets and cut them to size with the utility knife.
Duct tape them to your baseboards, sealing the gap all the way along. Don’t leave exposed areas because dust will get through.
Use a utility knife with a retractable blade because they are easier to control and sturdier. This Stanley Classic knife is a perfect choice.
3. Don Safety Gear
You need to put on a respirator with a HEPA filter. This Breathe Easier AirPro mask is ideal for lead paint removal. You will also need to wear goggles and rubber gloves to avoid contaminants touching your skin.
Finally, wear old clothes that you can discard, or better still, a disposable Hazmat suit. One like this YIBER suit has elasticated ankles and wrists to prevent dust seepage.
4. Damp Down the Paint
If you are prepping on the morning of the paint removal, it might be an idea to wet the paintwork to minimize dust. The contractors will also do this, but the wetter, the better in our book.
5. Vacuum Loose Bits
Use a HEPA vacuum cleaner, like this Bissell model, to suck up any loose flakes deposited on the floor. You can also run the extension wand over the offending wall to remove loose fragments before they fall.
Take Note
You must use a HEPA filter because it has the highest contaminant removal rating, at 99.97 percent of all pollutants.
6. Seal Windows and Doors
Use the plastic sheeting to cover windows and doors, securing them with duct tape.
Take Precautions
Don’t be tempted to open windows and doors to create an airflow. This only contaminates the outside environment and the rest of your home.
7. Turn Off Your HVAC System
Switching off your HVAC stops lead dust from contaminating the rest of your home. Seal the vents with plastic sheeting and duct tape. It prevents dust from entering your ducting and traveling to other rooms.
FAQs

Does Insurance Cover Lead Paint Removal?
You will need to check the small print on your home insurance policy to see if it covers lead paint abatement. You will find it under the exclusions list of the things they don’t cover.

What Happens If I Breathe In Lead Paint Dust?
You get lead poisoning if you continually breathe in lead paint dust. It could lead to brain damage in children, kidney failure, and the collapse of your nervous system.

How Long Does Lead Dust Stay In the Air?
Lead dust can stay in the atmosphere for up to an hour. After that, it settles on the room’s carpets, rugs, and other surfaces. Walking on the carpet kicks dust back into the air, and it takes another hour to settle.

What If I Accidentally Sanded Lead Paint?
If you accidentally sand lead paint, you risk lead poisoning by breathing in the dust. This can cause brain damage and the ultimate collapse of your nervous system. It also affects other organs in the body.

Can You Vacuum Lead Paint Dust?
You can vacuum lead paint dust as long as you use a HEPA vacuum cleaner. HEPA is the pinnacle of filter technology, trapping 99.97 percent of pollutants to a size of three microns.
Final Thoughts
Treat lead paint in the same way you would asbestos. It is nasty stuff and can cause untold damage to your health. Remember, you would need a lot of exposure before you start feeling ill, so let’s not panic just yet!
However, if you have a period home and suspect you have lead paint, don’t ignore it. Get a testing kit and establish the facts. Then you can decide on the best course of action.