When it comes to protecting your paintwork, applying polyurethane is a great way to protect your painted surfaces. Over time paint peels and chips, plus it starts to yellow, but adding a protective polymer layer could prolong the gaps between redecorating.
We show you how to apply polyurethane over paint in simple to follow steps to keep your painted surfaces looking great for longer.
Key Takeaways
- Choose between water-based and oil-based polyurethane: Water-based is easier to apply, dries faster, and doesn’t discolor paint, while oil-based is more durable and heat-resistant but may yellow the paint.
- Prep the painted surface: Make sure the paint is cured, lightly sand the surface to remove imperfections, and remove any wax or grease with mineral spirits.
- Apply polyurethane in at least two coats: Use a paintbrush, roller, or lint-free rag to apply evenly, and sand between coats for a smoother finish.
- Clean up and polish: Clean your tools with water (for water-based polyurethane) or mineral spirits (for oil-based), and apply car polish to the surface for extra protection and shine if desired.
What Kind of Polyurethane Should I Use Over Paint?
You get two options when it comes to polyurethane coatings: water-based and oil-based, but which is better?
Water-Based
Water-based polyurethane will dry completely clear and won’t add any additional color to your paint. The other advantage is it dries a lot quicker, which means you can enjoy the fruits of your labor a lot sooner than you would when using oil-based polyurethane.
Water-based polyurethane also creates fewer odors, which is something prevalent in oil-based alternatives. It means there are fewer volatile organic compounds (VOCs), which makes it better for indoor home use.
That said, water-based solutions are less hard-wearing and do not react well to excess heat.
Pros
- Gives off fewer odors
- Dries clear without discoloration
- Dries faster
- Fewer VOCs
- Tools wash clean with soap and water
Cons
- Chips and peels more easily
- Reacts badly to heat
Oil-Based
Oil-based polyurethane dries with a much more robust coating, protecting the surface for longer. If you hate redecorating and touching up minor chips, oil-based is the way to go. It also responds better to heat, so it is a better choice if you are working on a surface near a radiator or solid fuel burner. The problem with oil-based polyurethane is it slightly discolors the paint, giving it a yellow hue.
It also takes longer to dry and contains more VOCs than water-based alternatives. And then there’s the odor. You cannot escape the fact that oil-based polyurethane gives off a pungent smell, so you will need good ventilation indoors while it dries.
Pros
- Harder wearing
- Copes with heat
- Creates a stronger coating
Cons
- More VOCs
- Takes longer to dry
- Gives off bad odors
- Discolors the paint
How To Prep a Painted Surface for Polyurethane
Before we get into the details of how to prep surfaces, first, we need to gather the right tools for the job.
What You Need
- 120-grit sandpaper.
- A dry cloth.
- A vacuum cleaner.
- Mineral spirits.
1. Cure the Paint
If you apply a polyurethane coating to a painted surface, make sure the paint is completely cured. If it is still wet, you risk smearing the surface and creating an uneven finish.
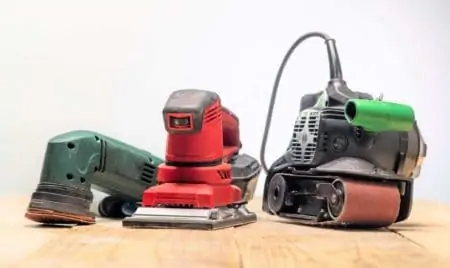
2. Sand the Surface
Grab the 120-grit sandpaper and lightly scrub it across the surface of the paint. You are trying to lightly scuff it and remove any lumps or imperfections. When you are done, grab the dry cloth and wipe the surface, making sure all the dust is gone.
You can use the vacuum hose and then make a final sweep with the cloth to make extra sure the dust is removed.
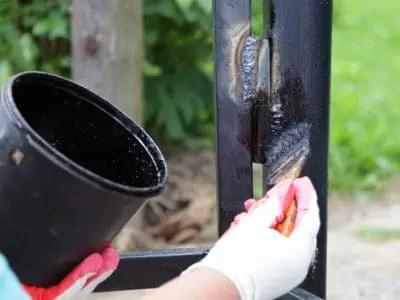
3. Remove Wax
Any previously waxed surfaces will need to be entirely free of residue. Wax affects how the polyurethane covers, creating areas where it will fail to bond correctly. Grab a fresh dry cloth, soak it in mineral spirits, and then wipe down the surface to remove any remnants of the wax.
This should also remove any elements of grease still present on the surface.
How To Apply Polyurethane Over Paint
Now that you have correctly prepped the surface, it’s time to apply the polyurethane coating. There are some tools you will need.
What You Need
- Respirator mask.
- Goggles.
- Old clothes.
- Paintbrush, roller, or lint-free rag.
- 320 and 600-grit sandpaper.
- Old cloth to cover the floor.
- Car polish.
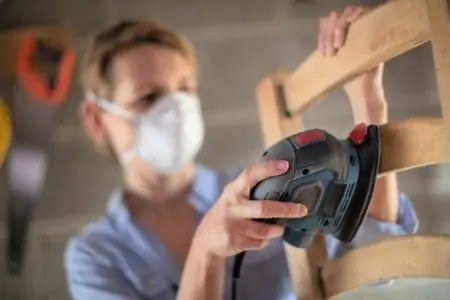
1. Ventilate the Area
Keep the windows open to allow the air to flow. Polyurethane gives off strong odors, especially the oil-based variant. They can be harmful if breathed in, so now is also a good time to put on your face mask and goggles.
2. Lay Down Floor Cloths
Polyurethane can soak through newspaper, so use old cloths like drapes or a shower curtain. This is especially important if you are using a roller to apply the solution.
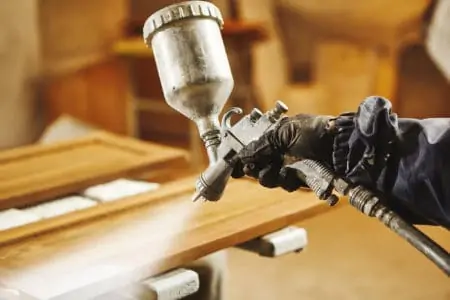
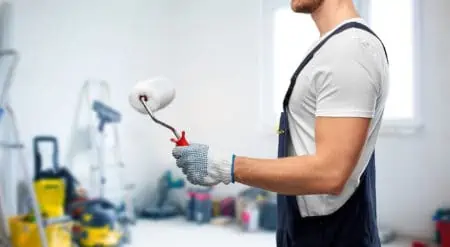
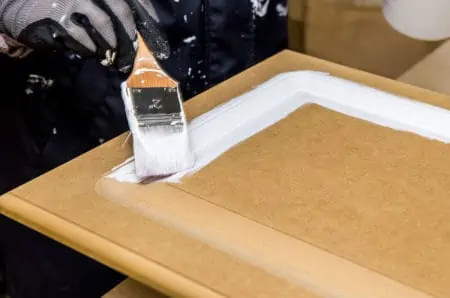
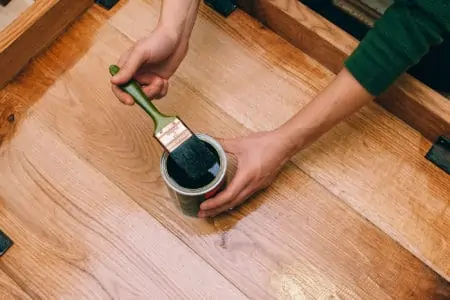
3. Start Applying the Polyurethane
Working in sections, either dip the paintbrush in the polyurethane or apply it to the wall in smooth strokes using a lint-free cloth or roller. Whichever way you choose, make sure you cover the entire surface with at least two coats.
4. After the First Coat
If you want the smoothest finish, it’s a great idea to sand the surface between coats. It’s not always necessary, but it does deliver the best results.
After you have left the first coat to dry, grab the 320-grit sandpaper and gently scratch away at the surface, making sure that you remove any drips or runs that leave lumps and bumps. It also cleans away particles of dust that may have adhered to the surface.
Wipe down with a dry cloth to remove any dust residue, and now you are ready to apply the second layer.
5. The Final Coat
Once the last layer is dry, rub your hand across the surface to detect any imperfections. If you feel specks of dust and dirt, you might want to use 600-grit sandpaper for the final smoothing and then apply a third coat.
If you are happy that the surface is as good as you can get, proceed to the next stage.
6. Start Polishing
Once you are 100 percent satisfied that your surface is smooth and blemish-free, reach for the car polish and apply it to give the surface a mirror finish. You might want to do this on painted wooden surfaces rather than your wall. The polish adds an extra layer of protection and keeps the surface looking good for longer.
To apply the polish, grab a microfiber cloth and work in small circular sections. Wait until the polish starts to dry, turning a chalky white color, and then wipe it off using a clean, dry cloth.
7. Clean-Up Time
After the job is done, you will need to clean your tools. The great news is if you use water-based polyurethane, you can clean your brush or roller in warm soapy water, and it comes up looking like new.
Allow the brush to dry before storing it away.
If you use oil-based solutions, you will need to dip your brush in mineral spirits or paint thinner to remove the residue of the polymer. Once you are satisfied that the tools are completely clean, you can store them away once they are dry.