When it comes to woodworking, knowing what sander to use is vital for the best results. It also means you can work at the correct pace, rather than using the wrong tool to slow you down.
The two most obvious devices to use are the belt and orbital sander because they are versatile and effective at removing the most material. So, let’s compare orbital sanders with belt sanders to see which is the best.
Key Takeaways
- Orbital sanders are best for smaller projects and detailed work, and they leave fewer marks on the wood surface.
- Belt sanders excel at smoothing large, flat surfaces and can reach corners and edges due to their square sanding pads.
- Orbital sanders use sanding discs that rotate in a circular motion, while belt sanders use continuous loops of sandpaper.
- Both tools are useful for different tasks, so having both in your toolkit can increase your versatility in woodworking and home improvement projects.
Orbital Sanders vs. Belt Sanders
Orbital sanders are better for smaller projects that require a higher degree of detail, and they are kinder to the wood surface because they leave fewer burn or swirl marks during sanding.
However, you can’t reach corners or edges because the circular sanding disc is unsuitable for straight lines.
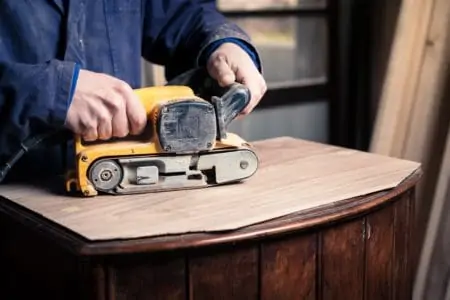
Belt sanders are the tool to use when smoothing flat surfaces, especially if they have a lot of material to remove. They get into edges and corners, thanks to square sanding pads and they use a continuous loop sandpaper, which removes more surface material.
| Specification | Orbital Sander | Belt Sander |
|---|---|---|
| Features | Oscillating motion. Dust extraction port. Sanding disc. Lightweight. Variable speed. |
Square sanding pad. Uses a loop of sandpaper. Dust extraction port. Lightweight. |
| Function | Swirl-free finish. Work with and against the wood grain. Polishes as well as sands. |
Smooths rough surfaces. Covers wide areas. |
| Performance | Random oscillating motion. | Back and forth sanding motion. |
| Applications | Furniture. Cabinetry. Lighter duties. Smaller flat surfaces. Curves and edges. |
Large flat surfaces. Extremely rough surfaces. Decking and flooring. |
What Is an Orbital Sander?
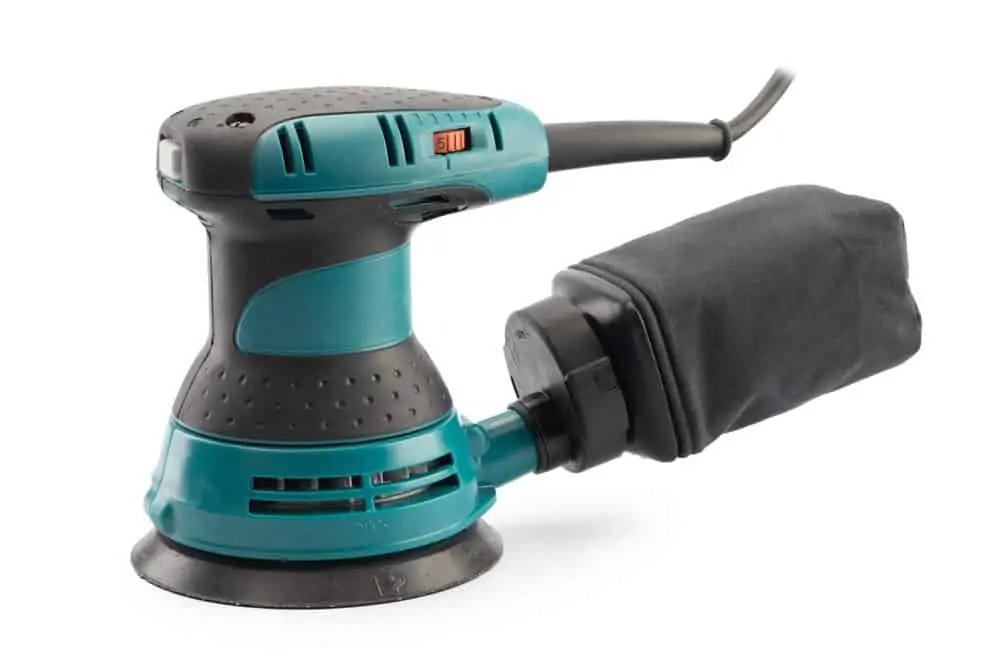
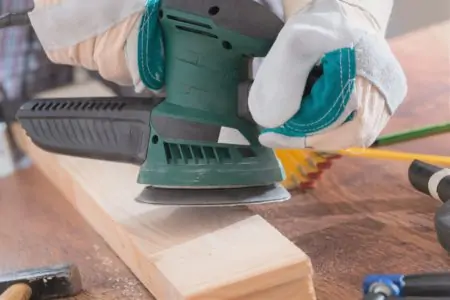
An orbital sander is a powered tool that uses a sanding disc to rotate across the surface of the material. They are sometimes called rotary sanders because of the way they operate.
Orbital sanders should not be confused with random orbital sanders, although they do come from the same family of devices. A random orbital sander moves in random directions thanks to an off-set axis.
As the disc spins, it oscillates, meaning the disc moves from side to side as well as rotating, increasing the efficiency of the performance.
Orbital sanders also have a prominent dust extraction port situated at the rear of the device, which connects to either a dust collection bag or a central vacuum system.
What Is an Orbital Sander Used For?
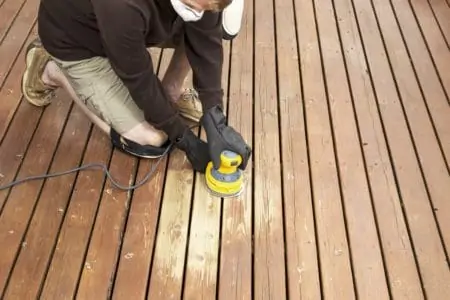
Orbital sanders are mainly used in the woodworking industry, construction, and carpentry, as well as bespoke furniture making and cabinetry. They are excellent tools for fast sanding and can cover large surface areas with ease.
If you seek a swirl-free result, a random orbital sander should deliver. These tools are lightweight, easy to handle, and cover many different surfaces like metal and plastic.
It’s the reason why you find them in auto repair shops and paint shops. They are great at smoothing metal, removing paint, and blending filler material.
These types of sanders have their limitations because they don’t deal with straight edges and tight corners.
Pros
- Effective material removal.
- Lightweight and easy to use.
- Reduces swirl marks.
- Versatile on different surfaces.
- Easy to swap sanding discs.
Cons
- Cannot reach edges.
- Better for flat surfaces.
- Limited detail sanding.
- Cannot get into corners.
What Is a Belt Sander?
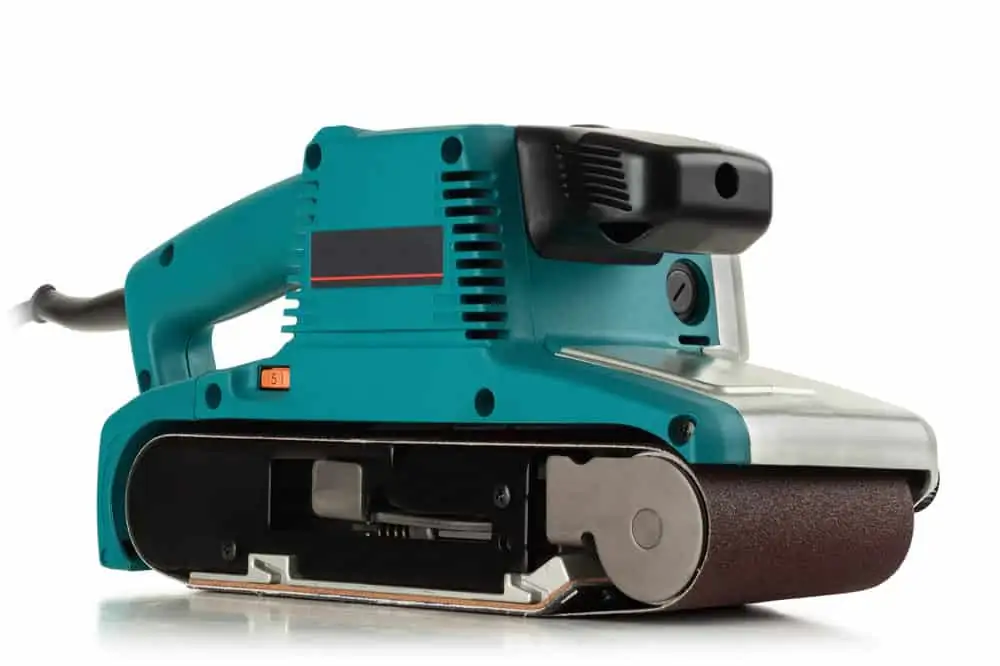
A belt sander is a more rudimentary tool. It lacks the finesse of an orbital sander, but it is better suited to smoothing rough surfaces. Belt sanders tackle larger-scale projects with ease, so if you like laying flooring, a belt sander is the tool to get.
The square or rectangular sanding pad moves back and forth, creating friction between the sandpaper and the wood surface. Unlike orbital sanders, which use sanding discs, belt sanders use continuous loops of sandpaper.
This has a disadvantage because it takes longer to swap the old paper, but the advantage is it reduces your costs because the sandpaper lasts longer than standard abrasive material.
Belt sanders also have large dust extraction ports at the rear to make it easier to connect a collection bag or a dry vacuum system.
What Is a Belt Sander Used For?
Belt sanders are the workhorse of your tool kit. If you have a floor that needs smoothing, reach for a belt sander. If you are laying decking and need to sand rough surfaces, a belt sander is the tool you would use.
Thanks to the shape of their sanding pad, you can get into corners and reach the outer edges of your flooring. Because belt sanders are robust, they love chewing through the most challenging surfaces.
Like orbital sanders, the belt varieties have their limitations too. They aren’t great when you need detail or a higher level of finesse. They don’t handle irregular shapes very well. If your project is flat and substantial, a belt sander will see you through.
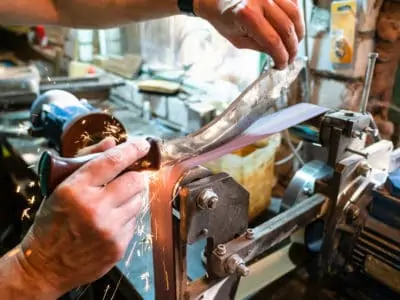
Belt sanders also cover a host of different surfaces like metal and plastic, which is why they are also keenly used in professional settings like auto shops and factories.
Pros
- Great for rougher surfaces.
- Better for large projects.
- Reaches edges and corners.
- Uses sandpaper belts.
- Dust extraction port.
Cons
- Not for detailed sanding.
- Limited to flat surfaces.
- Creates more burr marks.
- Takes longer to change the sandpaper.
Belt Sander vs. Orbital Sander FAQs

Is an Orbital Sander Worth It?
Orbital sanders are designed for ease and finesse, making them worth it if you want a quality and versatile power sander. They are amazing because they combine the power of a belt sander without being aggressive.
When you use an orbital sander, you don’t have to use pressure or spend a lot of time experimenting with how to push the sander on the surface. It’s almost as easy as ironing a shirt.

How Long Do Belt Sander Belts Last?
When used in a workshop, belt sander belts can last around two years, perhaps 18 months.
The sanding belt’s longevity depends on several other aspects outside only those mentioned here. These factors include sanding belts’ durability is determined by several factors, with the frequency of use and maintenance being the most decisive.

Do Orbital Sanders Leave Swirl Marks?
While orbital sanders may leave swirl marks, they are less likely to do so than other sanders. They are appreciated for their lower learning curve, so if you’re not experienced with power sanders, they are good if you want to start learning.

Why Is My Belt Sander Shocking Me?
If your belt sander gives you electric shocks, you need to figure out the issue and fix it as soon as possible. Due to the potentially serious electrical issue, you should immediately unplug the belt sander and refrain from using it in the interim.
When you use a belt sander, a significant amount of friction is generated, accumulating static electricity. As this static charge build-ups, you’re likely to feel mild electrocution.

Will an Orbital Sander Remove Polyurethane?
An orbital sander will remove polyurethane, stain, paint, and extra material on wood, plastic, and metal surfaces.

Is a Belt Sander More Aggressive Than an Orbital Sander?
A belt sander is more aggressive compared to an orbital sander because of how it is designed. Orbital sanders have a sanding disc that uses circular motions to sand a surface.
A belt sander uses a pad of sandpaper that continuously moves down rough surfaces. They can cover larger surfaces at a time and are better for getting into corners (when compared to orbital sanders.)
Which Is Best?
The straight answer is both. The point is that each tool has its merits. Orbital sanders are effective devices in their own right. They sand, shape, and polish wood and metal surfaces.
Belt sanders smooth rough surfaces and are excellent at tackling significant flat areas like floors and decking. The trick is knowing when to use each tool. If you work with wood and metal, get both sanders to increase your versatility. You won’t regret it.