The tell-tale signs that you have a faulty thermostat include lukewarm water or the tank taking longer to reach temperature. If you spot a problem, you’ll need to know how to test a water heater thermostat.
We show the best techniques for testing a water heater element and explain other reasons why your water heater is playing up.
Key Takeaways
- Signs of a faulty thermostat: lukewarm water, taking longer to heat, extreme hot temperatures, and reset button tripping.
- Testing a water heater thermostat requires a flathead screwdriver and a multimeter.
- Other water heater problems include sediment buildup, taking too long to heat water, pilot light issues, low water pressure, and leaks.
- You can replace a thermostat yourself, but it’s important to be confident and follow proper steps for installation.
How to Tell if a Water Heater Thermostat Is Bad
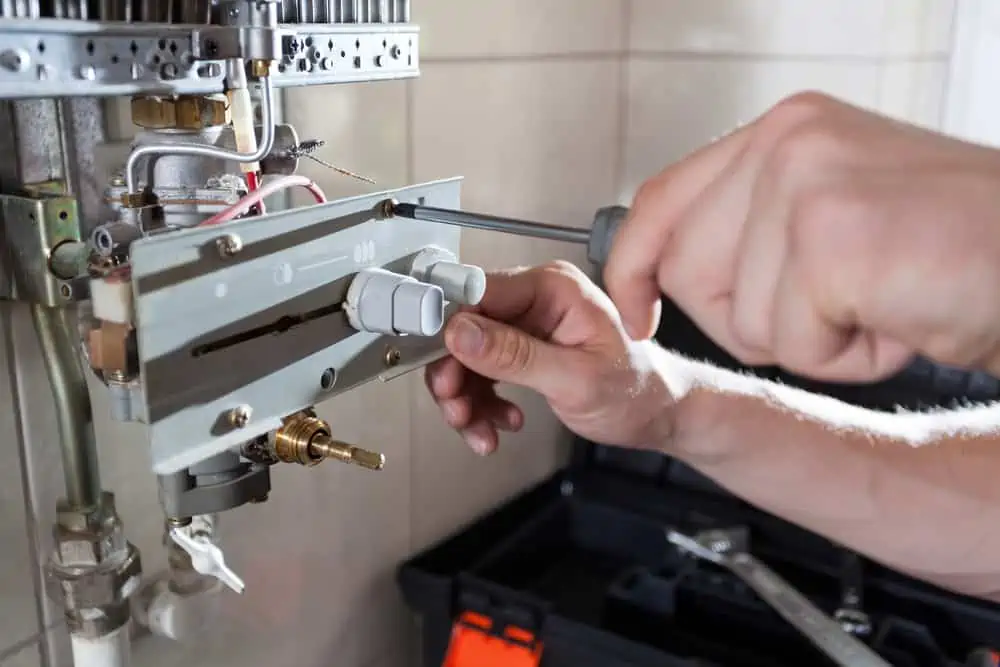
Electric water heater thermostat troubleshooting is straightforward enough. It does get a little more complicated if your thermostat has a digital display, but the principles remain the same. The tell-tale signs are pretty obvious once you know what to look for.
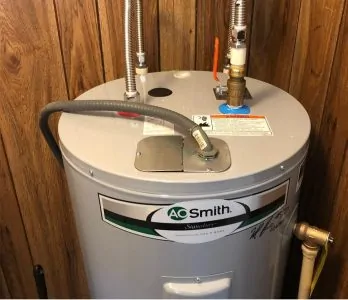
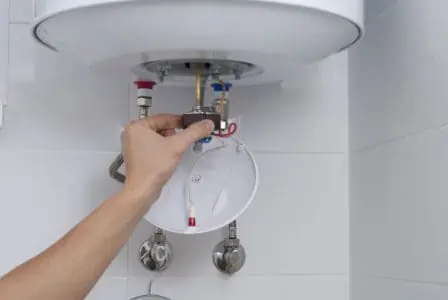
The first thing to note is most water heaters have an upper and lower thermostat because you typically have two elements. The upper thermostat is the primary thermostat and is connected to the high-limit switch (red reset button).
If your water heater is a single-element model, you will probably only have a single thermostat.
Each thermostat may present different issues:
- No hot water is likely to be a faulty upper thermostat.
- Not enough hot water is likely to be a fault with the upper thermostat.
- Taking longer to heat is indicative of a lower thermostat issue.
- Extreme hot temperatures indicate that both elements are not set correctly.
- The reset button tripping is another sign that the upper thermostat is faulty.
How to Test a Water Heater Thermostat
Before we begin, you will need to gather the right tools. The good news is you don’t need that many. The bad news is you will need some specialist equipment.
What You’ll Need
- Flathead screwdriver.
- Multimeter.
1. Isolate the Power
Locate the breaker box and flick the breaker to “off.” You need to do this for both gas and electric water heaters because gas heaters use a power supply to spark the pilot light.
2. Locate Access Panel
Use a flathead screwdriver and remove the upper and lower access panels. Remove the insulation layer, and if you have a plastic screen, remove that too.
3. Test the Upper Thermostat
Use the flathead screwdriver and turn the thermostat to the highest temperature setting. Take your multimeter, turn the dial to RX1, and place one probe on the screw holding the thermostat. Place the other probe on the bottom left terminal of the thermometer.
The reading should be zero, but the unit is faulty if you get nothing at all.
4. Test the Upper Thermostat Again
Use the flathead screwdriver to turn the thermostat to the lowest setting. It will make a clicking sound as you turn it down. With the multimeter on the RX1 setting, place the probes in the same spot as before. If you get a zero reading, the thermostat is working.
If you get no reading, the thermostat is faulty.
5. Lower Thermostat Test
The lower thermostat only has two panels, so it’s easier to check. Turn the thermostat to the highest setting using the screwdriver.
Touch the multimeter probes to both terminal screws, and you should get a zero reading. Again, if it registers nothing, you have problems.
Top Tip
Ensure the upper thermostat is off while doing this. After completing step four, it should be off.
Can You Replace a Thermostat Yourself?
You can replace a thermostat on a hot water tank yourself. You’ll have to drain the tank to accomplish it, so it’s always an idea to do it as part of your maintenance schedule. Open the access panels to get access to the screws.
Remove the wiring, making a note of their positioning. You could always take a picture on your phone if that makes it easier to remember. Loosen the screws, and the unit comes away in one piece.
Replace the old with the new thermostat and tighten the screws. Use the photo on your phone to help when replacing the wires.
If you lack the skill or confidence, it is better to call in a professional. The thermostat is a crucial bit of kit, and if you install it incorrectly, it could lead to more comprehensive problems down the line.
Take Note
You can buy universal thermostats, but it makes life easier if you shop for the same brand.
Other Water Heater Problems
Whether it’s a gas or electric water heater, there are several reasons why they fail to heat the water correctly other than the thermostat. Here are a few to get you started:
Sediment Buildup
Water contains minerals that settle on the base of your tank. As the element warms, it bakes the sediment into a hard crust that affects the water heater’s performance. You need to inspect your elements every six to 12 months as part of a maintenance check.
If you see limescale, it’s time to replace the element.
Taking Too Long to Heat the Water
You have two elements inside your water tank. If one fails, it falls on the one working element to heat the entire tank, which takes longer. With one element, it’s unlikely that the water will ever reach the correct temperature.
A tank that takes longer to heat puts more strain on the working element, uses more energy, and delivers lukewarm water.
Pilot Light Is Out
Gas water heaters have a pilot light that ignites the boiler when you adjust the thermostat. If the pilot light has gone out, you will need to investigate why.
If it relights straight away, it could be that a draft extinguished the flame. That sometimes happens and is nothing to worry about. However, if the flame repeatedly goes out, you have a problem.
You need to keep the chamber containing your pilot light clean and free from blockages. Do this as part of your maintenance routine. The cause could be misaligned pilot rods.
This happens on older water heaters. Use a thin-nose pair of pliers to bend it back in shape.
Low Water Pressure
Older homes use 1/2-inch pipes, whereas modern homes use 3/4-inch pipes, so they deliver higher water pressure. If your home is old, you may need to consider replacing your water pipes rather than the boiler.
Before ripping out your plumbing, it is best to check with an expert first to gauge their professional opinion.
Leaking Water
Leaks reduce pressure in the system, making it harder to reach temperature. They also mean the tank needs to continuously refill, making it impossible to heat the water.
If you spot wet patches, deal with them immediately, or it will become a serious issue further down the line. Check your pipe connections as part of your maintenance effort, and tighten any that are loose.
If the leak is coming from the tank itself, it could be corroded, which means sourcing a replacement.
FAQs

Why Are There Two Thermostats on My Water Heater?
The reason why you have two thermostats is that you have two heating elements.

Can You Run a Water Heater With a Single Element?
You can run a water heater on one heating element, but it is unlikely that it will heat the water sufficiently. It will also take longer, putting strain on the one working element and increasing your energy usage.

How Do You Reset the Thermostat on a Hot Water Heater?
The easiest way to reset the thermostat is to push the reset button located on the high-limit switch. You will need to shut off the power supply at the breaker board before depressing the button. Once activated, turn the power back on, and the thermostat is reset.

What Temperature Should a Hot Water Heater Be Set At?
Hot water should be set at 120 to 140 degrees Fahrenheit. Most water heaters come with 140 degrees preset.
The Heat Is On
When your hot faucet delivers cold water, don’t reach for the phone to call a professional. Make a coffee, take a moment, and then investigate the problem. Checking the thermostat is always your first port of call.
Once you’ve tested and reset the thermostat, think of all the money you have saved on expensive contractors. Now, that’s what winning at life feels like!