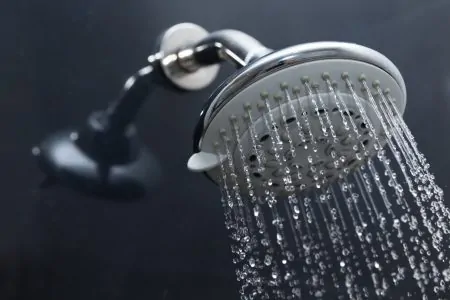
Modern shower heads are designed with versatility, efficiency, and durability in mind. Replacing your shower head with a new model can help it complement your overall bathroom design and rejuvenate the entire room.
If you feel it is time to replace your current shower head, you should be able to do it yourself with minimal effort, in just a few minutes. Although it is a straightforward task, it is important to familiarize yourself with the process if you have never done it before.
In this guide, we will explain how to replace a shower head to ensure it works as effectively as possible. We have also listed some of the reasons that you might want to consider upgrading to a new unit.
Key Takeaways
- Reasons to replace a shower head: Clogged up, leaks, low water pressure, or outdated look.
- Prepare the area: Protect the shower tray, cover the drain, and assemble the shower head if needed.
- Replace the shower head: Turn off the water supply, remove the old shower head, clean the threads, and apply plumber’s tape.
- Install the new shower head: Screw it on, turn the water back on, and check for leaks. Adjust if needed.
Reasons for Changing a Shower Head
Replacing your shower head is something that could be a personal decision or it might be forced on you by your existing unit not working properly. Signs that your current shower head is not functioning as it should include:
Clogged Up
Hard water can also be hard on pipes, outlets, and plumbing appliances. It contains minerals such as calcium and magnesium, which are often left behind when the water dries. Shower nozzles are one of the first places that you are likely to notice the effects of hard water, due to their small size and how often they are exposed to water.
Modern shower nozzles are often made of rubber or silicone to discourage hard water deposits from forming. However, you might still encounter issues if you live in a hard water area (1).
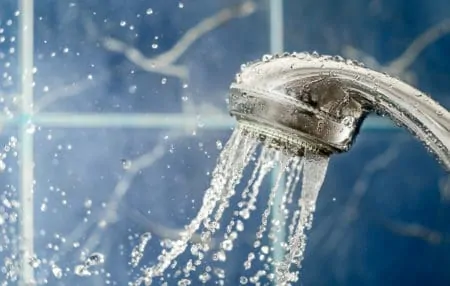
Leaks
Like any other appliance, particularly those that deal with water, shower heads have a limited operational life. Thanks to modern technology and strict standards, a high-quality shower head should serve you well for many years. However, if you notice that it is leaking from areas other than the hose connection, which can be fixed, you should consider replacing the shower head before the issue becomes more serious.
Low Water Pressure
It is very frustrating when you turn on your shower and receive a weak dribble rather than a powerful, cleansing spray. Some shower heads can increase the force of the water as it leaves the nozzles, even if your plumbing system’s pressure is less than ideal. They are designed with smaller nozzles, which means the same volume of water must be pushed through those holes more quickly.
Outdated Look
People’s tastes change and, with so many different style options available today, you might decide that you want to update your current shower head. Perhaps you are changing the style of your entire bathroom and your current shower head will look out of place. Or, maybe you have simply found one that is more aesthetically pleasing.
In any case, you don’t need an excuse to change a shower head. If you want a new one, they are quick and straightforward to install, so there is no reason not to do it.
How to Replace a Shower Head
Replacing your shower head is usually a relatively quick and easy task, as the majority of modern units use the same connectors. Once you have chosen and purchased your new shower head, follow this guide and you should be able to enjoy your upgraded shower very soon.
Be Prepared
What You Need
- Blanket or towel
- New shower head
- Wrench
- Pliers
- Soft cloths
- Old toothbrush
- Plumber’s tape
1. Prepare the Area
Before starting, protect the bottom of your shower tray or bathtub. Place a blanket or towel over it to protect it from damage in case you drop any tools.
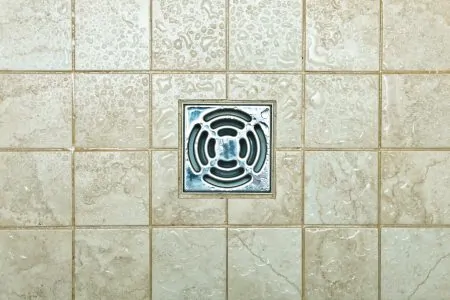
You should also cover your drain. This will prevent you from losing any small parts such as screws if you drop them during installation.
2. Assemble the Shower Head
Some shower heads might require extra assembly before being installed. This includes rubber washers that need to be inserted or water flow restrictors that must be fitted. Follow the manufacturer’s instructions to prepare your shower head for installation.
3. Turn Off the Water Supply
Shut off the water supply to your shower faucets, both hot and cold. You shouldn’t need to shut off the supply to your entire home.
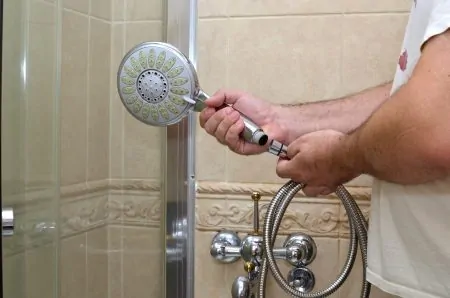
4. Remove the Old Shower Head
Unscrew your old shower head by twisting it counter-clockwise. In most cases, you should be able to do this without using tools but it is worth having them to hand just in case.
If your shower head has been in place for several years, you might need to use a wrench to loosen it if the fitting has corroded. To do this:
- Protect: Wrap a cloth around the shower arm to protect its finish.
- Remove: Hold the cloth in place with pliers while you use a wrench to twist the shower head.
Pro Tips
- Pipe: Be careful not to turn the pipe that comes out of the wall. Doing so could cause an unseen leak behind the wall, which might cause severe water damage to your home.
- Backup: Try to protect the old shower head when removing it, in case you need to reuse it. Your new unit might not fit or it could have a defect.
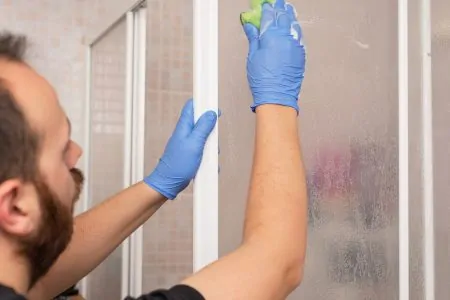
5. Clean the Threads
Dirt and gunk might have accumulated on the threads of your existing fitting. Try to wipe it away with a damp cloth. If there are any stubborn deposits, scrub the threads with an old toothbrush to loosen them.
Once the threads are clean, dry them with a cloth or some paper towels.
6. Apply Plumber’s Tape
The thread should be wrapped in plumber’s tape to create a watertight seal and prevent leaks after your new shower head is attached:
- Clockwise: Start at the base and wrap the tape in a clockwise direction three times until all the threads are covered.
- Snug fit: To ensure the tape is sealed on all the threads, run your finger or thumb over it once it is in place to push it into the grooves.
Be Careful
7. Screw on Your New Shower Head
It is now time to attach your new shower head. To do this, follow the manufacturer’s instructions. In most cases, this means simply screwing the new shower head on in a clockwise direction by hand. Be careful not to overtighten it as you could damage the threads or the shower head.
8. Turn on Your Water
Before turning the water back on, remove your towel or blanket from the base of your shower pan or tub. Aim the shower head away from you and turn on the hot and cold faucets to check for leaks.
You might need to tighten the shower head more if you notice any leaks. Or, you can unscrew it and apply more plumber’s tape.
Pro Tip
FAQs

Do All Shower Heads Fit the Same?
Most shower heads are universal throughout the USA. In fact, 99 percent of the existing shower heads on the US market fit standard pipe sizes. This is so that shower fittings and filter manufacturers can produce parts that are universally compatible with most brands.

How Hard Is It to Replace a Shower Head?
It is not hard to replace a shower head, and the job doesn’t require calling a professional. It’s something easily done yourself with the right guidance.
You may remove the old fixture can be accomplished by just turning it counter-clockwise many times to determine whether or not it can be removed manually.
Clean the shower arm to make sure there is no gunk or mineral buildup. Use shower head tape to wrap the arm. Install the new shower head and test to ensure there aren’t any leaks.

How Often Should Shower Heads be Replaced?
Shower heads should be replaced once every six to eight months. Shower heads can quickly become a breeding ground for germs that can lead to various respiratory ailments due to their tendency to become overly covered with silt, mold buildup, or black patches.
Many medical experts recommend you change your shower head twice per year. This is because your shower head is home to millions of germs that thrive there.
A showerhead’s lifespan can be extended with routine cleaning, but individuals with compromised immune systems should remain alert.
Every portion of your shower head is a breeding ground for potentially hazardous bacteria and mold.

What Kind of Wrench Do I Need to Change a Shower Head?
Changing a shower head is best done with an adjustable wrench. Some of the disassembly can be done by hand, but to screw and unscrew nuts, it’s best to use a wrench.

Do You Need Teflon Tape for Shower Head?
Teflon tape is good for installing a shower head. For sealing shower head endings, Teflon tape is typically quite sturdy in its ability to do the job.
More specifically, you will most likely apply this tape to the base of the shower head to make a watertight connection between the shower head and the pipe.

How Do You Remove a Glued Shower Head?
The best method is to spray some acetone around the seal where the glue is and let it sit for a few minutes. Then use a toothbrush or scrubbing brush to work off as much excess glue as possible.
Next, cover the showerhead with a towel to avoid scratching, and use a wrench to work it free. Clean up any bits of glue remaining in the threads with a cloth and rinse the surface.

How Do You Install a Moen Shower Head?
If you want to install a new Moen shower head, you might have to replace the shower arm, too (just for finish consistency and proper fit).
The first step is removing the shower head from the arm. The showerhead is typically attached to the shower arm using a nut during the standard installation process.
To remove the showerhead, you will first need to unscrew the nut. Hold the shower arm in one hand and employ an adjustable wrench to loosen the nut.
Shower arms are often attached to the water supply pipe that is concealed within the wall. The shower arm is supported by a threaded fitting installed inside the wall, providing a sealed connection.
Turning a shower arm counterclockwise will allow you to remove it. If this does not work, you must remove the arm using a pipe wrench or an adjustable set of pliers.
It is important to remember that utilizing these kinds of tools can cause the finish on the arm to become significantly damaged.
Apply thread tape or pipe joint compound to install the shower arm. Make sure to seal the thread between the shower nut and arm.