During the hurricane season, boarding up windows is a necessity if you want to minimize damage. It’s always a good idea to prepare for the worst-case scenario, which involves knowing how to board up a window.
Follow our definitive guide to boarding windows, learn the different techniques for brick and vinyl, and know which tools to use.
Key Takeaways
- Measure the window and cut plywood to fit snugly in the window recess or overlap the window frame for added security.
- Use 0.625-inch exterior-grade plywood for hurricane protection as recommended by the Federal Alliance for Safe Homes (FLASH).
- Attach the plywood to the window using window clips for brick houses or corrosion-resistant lag screws for vinyl siding.
- Consider alternative methods such as storm panels or plasterboard if plywood is not available.
Cost of Boarding Up Windows With Plywood
If you are boarding the window yourself, it will only cost you the price of the materials. Exterior-grade plywood costs about $10 for a 4×8-feet sheet, and if you opt for marine-grade plywood, the costs soar to $100. The bolts will cost you $20 to $30.
If you get it done professionally, expect to add about $80 for labor costs. The end bill will be considerably more if you want multiple windows boarded.
How to Board Up a Window On a Brick House

The techniques for boarding windows differ between brick walls and vinyl sidings. Vinyl is easier to drill into, whereas windows installed in brick walls need the shutter cut precisely. This is to allow for the recess.
Before getting into the nitty-gritty, we need to take stock of the tools and material you will need.
Important Point
Safety is paramount, so make sure you don a face mask and safety goggles to avoid injury.
What You’ll Need
- Circular saw or jigsaw.
- Drill.
- Hammer.
- Plywood (the Federal Alliance for Safe Homes (FLASH) recommends using 0.625-inch plywood).
- Window clips.
- Measuring tape.
- Pair of sawhorses.
- Face mask.
- Goggles.
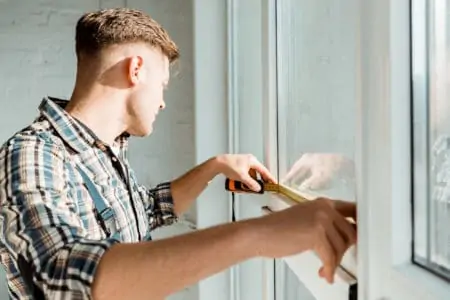
1. Measure the Window
Grab the tape measure and measure the width and height of the window. Make sure you measure from where the frame meets the wall.
2. Cut the Plywood
Lay the plywood on the pair of sawhorses and mark out the measurements using a ruler and pencil. Double-check your measurements match the window opening. Using the jigsaw, cut along the length and width, taking care to stay on the lines.
The plywood should fit snugly in the window recess, so getting this bit right is crucial. Before attaching the window clips, try the board in the window for size. This enables you to make minor adjustments if the measurements are slightly out.
3. Joining Two Plywood Sheets
If the window opening is substantial, you will need to join together two sheets of plywood. Plywood comes in 4×8-feet sheets, so you will need a length of 4×2 lumber to baton along the seam.
Place the sheets together end to end or side to side, depending on the window opening size. Lay the baton of 4×2 down the length of the join. Now grab the drill and drive six 2.25-inch screws through the 4×2 into the plywood (two in the top, middle, and bottom).
4. Attach the Window Clips
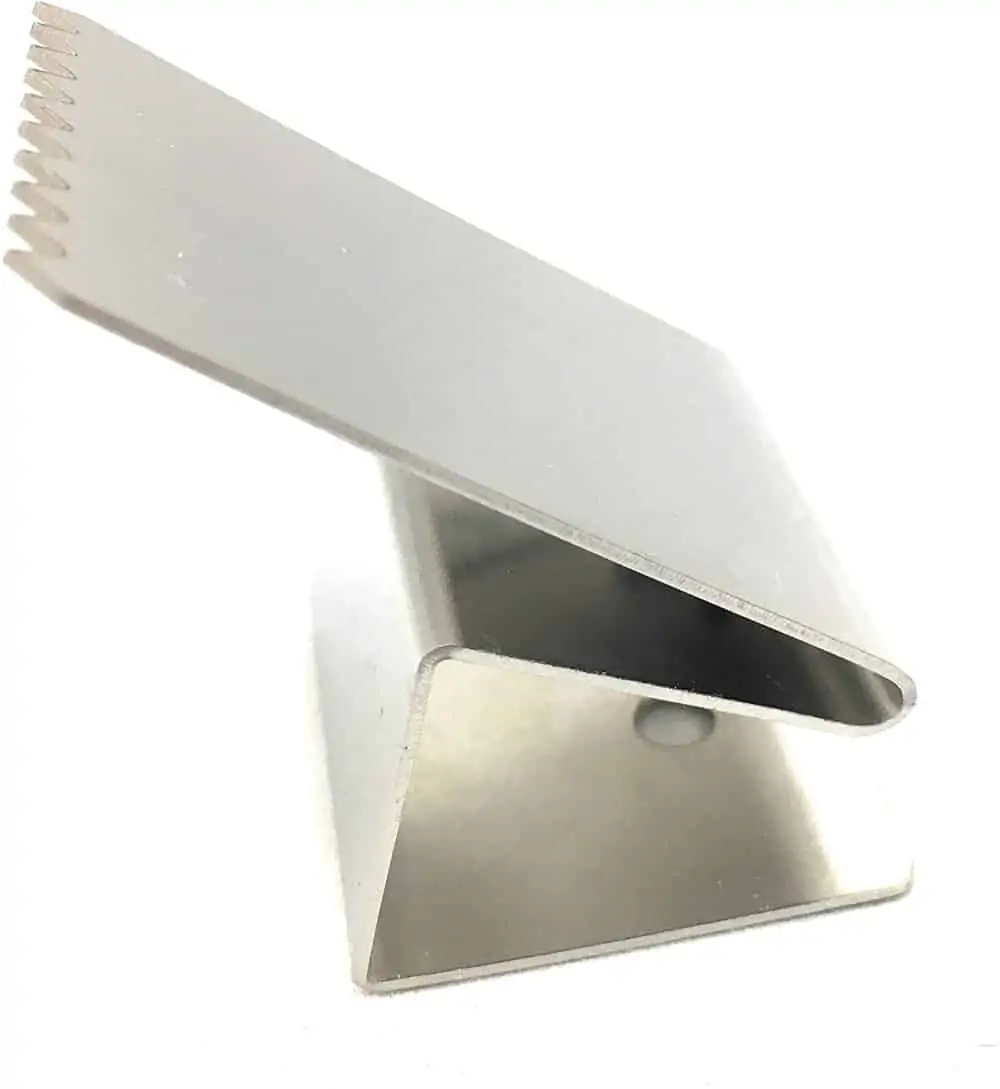
Window clips are an excellent alternative to bolts and screws, and they are sometimes called hurricane or tension clips. Screwing into wooden frames is fine, but metal frames are more challenging. Use the hammer to install two clips on both edges.
Use gentle pressure to tap the clips in place two feet apart on either side.
5. Install the Plywood
Place the plywood inside the window recess and push it so it butts against the window frame. Ensure the window clips are gripping correctly. Hurricanes create lift that can pull the plywood from the window. If the clips are secure, they stop this from happening.
To remove the plywood, simply push down on the board and release the clips by pulling them up.
How to Board Windows With Vinyl Siding

Vinyl siding is a lot more forgiving when it comes to drilling and attaching the plywood. However, the plywood attaches to the wall rather than the window recess.
What You’ll Need
- Jigsaw.
- Corrosion-resistant lag screws.
- Drill and drill bits.
- Stud finder.
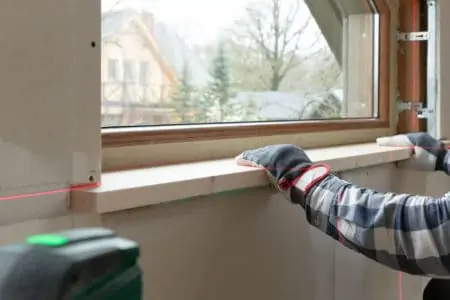
1. Measure the Window
Grab the tape measure and measure the width and height of the window. Measure from the top of the trim to the base of the trim. If the window has a sill, measure from the top of the trim to the top of the sill.
2. Cut the Plywood
Mark out the measurements on the plywood and add eight inches to the height and width measurements. If the window is 48 inches high and 24 inches wide, you will need to cut the plywood 56 inches in height by 32 inches wide.
Take Note
If the window has an extended sill, you will only need to add four inches to the height measurement.
3. Use the Stud Finder
The studs should be located four inches from the edge of the window frame on each side. The stud finder locates these studs so that you have a solid surface to secure the plywood to. You can’t attach it to the trim because it is too flimsy.
Measure from one stud to another, and make a note of the distance. You will use this to mark the holes in the plywood where the screws will go. If you don’t have a stud finder, look for the nails in the vinyl siding as they are attached to the stud frame.
4. Drill the Holes
Mark the location of the four holes, with one in each corner of the plywood board. You can add additional holes in the middle for security.
Grab the drill and drill the pilot holes all the way through the plywood. The holes should be equal in diameter to the screws, and quarter-inch lag screws give the best results. Now make new holes 12 inches apart, along the edge of the board.
These new holes should line up with the corner holes and align with the studs. Two inches in from the edge of the board should be sufficient to find the stud’s center.
Take Note
If the window has an extended sill, you only need to drill holes in the top and sides.
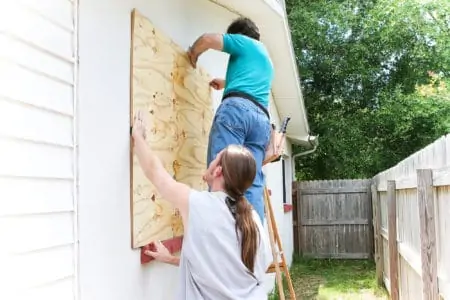
5. Attach the Plywood
Lift the plywood to the window and position it so the screw holes align with the studs. If it is too heavy, get someone to help you. The lag screws should penetrate to a depth of two inches into the wooden studs.
These screws have a flat head that doesn’t sink into the plywood and weaken it.
How to Board Up Windows Permanently

If a building is derelict and abandoned, you will need to board the windows permanently to stop people from gaining access. The emphasis is on security rather than hurricane damage, so there are a few extra steps to consider.
What You’ll Need
- Jigsaw.
- Hammer/drill.
- Masonry, screwdriver, and wood bits.
- Corrosion-resistant 0.75-inch lag screws.
- Spirit level or ruler.
- Stud finder.
- Silicone sealant.
- Plywood.
- Tape measure.
- Two sawhorses.
- Wall anchors.
1. Measure the Opening
The method for measuring the window is the same as boarding with vinyl siding. Make sure you overcompensate by adding eight inches to the length and width. This gives you an overlap to secure the board to the wall.
2. Cut the Board to Size
Lay the plywood on two sawhorses and mark the correct measurements. Use a ruler or spirit level to get straight lines. Grab the jigsaw and cut the board to size, remembering to include the extra eight inches.
3. Find the Studs
Use a stud finder to locate the studs. They should be four inches from the edge of the window frame. If you don’t have a stud finder, find the nail heads on the siding because they will be embedded in the studs to secure them.
Measure the distance between the studs and mark the drill holes on the plywood. If you attach the board to a brick house, you will need anchors to secure the screws.
4. Start Drilling
Drill four holes in each corner about two inches from the edge of the board. Then repeat this process along all four edges, spacing the holes 12 inches apart.
5. Attach the Board
Lift the board up to the opening so the screw holes align with the studs. You don’t need to worry about this for brick walls because the screws go straight into the brickwork.
Grab the drill, insert the screwdriver bit, and then drive the screws into the stud frame. For brick, you will need to drill holes in the wall slightly wider than the diameter of the screws to accommodate the anchors. To get the neatest finish, switch the drill to hammer action.
Now insert the anchors into the screw holes, and you are ready to attach the board. Line the screw holes with the studs and drive the screws in using the drill.
6. Finishing Touches
Because this is a permanent fix, you will need to seal the plywood to stop rainwater from getting underneath and rotting the board and window. Grab the silicone sealant and run a strip around the edges of the board and smooth it down with your finger.
How Do You Board Up a Broken Window?
Broken windows let the rain in, so getting them boarded up is imperative if you want to minimize damage. The process is the same as the methods already mentioned; the only difference is you will need to secure the broken pane.
Use decorator’s tape and secure the cracked pane. Clean away any loose shards with a dustpan and a brush. Now you are ready to board the window.
Alternatives to Boarding Up Windows
How do you board up a window if you don’t have plywood to hand? There are several alternative methods you can use. They may not be as secure as plywood, but they are effective when you need to get out of a hole.
Storm Panels
Installing storm shutters is better for security, and they protect your windows against the elements; however, storm windows can be costly. Depending on the size and quality, you can easily spend between $350 to $800 per window.
The good news is storm panels are a permanent addition to the exterior of your home. Also, they don’t look as unsightly as plywood.
Trash Bags
Black trash bags make a great alternative to plywood if you use duct tape to secure several bags over your broken window. It might not give the same hurricane protection of plywood, but it solves the problem of a broken window in the short term.
Plasterboard
Gluing plasterboard enables you to secure the window from the inside and is also a good way of boarding a window without drilling. All you need is a sheet of plasterboard or drywall and liquid nails, like this Fuzelt All Purpose Adhesive.
Again, it may not be a lasting solution, but it will solve the problem in the short term.
Stick On Vinyl Sheets
If you have a broken window, but the glass is still in the frame, one way to secure it is to use vinyl sheets. They have a sticky surface that bonds with the glass. It won’t protect you against hurricane damage, but it will stop rainwater and wind.
FAQs

Why Do People Board Up Windows?
There are several reasons why people board their windows. Perhaps they are preparing for a hurricane or protecting their windows for security purposes.
Some people board windows when they go away for extended periods, while others cover a broken window until a replacement is found.

How Do You Board a Window From the Outside?
You would need to measure the window and then cover it with plywood. You can secure the board with window clips for brick and screws on walls with vinyl siding.

What Kind of Plywood Do You Use for Boarding Windows?
You would need exterior-grade plywood, like marine ply. Plywood fit for the marine industry is expensive, costing as much as $100 per sheet.

What Thickness of Plywood Should You Use For Hurricanes?
The Federal Alliance for Safe Homes (FLASH) recommends that the minimum hurricane-proof thickness for plywood should be 0.625 inches.
The Last Word on Boarding Windows
Once you have measured and cut your plywood for the hurricane season, find a safe place to store it for future alerts. Hurricanes come every year, so reusing your plywood boards makes sense.
Knowing how to board a window is a lot cheaper than reglazing after a force-10 storm takes out all your glass.