When measuring windows, accuracy is crucial. Get it wrong, even by a small amount, and your replacement windows will be too big or small. This can have a devastating effect on energy efficiency and aesthetics.
We walk you through how to measure for replacement windows and explain standard window sizes, so you get it right the first time.
Key Takeaways
- Measure windows from outside for accuracy, considering factors like warped frames and different materials.
- Differentiate between rough opening and actual window size, as rough opening includes header, sill, and vertical trimmers.
- When measuring, start with the width, then measure height and depth, taking the smallest measurement as the accurate dimension.
- Standard window sizes vary between manufacturers, so refer to their specific charts to find the appropriate size for your window opening.
Do You Measure Windows from the Inside or Outside?
You always measure for replacement windows from the outside to counteract the possibility of warped frames. Flex occurs in different materials like vinyl, metal, or wood.
Take the measurement from the brickwork or wooden openings around the frame and from below the existing sills. Measuring for blinds is different because you would use internal dimensions.
Remove any brackets for screens or mechanisms like cranks and pulleys before measuring.
Rough Opening Vs. Actual Window Size
A rough opening is the opening in the wall where the window frame sits. It is larger than the actual window size because the entire frame includes the header, sill, and vertical trimmers. All of these elements need to fit inside the rough opening gap.
How to Measure a Window for Replacement
Accurate measurements are crucial, so consider getting a professional to do the work if you doubt your skill level. Measuring for replacement windows is not the same as sizing windows for new construction projects.
New construction windows are standardized, making buying frames off the peg easier, while retrofitting windows requires many adjustments.
If you think you have what it takes to measure precisely, then here’s a handy guide.
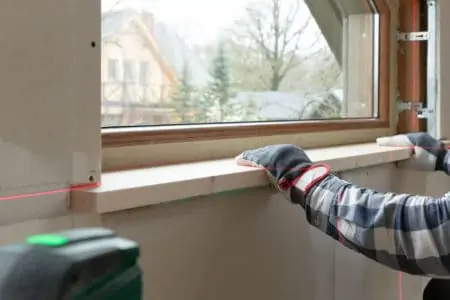
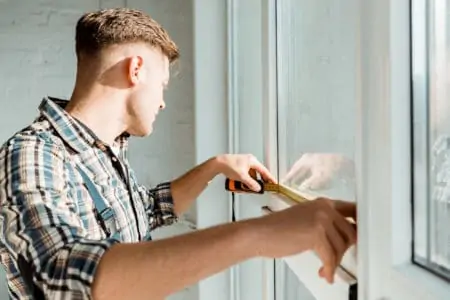
1. Measure Horizontally
Run your tape measure across the distance from one side jamb to the other from the window frame’s top, middle, and bottom. The side jamb is the vertical side of the window frame.
Make sure you take your measurement from the jamb rather than the thin trim strips in the old window opening.
Make a note of these measurements using the smallest distance as your jamb width. Here’s what we mean:
- Top distance 60.50mm
- Middle distance 60.50mm
- Bottom distance 60.25mm
You will use the bottom distance as your accurate measurements, as it has the smallest measurement.
Always list the measurements using the width first rather than the height.
2. Measure Vertically
Now repeat the same process as before, but this time concentrate on vertical measurements. The amount of reference points you use depends on the height of the window. For smaller windows, two will suffice, but three would be better for larger openings.
Measure from the window sill to the head jamb, ignoring the thin trim strip in the old window opening.
3. Measure the Depth
To get an accurate jamb depth measurement, ignore all pulleys and parting strips (a small strip of wood that separates the top and the bottom of the window). These elements will be removed when you replace the window, so they don’t need to be factored in.
To get the depth measurement, extend the tape measure across the thickness of the frame, repeating this process several times around the window.
Divide the window into top, middle, and bottom and to ensure you get equal measurements around the frame.
Standard Window Sizes
The first thing to say is there is no standard window size. Most manufacturers do have standard dimensions, but they are specific to each window company. You cannot rely on this as an industry-standard because the sizes may vary between manufacturers.
You could make your window openings match a specific manufacturer’s window dimensions for an easier experience. However, you may need to get your windows custom-made if your openings are irregular sizes.
Make A Note
Irregular window openings are more common in older homes because modern properties are built to fit a particular manufacturer’s window size.
Luckily, window manufacturers publish size numeric charts for their window sizes, so you can cross-reference your window opening to see if it matches. This window sizing process is called window size notation.
Double-Hung Window
Double-hung windows are the most common windows in use today. They increase airflow and ventilation thanks to their tilting sashes. It also makes them easier to clean, even on the second floor.
Standard sizes for double-hung windows range from 24 to 48 inches in width and 36 to 70 inches in height. Single-hung windows also follow the same dimensions.
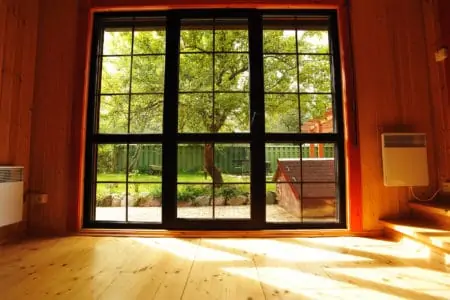
Picture Window
Picture windows provide much-needed light to parts of the home that need it but give zero ventilation. They consist of a large, fixed window pane and a low-profile frame. The purpose of a picture window is to provide unobstructed views outdoors.
Measuring for a square or rectangular picture window is easy if you follow the steps accurately. Just take vertical and horizontal measurements at the agreed reference points, and you have your size guide.
For irregular-shaped picture windows, it is probably a good idea to call in a professional. Picture windows range in size, from 24 to 96 inches in width and 12 to 96 inches in height.
Sliding Window
Sliding windows come in a two or three-panel style with one or two sliding panes. Sliding windows range in size from 36 to 84 inches in width and 12 to 24 inches in height.
Sliding windows are great for small openings like bathrooms and for taking advantage of panoramic views.
Awning Window
Awning windows typically operate with a crank handle to pivot the window open like an awning. Awning windows are narrower than other styles, making them better for low-level installation, where they are easily accessible.
These windows can be left open when it rains because the window acts just like an awning, hence the name. Standard awning windows range from 12 to 30 inches in width and 12 to 24 inches in height.
Bay Window
Bay windows capture light better than other types of windows because the panes face three angles. They can consist of double-hung, casement, or fixed windows. Bay windows that open to allow ventilation are the preferred choice in kitchens and bathrooms.
They are typically made up of three sections, known as sashes, but this depends on the size and angle of the window. The middle sash is usually half the width of the entire bay, and the two side sashes make up the remaining quarters.
Three sash bays have a width of 36 to 72 inches for the middle sash and 18 to 30 inches for the side sashes.
Height or Width First?
You should always start with the width of the window before measuring the length. Measuring the length and width first varies between different applications. You would use length first when laying pipework or judging distance.
FAQs

Does Window Size Include Frame?
Vinyl or aluminum windows include the glass and the full frame. But for wood windows, it only includes the glass measurement. For this reason, you get a wider expanse of glass in a three-foot wooden window compared to a three-foot vinyl window.

What is the Standard Thickness of Window Glass?
The standard glass thickness is 0.094 inches for single-strength windows, while the standard for double-strength glass is 0.125 inches.

How Do You Write Down Window Measurements?
Always start with the window’s width, measuring across the span from the top, middle, bottom. The smallest measurement is the one you use. Repeat this process for the height.
Work That Window
Ever heard the saying “measure twice, fit once?” When it comes to window dimensions, measure three times to be super-accurate. Even the most minor errors risk the windows not fitting correctly, which leads to heat loss and increased energy bills.
That said, get it right, and your new windows will enhance the aesthetics of your home and possibly even increase the value.