When cleaning your home, it is easy to forget about your kitchen and bathroom tiles. However, tiles frequently come into contact with water, particularly in bathrooms, which can lead to buildups of dirt, limescale, and mineral deposits.
Tiles require special care, as some cleaners can erode their finish or scratch them. If you haven’t cleaned them before, it can be difficult to find the right balance between removing dirt effectively and protecting them.
In this article, we will explore how to remove hard water stains from tiles, including both natural and chemical cleaners. These will help you keep your tiles looking as good as new.
Key Takeaways
- Use vinegar and baking soda: Mix equal parts white vinegar and baking soda to create a paste that can be applied to tiles to remove hard water stains.
- Try a vinegar soak: Pour white vinegar onto the stained area or soak a cloth in vinegar and place it on the stain for five to ten minutes to break down mineral deposits.
- Consider hydrochloric acid: Use a commercial product containing hydrochloric acid, like ZEP Grout Cleaner and Brightener, to clean tiles, but follow the instructions carefully and wear protective gear.
- Use a micro-abrasive cleaner: Apply a micro-abrasive cleaning product, such as Bon Ami, to the affected area and rub it gently with a damp cloth or sponge to remove stains.
What Causes Hard Water Stains?
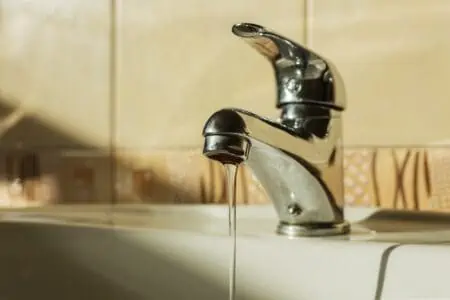
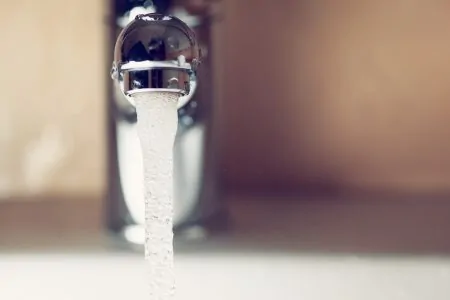
If you live in an area with hard water, you might notice a few telltale signs around your home. Common symptoms of hard water include reduced water flow, limescale build-up, and cloudy stains on glass objects (1).
As you wash your floors or take showers, residual water left on the tiles will gradually evaporate, leaving behind calcium and magnesium spots (2). In time, these spots can accumulate and harden, becoming more difficult to remove.
Common areas for these deposits are tile floors and walls, and the area around your shower or bath drain. These marks might not be obvious on white tiles but the contrast of white stains on black tiles makes them very unsightly.
Vinegar and Baking Soda
White vinegar and baking soda provide an excellent option to get hard water stains off tiles. As they are natural, they won’t leave marks or damage the finish, and you might already have them in your kitchen.
1. Make a Paste
Start by mixing equal amounts of white vinegar and baking soda in a bowl or container. The resulting mixture is mildly abrasive and should quickly remove hard water stains.
This powerful combination is often used to clear drains of mineral buildup. When the two substances react with each other, they exchange molecules and create carbon dioxide bubbles that lift and dissolve mineral deposits (3). The abrasiveness of baking soda also means it physically loosens mineral deposits on grout and tiles when rubbed against them.
2. Apply
After mixing the combo thoroughly, smear the paste on the affected area — you might need to make multiple batches if you don’t have enough to clean it all.
Leave the paste to work for about 10 minutes, then scrub the tiles and grout with a sponge or brush. Use a circular motion as this will help to loosen the buildup. The mixture means you shouldn’t need to apply too much pressure.
3. Rinse
Rinse the entire area with clean water to remove the paste. Finish the process by wiping away any excess water using a clean cloth or towel — you can also use a squeegee. It is essential to remove the excess water so it won’t cause further hard water stains.
Vinegar Soak
Applying white vinegar is a natural, reliable way to clean hard water stains from tiles. This method is more effective on floor tiles than wall tiles, as pure vinegar will run off vertical surfaces. If you are cleaning wall tiles, you should use a paste instead as it will stick to the wall.
1. Soak the Area
Start by soaking the stain in white vinegar, pouring a generous amount onto the affected area. The natural acidity of the vinegar will cut through the mineral deposits, breaking them apart and making them easier to wipe away.
You can also soak a cloth in vinegar and then place it on the stained area. This will ensure the vinegar stays where you apply it, making it an effective way to tackle particularly stubborn stains.
2. Allow to Sit
Leave the vinegar to work for five to ten minutes so it has time to break apart the deposits and stains. If you used a vinegar-soaked cloth, remove it now. In any case, rub the area with a wet sponge, then rinse it with clean water.
3. Wipe and Dry
Wipe the area with a clean, dry cloth to remove any excess water. If you don’t do this, the water you leave might simply replace the marks with new marks.
Hydrochloric Acid
Think carefully before you use hydrochloric acid to remove calcium deposits from tiles and be sure to follow the instructions carefully. If your tiles have a pattern or a special finish, using strong acid or failing to remove the cleaner properly could cause permanent damage to them. Avoid using acidic cleaners on natural stone tiles.
1. Find a Product
Hydrochloric acid is highly abrasive and should be handled with care (4). Your safest option is to find a commercial product containing acid instead of mixing your own concentrate, as it will be less hazardous. An effective product is ZEP Grout Cleaner and Brightener.
2. Follow the Instructions and Apply
Read the product’s instructions carefully to ensure you use it as intended. Hydrochloric acid can damage both grout and tiles if used incorrectly, so take the time to familiarize yourself with the process.
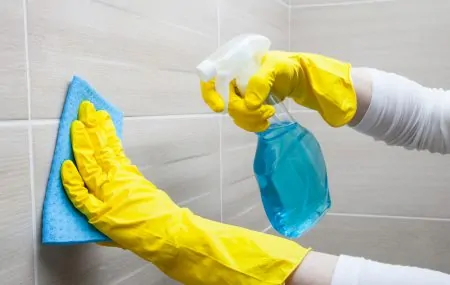
Dilute the product as instructed or spray it directly onto the affected area if using a prediluted formula. Leave the product on the tiles for as long as recommended, then rub the area with a sponge.
Stay Safe
3. Rinse
Rinse the area thoroughly with clean water to ensure there is no acid left on the tiles or grout. This is particularly important with acidic cleaners, as they could damage your tiles if left on for too long.
Complete the process by wiping the tiles and grout with a clean, dry cloth. This will remove any water left by the rinsing and means you won’t leave any new marks.
Micro-Abrasive Cleaner
For this method, you will need a micro-abrasive cleaning product, such as Bon Ami. This is a mildly abrasive powder that can be used on kitchen surfaces and tiles, so you can apply it with confidence.
1. Make a Paste and Apply
Read the instructions and mix the micro-abrasive cleaning powder with the appropriate amount of water to create a paste. Apply the paste to the affected area and allow it to work for about 15 minutes.
2. Rub the Area
Use a damp cloth or sponge to rub the area and remove the stains. If the stains are only mild, you can simply sprinkle the powder on directly and rub the area with a damp sponge or cloth.
3. Rinse and Dry
Rinse the paste or powder off with clean water. Complete the process by wiping the area dry with a clean cloth to remove any remaining water. This will ensure that you don’t inadvertently create any new marks or stains.
Tips and Tricks
Removing hard water stains shouldn’t be a complicated process. However, as with any other stain, it is important to act before the issue becomes worse. Here are a few tips to help keep your tiles looking pristine:
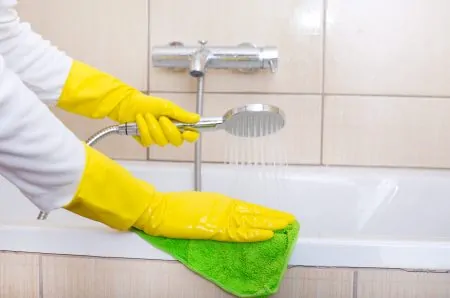
- Prevent stains: Unsurprisingly, the best way to tackle hard water stains is to prevent them from occurring in the first place. After taking a shower or cleaning your bathroom, simply rinse the tiles with clean water and dry them with a clean towel or cloth. This will remove the minerals contained in the hard water, preventing fresh marks.
- Use lemon juice: Acid is very effective at cutting through limescale and mineral buildup. Lemon juice is a great natural alternative to strong vinegar or chemical hydrochloric acid. Simply pour or rub a generous amount of lemon juice onto the area and leave it for an hour before rinsing.
- Natural stone tiles: When cleaning natural stone tiles, you must avoid acidic cleaners. Acid can damage and etch the surface of the stone. Use a neutral detergent instead and scrub the tiles gently with a soft brush (6).
FAQs

Are Water Stains on Tiles Permanent?
Water stains on tiles are not permanent. There are ways to get rid of them, using store-bought solutions or homemade cleaning products.

Does Vinegar Damage Porcelain Tiles?
Vinegar does not damage porcelain tiles if you use it correctly.
Even if a completely non-hazardous, all-natural, and vegan-friendly cleaner is the best choice for your home’s flooring, you still need to exercise caution when applying it.
This is because prolonged contact with concentrated vinegar can potentially remove the glaze off your porcelain. Because of this, it will be more susceptible to damage and appear to have been used more.
However, as long as it is used correctly, it is an excellent method for cutting through filth and grime. It even has anti-bacterial properties, making it an excellent choice for giving your floors a comprehensive cleaning!
This is an excellent alternative to store-bought cleansers to use in your house if you want to lower or eliminate the use of chemicals.

Does CLR Damage Ceramic Tiles?
According to the manufacturer, CLR is safe for ceramic tile, porcelain, caulk, bathtub, sinks, etc. You want to avoid using it on wall coverings, fabrics, wool, plastic laminate, and natural stone.

Does Baking Soda Damage Grout?
Baking soda is an awesome solution to clean grout without damaging it. Apply a paste made from water and baking soda to the grout lines. Spray vinegar on top, but only if the grout was previously sealed.
After the foaming action of the combination has ceased, clean the area with a brush, then rinse it with plain water and pat it dry. Scrub very well after applying merely the baking soda solution to grout that has not been sealed or that has to be resealed.

What Is the Best Cleaning Solution for Ceramic Tile Floors?
White vinegar is the most effective tile cleaning, especially for shower tiles. Remember that while vinegar works for glazed ceramic tiles, you should avoid using it on natural stone.
Apply to the tiles a solution consisting of white vinegar and water mixed in a spray bottle to a ratio of 50/50.
Stains Be Gone
Hard water stains and calcium buildup on tiles and grout can be frustrating to deal with, especially if they are severe or have had time to solidify. The severity of these deposits will depend on the mineral content of your water, with very hard water creating marks and stains far more quickly
The sooner you clean the area, the better. Acidic cleaners are among the most effective products you can use on hard water stains. However, they must not be used on natural stone tiles such as marble and travertine.
White vinegar will be sufficient to remove most hard water stains, and its mild acidity means it won’t damage your tiles. Always remember to rinse your tiles and rub them dry after taking a shower or cleaning your bathroom, as this will prevent more mineral deposits from forming.