Knowing how to get a high gloss finish on wood makes your furniture stand out, enhancing the natural beauty of the wood. Many techniques make wood shiny, but getting it right takes patience, knowledge, and effort.
We show you how to achieve a glossy finish in easy steps and offer hints and tips for the best results.
Key Takeaways
- A high gloss finish on wood reflects light and creates a glass-like sheen, enhancing the natural beauty of the wood.
- Methods to achieve a high gloss finish include using polyurethane gloss, lacquer, shellac, and varnish. Each method varies in effort, durability, and drying time.
- Proper surface preparation, filling grain pores, and applying the finish in thin layers are essential for a smooth and glossy result.
- Buffing the wood by hand with pumice and rottenstone, as well as following expert tips, can help achieve a shiny mirror finish on wood surfaces.
What Is a High Gloss Finish?
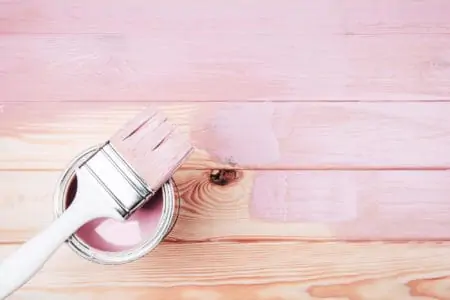
A high gloss finish is when the surface of your wood reflects light, with a sheen that looks like glass. The pinnacle of high gloss finishing is French polishing, which involves applying many layers of shellac dissolved in alcohol.
A cotton or wool cloth is then used to buff the surface until it shines.
Best High Gloss Finish for Wood
There are several methods to achieve a high gloss finish on your woodwork, but which is the best? Some require more effort than others, and some last longer and are more durable.
Polyurethane Gloss
Polyurethane gloss contains urethane polymers instead of the chemical version of urethane, making it safer to use. Urethane is toxic if inhaled or absorbed through the skin. The polymers in polyurethane (polyethers and polyesters) dry to a high sheen and protect the wood.
There are three polyurethane finishes: high gloss, semi-gloss, and satin. High gloss is typically used in industrial applications to coat metal, newly poured concrete, and some masonry.
Semi-gloss is usually applied to furniture, flooring, and other woodwork, and typically dries in 24 hours. Satin offers a more subtle finish with a softer sheen.
Lacquer
Lacquer gets its name from the medieval Latin word “lacca,” which means “resinous substance.” It comes in several sheens ranging from matte to high gloss.
Modern lacquer dries by evaporating solvent to leave a hard, smooth shell with a mirror-like finish.
Solvents are bad for the environment because they emit low-level ozone as the lacquer dries.
Lacquer originated in South Asia, but it’s the French who are world-famous for their French polishing technique. In the 19th century, it was all the rage in wealthy homes to have highly polished furniture.
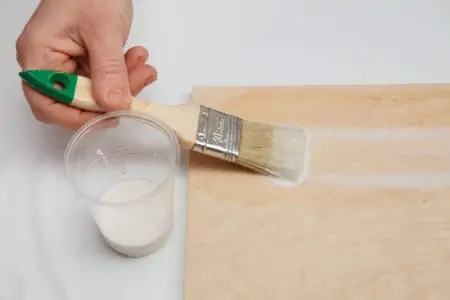
Shellac
Shellac is another form of lacquer, and it shares the same history. Originally, shellac got its resinous qualities from secretions from the Lac insect, but modern shellacs use synthetic methods to achieve the same gloss finish.
In the US, shellac had its heyday in the mid 20th century. However, it has had a resurgence in recent times as people strive to achieve a vintage feel to their furniture. Shellac gives your furniture a honey-like color.
Varnish
Varnish covers your woodwork in a clear, protective coating that dries to a hard shell. Varnish contains solvents, oils, resin, and a metal drier that accelerates the drying process. The solvent acts as the vehicle to spread the varnish but evaporates as it dries.
This evaporation releases low-level ozone, which is harmful to the environment.
When working indoors, open the windows to ventilate the area because varnish has a strong odor.
Varnish is suitable for baseboards, trim, flooring, and furniture.
How to Get a High Gloss Finish on Wood
Before we get into the details, you will need to gather the correct tools and materials for the best result. Organization is the best friend of efficiency; plus, it reduces the chances of you making errors.
What You’ll Need
- Sanding block.
- Wet and Dry sandpaper (220, 800, 1,200, and 1,500-grit).
- Pumice and rottenstone.
- Felt block.
- Paraffin oil.
- Plastic putty knife.
- Wood filler.
- Non-woven abrasive pads.
- Varnish.
- Paintbrush.
- Mineral spirits.
- Shop-vac.
- Tack cloths.
- Clean rags.
Safety Precautions
Important Note
Chemicals like varnish and mineral spirits are dangerous, so your safety is paramount. These products have pungent odors that can easily overpower you, leaving you with stinging eyes and breathing difficulties.
Wear a face mask to reduce the chances of inhaling toxic fumes and goggles to protect your eyes.Also, protect your hands by wearing safety gloves and open windows and doors to get maximum airflow when working on interior surfaces.
Prepare the Surface
Preparation is one of the most important stages to achieving that smooth finish. A high gloss surface reveals every minor imperfection. You could use an orbital sander, but that often leaves swirl marks on flat surfaces, so it is better to do it by hand.
1. Remove Imperfections
Grab the sanding block and use 220-grit sandpaper. Work the block across the surface, taking care not to apply too much pressure.
If you sand too vigorously, you create divots and ridges. It’s better to work methodically, removing smaller amounts with each sweep of the sandpaper.
2. Inspect the Surface
Grab the shop-vac to remove the larger sawdust and use the tack cloths for the finer particles. Soak a rag in mineral spirits and wipe down the surface to reveal any sanding marks.
Placing a light behind or above the surface will highlight ridges.
Fill the Grain Pores
Some woods, like mahogany and oak, are open-grained, so getting that professional finish requires wood filler to close the pores.
Wood paste fillers are a mixture of solvents and bulking agents like silica, and they come in a variety of shades to match your wood type. You can get water and oil-based wood paste filler.
Oil-based fillers take longer to dry than waterborne products.
1. Cover the Surface
Using the plastic putty knife, smear the wood filler over the surface of your object. The trick is to push it into the open pores and not drag it out when you scrape off the excess.
Load the putty knife with the filler and slowly drag it across the grain, keeping the blade flat.
Work the filler against the wood grain to ensure the pores are filled with the maximum amount of wood paste.
2. Scrape Off Excess Filler
When the surface is covered, use the same putty knife to work diagonally to scrape off the excess filler.
Finally, use a non-woven abrasive pad, like these Mercer Industries Industrial Strength Pads, to remove the final remnants of the filler.
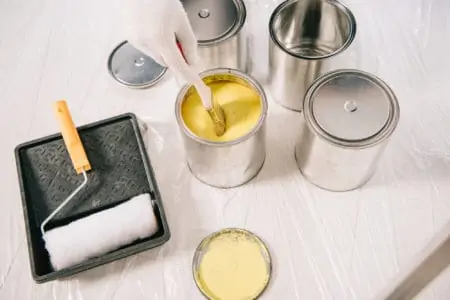
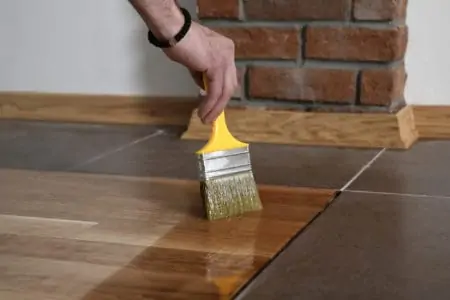
Apply the Finish
The two most popular choices of finish are brushing lacquer and varnish. Both give similar results, so which you choose is down to personal preference. You are trying to achieve a thick film that allows you to polish it without touching the wood grain.
The only variation between the two is the drying times. Lacquer dries faster, which removes the risk of dust settling on the wet surface. It also means you can lay down several layers in a single day.
1. Sand Between Coats
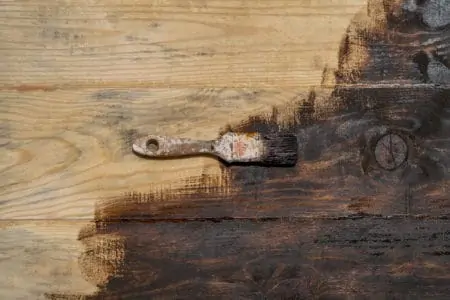
When using varnish, you need to sand between coats to get that super-smooth surface. You don’t need to do this when using lacquer. However, you only need four coats of varnish to eight coats of lacquer. Use fine-grade sandpaper to achieve this.
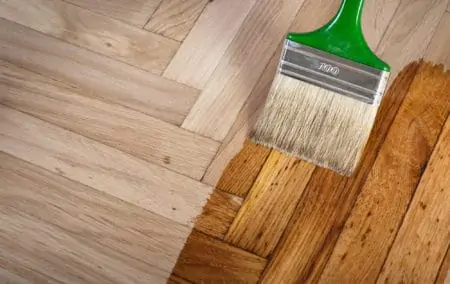
A high-quality paintbrush is the best way to apply the finish. Work with the wood grain, in long strokes, working from top to bottom. Each layer should be thin to build up the thickness gradually.
It can take up to a week before your varnished surface is ready to be polished.
2. Flatten the Surface
After the final layer has cured, grab the sanding block and wrap it in Wet and Dry 800-grit sandpaper. When varnishing, use water as a lubricant and gently work the surface to remove blemishes and dents. For lacquer, mineral spirits make an excellent lubricant.
Work in small circles flattening as you go. The lubricant will help disperse the dust, and the surface will wipe clean.
At this stage, the surface will appear dull and non-reflective. This is normal, as it can be buffed and polished.
3. Use Fine-Grade Sandpaper
Once you are satisfied the surface is flat, swap the 800-grit paper to 1,200-grit and work in small circles. Then once you’ve covered the entire surface, switch to 1,500-grit sandpaper and repeat the process until you have a consistent sheen.
Buff the Wood By Hand
Now comes the fun part. It’s time to buff the surface so that it shines. This takes a little patience and elbow grease, but the results are satisfying.
1. Use a Pumice
Add a tiny pool of paraffin oil and work the pumice with a felt block in small circles to create a paste of the consistency of oil. You want a light touch, so don’t apply too much pressure. The key to success is to use a consistent number of circular strokes across the entire surface.
If the paste gets too thick, add a few more drops of the paraffin oil to loosen it. When you have a semi-gloss finish, wipe the surface clean and inspect your work for smoothness and consistency.
Pumice comes in different particle sizes, and since you’ve already used 1,500-grit sandpaper, you can start with a 4F pumice.
2. Use Rottenstone
Rottenstone is even finer than pumice. The trick is to work slowly and resist the temptation to rush the job. It applies in precisely the same way as pumice, by adding a couple of drops of paraffin oil to the mix and working in small circles.
The surface needs to be perfectly clean before you begin because if any pumice particles remain, they will scratch the surface. Swap to a new felt block to avoid this.
Check your progress at regular intervals by wiping the surface clean. Eventually, you should see your reflection smiling back as it starts to shine.If you are satisfied, wipe the surface clean and buff until it is smear-free.
Tips for a Shiny Mirror Finish
Getting that clear gloss finish is satisfying and well worth the effort, but surely there must be easier ways to achieve it? We bring you all the tips you need for the very best results.
Use Micro-Mesh
Micro-mesh is like sandpaper; only the abrasive material is mixed with rubber to encourage better abrasive contact. It comes in 1,200 to 12,000-grit, so you are guaranteed a high gloss finish.
Top Tip
The key to a high gloss finish is to start with an abrasive and work up to ever finer grades. To start, use anything above 1,500-grit.
Use Car Polish
Car polish has an abrasive quality that freshens dulled paintwork without visibly scratching the surface. The fine abrasives are mixed in a liquid solution, so it is easier to apply with felt pads or a hand cloth.
Don’t Skip the Preparation
You might be tempted to skip the preparation stage because you are desperate to get to the fun part. The more effort you invest in getting the wood smooth and ridge-free, the better the outcome.
Keep Pets Out of the Room
It’s lovely getting attention from our four-legged friends, but the last thing you want is stray pet hair resting on your newly polished surface. When performing any kind of DIY, keep them out of the room until your project is completed.
How Long Does it Take to Get a Glossy Finish?
The process is a lot faster if you use lacquer because it has a quicker drying time. Getting a high gloss finish takes several days because you need to wait for the layers to dry before sanding.
You should apply a minimum of four layers of varnish and eight layers of lacquer, so you can see why it would take so long.
FAQs

Should I Sand Between Coats of High Gloss Paint?
You should sand between coats of gloss paint and also between each layer of primer. Start with medium-grit sandpaper and as you work towards the topcoat, use a finer grade paper to get an ultra-smooth finish.

How Do I Smooth Wood Without Sanding?
The easiest way to smooth wood without sanding is to use a liquid deglosser. Or, if you prefer a more natural method, use ground corn cobs or walnut shells, products typically used in shooting.
However, the fine powder from these crushed natural ingredients works wonders on your wooden surfaces when used as an abrasive like pumice.

What is the Fastest Way to Sand Wood By Hand?
One of the fastest ways to sand wood by hand is to use a sanding block. It gives you a better grip, is perfect for flat surfaces, and it protects your knuckles from cuts and splinters.

Do You Have to Sand Before Using Gel Stain?
If you want the smoothest surfaces, sanding is always recommended. However, you are only looking to remove the shiny surface to give the gel stain something to adhere to. A 320-grit sandpaper should do the trick.

Why is My Varnish Bubbling?
Three things will make your varnish bubble: moisture, dust, and air. The solvents and drying agents react, causing the solvent to evaporate under the surface of the varnish, which creates bubbles.

Does Polyurethane Make Wood Waterproof?
Nothing makes your wood waterproof, but polyurethane does make it water-resistant.

Do You Need a Top Coat Over a High Gloss Finish?
You don’t need a top coat over a high gloss finish unless you are using gloss paint. Varnish and lacquer are high gloss and typically clear, although you can apply varnish after staining as a protective topcoat.
Boss the Gloss
Few things are as classy as high-gloss surfaces. Highly polished woodwork looks luxurious, and the color and patternation of the grain really pop. But now you know how to get that high-end look in your home; the trick is to keep it looking good.
It is worth the effort, not least because you will protect your prize pieces of furniture for years to come.