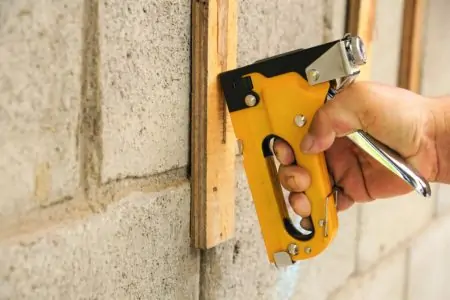
Staple guns are essential tools that speed up your work rate to help you get the job done. However, getting the project completed is only part of the story, with the other half being about safety.
Knowing how to use a staple gun improves your efficiency and the quality of your work. So, what are the best techniques? Let’s find out.
Key Takeaways
- Know your staple gun type: manual, electric, or pneumatic, and learn how to load and use each one safely.
- Always wear appropriate safety equipment, such as goggles, gloves, and ear defenders for pneumatic guns.
- Practice on scrap material to improve your technique and get a feel for how the staple gun handles.
- Follow safe practices, such as transporting the gun safely, unloading it when not in use, and using the correct staples for your project.
What You Need
As with all DIY tasks, personal safety should be at the forefront of your mind. Think of the staple gun as a dangerous tool and get the right PPE. So what do you need?
- Goggles.
- Ear defenders.
- Gloves.
- New fasteners.
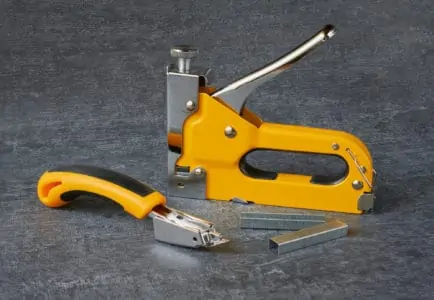
- Staple remover.
How To Use a Staple Gun
The techniques vary depending on the type of staple gun you own. Essentially, there are 3 staple guns on offer.
Loading and Using a Manual Staple Gun
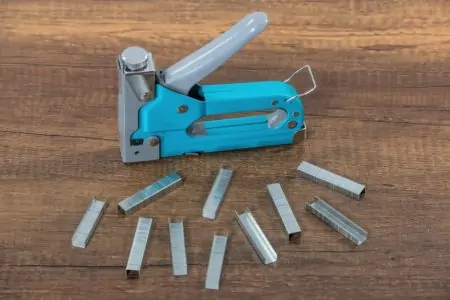
Loading a manual staple gun is straightforward enough. Locate the 2 indentations at the rear of the shaft. Press them in using your thumb and forefinger. Release the clip on the end of the magazine chamber, push the rod in, and then withdraw it.
Remove the push rod entirely, revealing the empty magazine chamber. Load the staples into the channel, making sure the crown faces upwards and the legs slot into the grooves on either side.
Push the line of fasteners until they reach the end where the firing mechanism is located. Grab the push rod and insert it into the chamber. Now secure the clip at the rear to hold it in place.
Put on your goggles and gloves to protect you from ricochets. Make sure the safety clip is off, releasing the handle. Grab it firmly in your dominant hand, gripping the stapler with your palm resting on the handle.
Touch the nozzle of the staple gun onto the surface of your project and press down, using steady pressure.
The staple will fire, and you might experience a little kickback. After the first couple of attempts, you will get a feel for how the gun reacts, and you will improve your technique. You can also adjust the pressure applied to the fastener by twisting the knob on the top of the gun.
Loading and Using an Electric Staple Gun
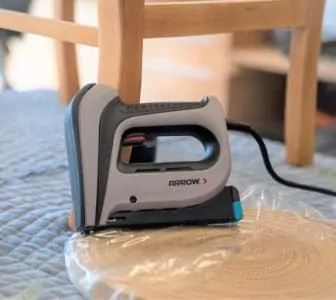
Make sure you unplug electric staple guns before loading. Locate the 2 indentations at the rear of the gun and depress them using your thumb and forefinger. As the magazine releases, pull it out.
Insert the new strip of fasteners, making sure the legs face downwards. Hold them in place with your hand while you clip in the magazine to lock them in place.
Put on your safety equipment first, and then plug the stapler into the power supply. Hold the base of the staple gun flat against your project surface, making sure you hold the gun using steady pressure.
Use your free hand to press down on the gun to reduce instances of recoil. If you have a trigger nose, push down, and the fastener releases automatically, but if you have a trigger-activated model, pull the trigger, and the staple fires.
If you have a pressure knob, you can adjust it to accommodate for different materials and tasks. For example, laying electrical cables requires that the fastener only pushes halfway in, so getting the pressure set right is crucial.
Loading and Using a Pneumatic Staple Gun
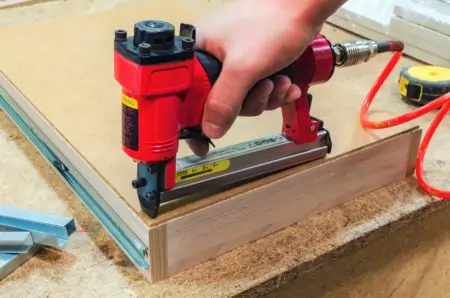
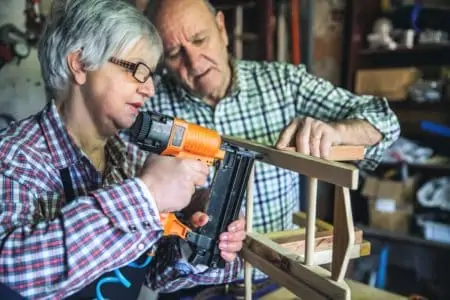
Loading a pneumatic staple gun involves disconnecting the hose from the air compressor. Next, push the lever at the front of the gun to release the follower and slide it out until it snaps into position.
You should now have an empty chamber. Grab a strip of fasteners and insert them into the channel with the legs facing down and touching either side of the wall. Push the strip along until it reaches the end of the chamber.
Release the lever that allows the follower to slide back into position. Make sure it snaps in place to secure the staples. It should do this automatically, but if it doesn’t, give it a gentle tap.
Connect the tool to the air hose and switch on the compressor. Put on your safety gear, making sure you use your ear defenders because air compressors are noisy. The technique is the same as using an electric gun.
Place the nozzle against the flat surface, and with your free hand, press down to suppress any recoils. Squeeze the trigger, and the air rushes through the air hose from the compressor, powering the tool to drive the staple into the material.
Many pneumatic staple guns have an adjustable trigger that allows you to adapt the speed that the fastener fires, making it easier to carry out different applications.
Tips for Using a Staple Gun Safely
There are safe practices when handling and using a staple gun, so let’s see some of those top tips to keep injuries at bay.
Transport It Safely
When you carry the staple gun to the project, always make sure the gun faces downward and away from the body. Keep your finger away from the trigger and engage the safety lock if you have one.
Keep the Gun Unloaded
When you store the gun, take out the fasteners. It prevents the gun from causing injury should it fall into the wrong hands.
Careful Where You Point It
Don’t point your staple gun at anyone or yourself. Misfires do happen, and a staple gun can do a lot of damage.
Get To Know Your Staples
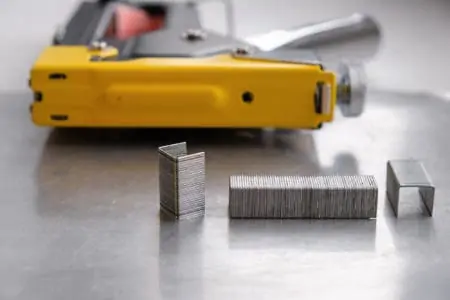
Load your staple gun with the correct staples for the application. Firing the wrong fastener could cause ricochets and increase the chances of recoil.
Practice Makes Perfect
Grab a scrap piece of wood and practice firing staples. You learn how well the stapler handles and you can improve your technique before moving onto your actual project.
FAQs
How Do You Adjust a Staple Gun?
Most staple guns have a pressure adjusting knob on the top that you twist to increase or decrease the pressure applied to the fastener. It means you can set a depth that the staple embeds into the material.
Some electric guns have a setting lever that allows you to fine-tune the adjustments for increased control, while pneumatic models typically have triggers with variable control.
How Do You Fix a Stapler That Won’t Open?
If the stapler jams, a paperclip is ideal to try and pick out the blockage. Also, try pulling the fastener out with some small-nose pliers to free the nozzle.
Why Does My Stapler Keep Jamming?
It could be you are using incompatible staples for the gun. Some models stipulate which staples are suitable. You may also be using a cheaper type of fastener that bends and crumples under pressure, causing it to wedge and jam.
The final reason could be you are using the wrong staples for the project material.
How Do You Fix a Stapler That Won’t Staple?
The trusty paperclip comes in handy again. There is a blockage, and inserting a straightened paperclip might dislodge the offending staple. Alternatively, give the staple gun a few sharp whacks on the heel of your shoe or another firm object to dislodge the blockage.

How To Clean a Staple Gun?
Regular maintenance increases the usable life of the stapler. Manual models need the least attention. Ensure the magazine is free of blockages and give the handle a spray of lubricant periodically.
Electric and pneumatic guns need more love and care. Ensure you use a rag to remove dust and debris while oiling the working parts regularly. Pneumatic tools need lubricating daily.

Will a Staple Gun Go Through Wood?
A staple gun will go through wood, as long as you choose one that is suitable. Look at the manufacturer’s information to get a guide on what it will do. Surprisingly, manual staple guns are among the best at firing into the wood.

Can You Put Normal Staples In a Staple Gun?
You can’t use normal staples in a staple gun because they are not powerful enough to penetrate the material. For instance, a paper staple isn’t heavy-duty enough to go into a piece of wood without breaking.
Consider the different staple sizes suitable for different applications if you have a staple gun. Remember that staples are classified based on gauge, leg length, and crown size.

Why Won’t the Staples Come Out of My Staple Gun?
The unit is most likely jammed if no staples are coming out of your staple gun. This happens when you have a stray staple bent or broken or just in a weird position enough to jam the entire mechanism.
Since staple guns are available in different models, you need to know how to troubleshoot a jammed gun based on your own specific model. For the most part, unjamming a staple gun is as easy as pulling out the pushing rod and seeing which stapler is causing the problem.

What Kind of Staple Gun Do You Use for Carpets?
If you are installing a new carpet, you will need two types of staple guns: for the tack strip and the seams. A hammer tacker is the best choice for attaching carpet padding.
Electric staplers, even though power equipment will invariably be simpler to use than anything that can be done by hand, are cumbersome and unwieldy when utilized in confined places.
When installing carpet padding, you will unquestionably require a hammer tacker due to its exceptional capability of fitting into tighter locations. The use of hammer tackers does not need the use of electrical wires.

What Kind of Staple Gun Is Best for Upholstery?
Pneumatic stapler guns are the best choices for upholstery. Both manual and electric staplers are not ideal for use on upholstery because of their design limitations.
They don’t drive staples into the wood, which is necessary to ensure a strong hold. Therefore, either your cloth will not stay in place, or you will need to use a hammer to drive the staples into the wood.

What is the Difference Between a Tacker and a Staple Gun?
A tacker is a tool that combines the power of a staple gun with that of a hammer. When you use a staple gun, you press a trigger that drives a high-power staple into a given material. Tackers are usually more potent than stapler guns, whereas staple guns are better for smaller jobs.
With stapler guns, you need both hands to work on your project. One hand is for holding the stapler, and the other is for securing the stapled material.
Have Fun With a Staple Gun
Learning how to use a staple gun safely is paramount if you want to avoid a trip to the emergency room, so getting to know the best techniques could be a life-saver.
Staple guns are immensely useful. They speed the fastening process, increasing your versatility and productivity. If you are working on an upholstery task, attaching trim inside and outside, or insulating the roof space, a staple gun is the best tool.