Hardwood floor refinishing is hard work. Thankfully there are tools that make it a lot easier. Hiring a professional could ramp up the costs, so doing it yourself is the cost-conscious option.
We show you how to refinish a hardwood floor using an orbital sander.
Key Takeaways
- Choose an orbital sander for DIY hardwood floor refinishing as it’s user-friendly and leaves fewer swirl marks.
- Prepare the floor by clearing the room, checking for rough spots, and wearing personal protective equipment.
- Select the appropriate sandpaper grits – start with coarse grit for initial sanding and finish with finer grits for a smooth result.
- Sand the floor in straight lines, overlapping each pass, and clean up dust between grit changes for the best outcome.
When Should I Use an Orbital Sander?
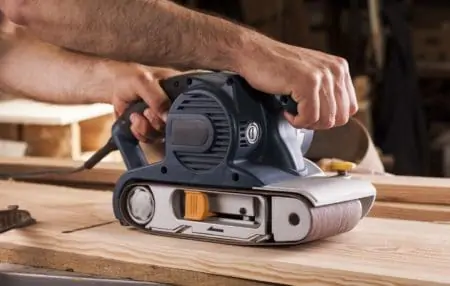
Orbital sanders are a perfect tool to use when you want to DIY a hardwood floor. They leave fewer swirl marks, remove rough surfaces, and require minimal experience. The traditional way would be to hire a drum sander, but they can be expensive and require a degree of expertise to control them.
An orbital sander is a cheaper alternative. It removes old finishes as well as drum sanders but takes a little longer. So, remember to factor in the slower work rate.
Unlike a drum sander, where you move with the grain, an orbital sander needs no such consideration. You can work with or against the grain with little impact on the finish.
How Long Does It Take To Sand a Floor With an Orbital Sander?
Unless your floor is even and with few blemishes, an orbital sander increases the time it takes to achieve a good result by 2 or 3 times. This does depend on the size of the floor, but an average room would take 1 to 2 days using a drum sander.
Using an orbital sander increases this to between 2 and 4 days.
How To Sand Hardwood Floors With an Orbital Sander
Once you decide on the DIY route, there are some things to consider when using an orbital sander. Taking the right steps now will improve the outcome later. So, with that in mind, here is our step-by-step guide to sanding a hardwood floor with an orbital sander.
1. Prepare the Floor
Make sure the room is empty, and all blinds and drapes are removed. Sanding creates a lot of dust, which has a habit of getting everywhere. If removing them is impossible, lift them 4 feet off the ground and wrap them in plastic bags.
It might be an idea to gently run your hand across the surface first to get a feel for the roughest parts of the floor. Another idea would be to lay your head sideways and look at the floor from a ground-level perspective.
You might spot something you would otherwise have missed.
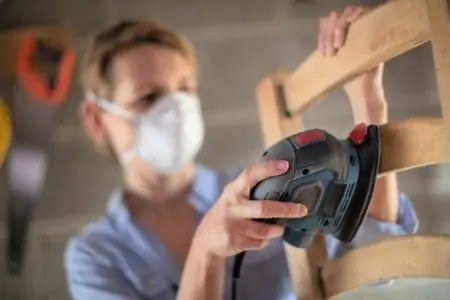
2. Think PPE
You will need goggles, a facemask, earplugs, and gloves to protect you from the noise and dust. Sanding throws a lot of debris into the air, increasing your chances of inhaling hazardous pollutants.
Also, opening windows is a great way to disperse the dust. Plus, make sure you wear appropriate clothing and think about knee pads because you will be working solidly for days on end, and that is punishing for your joints.
3. Consider the Thickness of the Floor
Most hardwood floors are a minimum of 0.75 inches thick to enable you to sand them many times. If you have a thickness less than this, you might want to call in a professional as you could do more damage than good.
4. Choose the Right Sandpaper
You will need several grit varieties when sanding the floor. The sandpaper comes in all grades, so having the choice as you work towards the final stages means you get the best possible result.
Start with a coarse grit to remove the old surface and smooth out bigger blemishes. If you have to remove paint from the floor, a coarse grit paper will remove several layers at once. Opt for a 20 or 40 grit for the best outcome.
If there is old varnish, a minimum of 36-grit will suffice. For finishing, 100-grit or above will perform the task adequately.
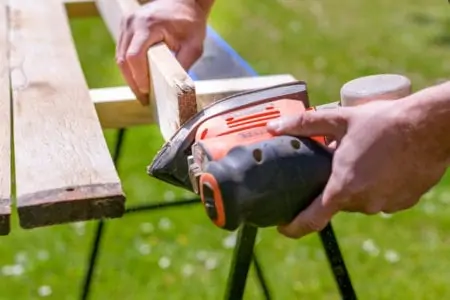
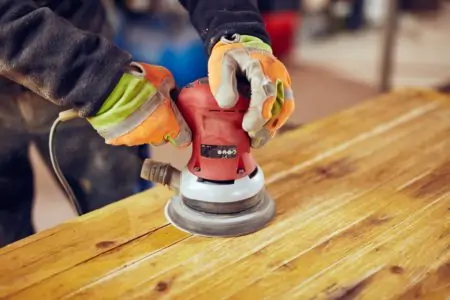
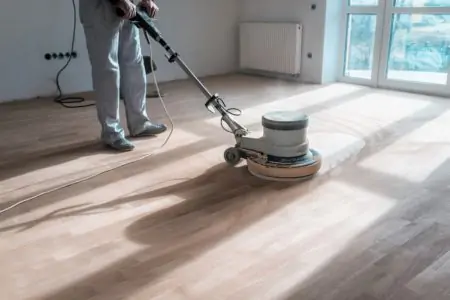
5. Sand the Floor
Move the orbital sander along in strips like mowing a lawn, overlapping the lines by half the width of the sander. Do this several times to make sure the floor is as smooth as you can get it.
Start with coarse grit for the first few sweeps, swapping to a finer grit for the finishing. Each time you change the grit, vacuum away the excess dust to stop it from affecting the way the orbital sander works and reduce the chances of marks.
Don’t forget to do the corners, although you will need sandpaper and a sanding block to do this manually.
6. Vacuum and Wipe the Dust
When you are satisfied you have the required finish, vacuum all the dust and then wipe away the residue with a damp cloth. You can also use a tack cloth but only use it once you have vacuumed first.
Once you are satisfied with the floor and you have removed every speck of dust, it’s time to move to the next phase.
7. Reseal the Floor
If you choose to leave your floor unsealed and expose the natural wood, it might look good, but it will damage quickly with footfall. Plus, footwear has a nasty habit of denting the floor, especially heels.
If you are resealing, use an oil-based polyurethane sealer for the hardest wearing surface. Wear gloves when you do this because it might irritate your skin. For areas where there is limited traffic, you might want to choose a water-based sealant.
Start at the far end of the room, working backward towards the door. Spread the sealant evenly and allow 48 to 72 hours for it to completely dry.
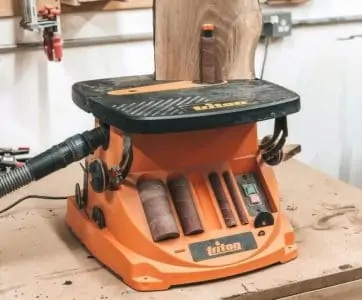
How Do You Put Sandpaper on an Orbital Sander?
Attaching the sandpaper is simple. It can be done quickly, enabling you to swap grits as you work.
First, turn the orbital sander on its side. Place it on a flat surface so you can easily reach the pad. Always do this with the sander unplugged.
Second, release the locking clamp that holds the sandpaper in place and pull the worn sandpaper free. Do the same for the other end and discard.
Third, hold the new paper to the sanding pad and line up the edge with the clamp. Insert the end, so it sits evenly, then lock it in place with the lever. Repeat this for the other end, making sure the paper is taught, and there are no kinks or sagging.
Now you are free to plug the sander in and get on with your work.
Some sanders use sanding pads that attach using either a velcro-like grip or sticky pads attached to the sander’s surface.
FAQs

Are Orbital Sanders Good for Floors?
Orbital sanders are amongst the best choices for floors. While drum sanders are usually the go-to-choice for professionals, the average DIYer is much better off using an orbital sander. Not only is it more user-friendly, but it’s also more versatile and suitable for other future projects.
The orbital sander is mainly suitable for floors if you are a beginner because it doesn’t leave as many grooves as other types of sanders would.
Oorbital sanders can be handheld tools, but a larger option is also designed specifically for floors. These floor orbital sanders are bulkier and have a handle that allows you to hold them and sand the floors without bending over.
With a floor orbital sander, you can sand hardwood floors, regardless of whether they have a coat of finish or are “bare.”

Does an Orbital Sander Leave Marks on Wood?
Orbital sanders leave marks on wood (less than other sanders), particularly swirly marks. To avoid these marks as much as possible, you must learn the right sanding technique and use the correct type of sandpaper.
When sanding wood, you want to choose a coarser grit. Gradually move onto finer grits. Don’t apply too much pressure on the sander. Your role is to guide it slowly in the right direction and let the tool do the work.

Will an Orbital Sander Remove Polyurethane?
While the primary role of orbital sanders is to remove excess material from plastic, wood, and metal surface, they can also remove polyurethane. It also removes stains and paint, helping you prepare your surface for painting.

How Much Sandpaper Do I Need for an Orbital Floor Sander?
An orbital floor sander manual should always specify how much sandpaper you need for a project.
Suppose you have a U-sand sander and want to work on a floor that’s 100 square feet. This project requires around 20 x 36/40-grit sandpaper (if your floors have Shellac), 8 x 80-grit discs, and 8 x 120-grit discs.
It may sound like a lot but remember there are multiple steps to a fine sanding job, and you have to change sandpaper grit a few times for optimal results.

Is an Orbital or Drum Sander Better for Hardwood Floors?
It depends on the condition of your hardwood floors. You need the more aggressive drum sander to restore the original smoothness of hardwood floors that have become damaged or are covered with multiple coats of finish.
These tools use a piece of sanding paper that covers a square drum. The drum spins to slide this sandpaper on the floor in an aggressive cutting action.
For mild sanding and refinishing floors that are still in good condition, an orbital sander is the right choice. Always use an orbital sander if you must sand across the wood grain. Unlike drum sanders, orbital models grind instead of cutting. The sanding action is lighter and slower.

What Is the Best Orbital Sander on the Market?
While plenty of good random orbital sanders are on the market, the Makita XOB01Z is one of the best choices. It’s a user-friendly product that’s easy to control if you have no power sanding experience but also durable enough to make it feel like a wise purchase.
The three adjustable speeds might not mean much to the inexperienced user, but once you get the gist of it and use it for more projects, you’ll appreciate this feature. For a cordless model, testers are impressed with how smooth it is.
If you’re worried about making a mess when sanding, the integrated dust bag is here to make your life easier. The 18v battery is pretty generous too. You can sand for a little over an hour on a low-speed setting.
Get the Best From Your Orbital Sander
Once you’ve decided on the DIY route for sanding your hardwood floor, it is going to take time and energy to complete. Not only do you need to prepare the floor and choose the correct sandpaper grit, but you also have to think about taking care of your safety.
Working slow and steady, in an orderly fashion, should see the task completed in 2 to 4 days, and at least you will have saved a small fortune by not calling in the professionals.