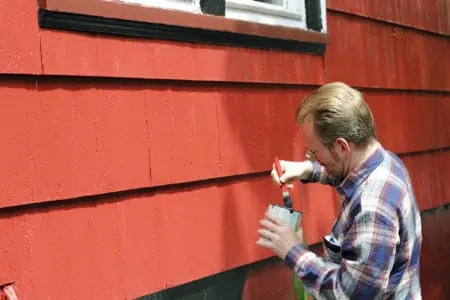
You might think that your vinyl siding is maintenance-free, but it still fades in direct sunlight. The color is mixed with the vinyl during the manufacturing process, so it should be permanent. But painting vinyl siding is the only option to bring it back to its former glory.
We show you how to paint vinyl siding and share ideas for vinyl siding colors.
Key Takeaways
- Check your vinyl siding warranty before painting.
- Choose paint containing urethane and acrylic resins for best results.
- Priming before painting is optional, depending on surface quality.
- Painting vinyl siding can extend its life for 5-10 years.
Can You Paint Vinyl Siding?
You can paint vinyl siding, but remember that once you complete the DIY project, you will need to refresh the paint every five years. Also, the durability of the paint depends on the quality of the job.
If your siding is still under warranty, check that you can paint it because it may stipulate what you can and can’t do. It may also tell you what paint to use. So to those asking the question, “can you paint vinyl siding?”, the resounding answer is yes.
Safety should be paramount if you are determined to paint your vinyl siding. It is not a task for the faint-hearted. You will need patience, nerves of steel, and a head for heights.
Take Note
If you hate heights, get a pro to complete the task.
Best Vinyl Siding Paint
Because your vinyl siding has to withstand the ravages of the weather, choosing the right paint is crucial. Don’t cut corners and buy the cheapest paint; you want it to stay looking good for as long as possible.
The paint you choose needs to contain urethane and acrylic resins to help it adhere to the siding. This KILZ Siding, Fence, and Barn Paint is the best product to use because it is specially formulated to repel water, wind, and UV sunlight.
Do You Need to Prime Vinyl Siding Before Painting?
There are pros and cons with priming and not priming. Some people prime everything regardless, while others decide based on the surface quality. It also helps to neutralize a darker color when you want to paint the siding white.
Using a stain-blocking primer prevents stains from showing through your fresh paint.
Because you are painting exterior surfaces, you want the paint to stick. Plastic siding typically bonds well with paint, but only if the surface allows it. Pitted and deteriorating surfaces as a result of weathering weaken the bond.
Primer creates a seal and a better surface for the paint to adhere to. But it may be unnecessary if the siding is in good order. In that case, paint straight onto the vinyl.
How to Paint Vinyl Siding
So, you’ve finally decided that your faded siding has annoyed you for long enough. Today’s the day that it gets a new coat of paint. Before you dive right in, don’t forget to do the prep work, including gathering the right tools.
What You’ll Need
- Garden hose with spray nozzle attachment.
- Pressure washer.
- Bucket.
- Rags.
- Soft-bristled brush.
- Paint roller with a half-inch nap.
- Paint sprayer (optional).
- Paintbrushes.
- Extendable ladder.
- Detergent.
- General-purpose cleaning powder.
- Oxygen bleach.
- Painter’s tape.
- Plastic sheeting.
1. Mix the Cleaning Agents
Before you do anything, grab your cell phone and take a before and after photo so that you can see the difference when you complete the project.
Pour one-third of a cup of powdered detergent into the bucket. Add in two-thirds of a cup of general-purpose household cleaner, like this Spic and Span detergent. Next, add two-thirds of a cup of oxygen bleach (like OxiClean) for every gallon of warm water.
Mix the solution well until the powder has dissolved.
2. Spray the Siding
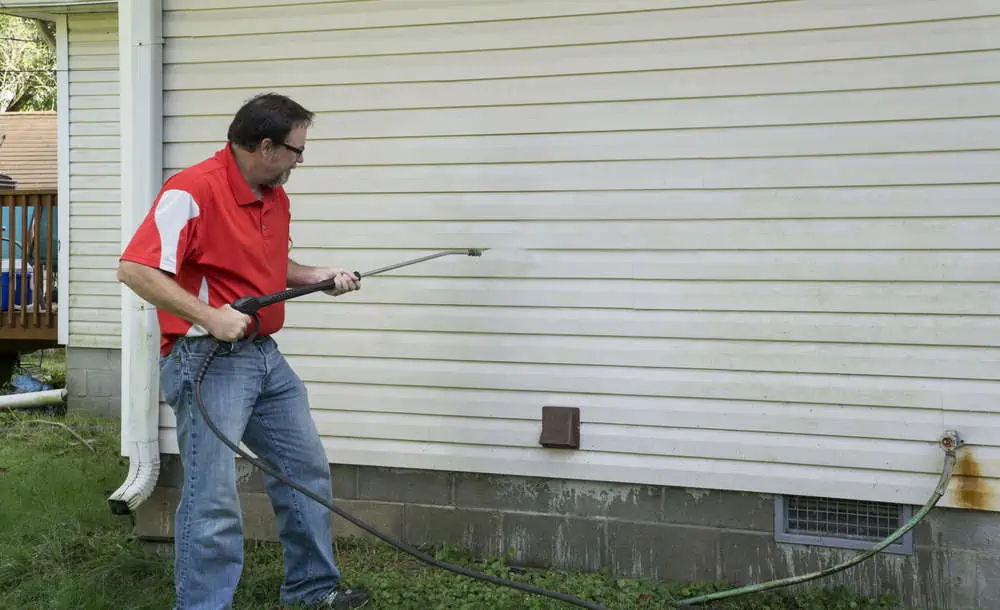
This Green Mount Adjustable Spray Nozzle is an excellent example and affordable too. Connect the hose and wash down the siding. You can do this from the ground because the spray nozzle has enough force to reach the top of the house.
Safety First
You can use a pressure washer for the lower levels to blast away ground on dirt, but not on the upper levels of the siding. The power of the water jet could cause you to fall from the ladder.
3. Set Up the Ladder
It might be an idea to get someone to hold the ladder while you work or anchor it with a bag of gravel. Making sure your ladder stands on flat and stable ground is crucial. Also, ensure that you allow enough angle to allow you to climb the ladder without it toppling.
4. Clean the Siding
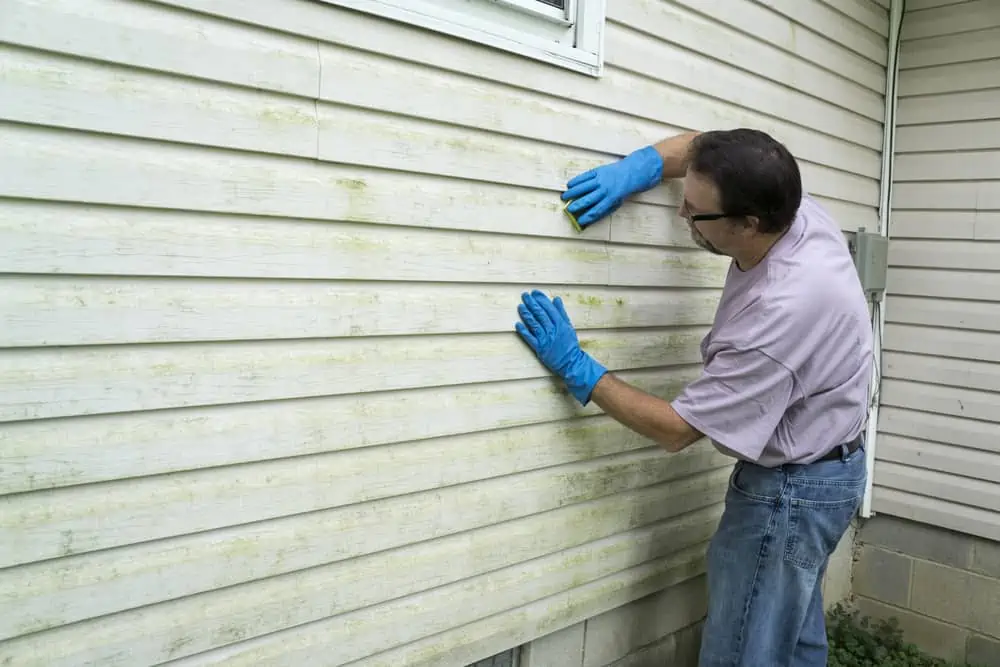
Climb the ladder with the bucket of cleaning solution and the soft-bristled scrubbing brush. Start at the top and remove chalky deposits, grime, and ground-in dirt. Work down the siding until you reach the base.
Now let the siding dry for a minimum of two days.
5. Use the Painter’s Tape
Mask off the trim, windows, and doors with plastic sheeting to protect against paint splatters. Like this Frog Tape, painter’s tape is ideal because it adheres well but is kind to painted surfaces beneath.
6. Prime the Siding
Priming the siding is entirely optional. It depends on the surface quality and the amount of damage caused by the elements. Playing it safe is the best policy, so apply the primer.
You can use a paint sprayer or roller with a half-inch nap for rougher surfaces. For smoother surfaces, use a 0.375-inch nap. If the surface is pitted, lay on the paint with a brush, like this Pro-Grade Brush Set.
If you use a paint sprayer, like this Graco Magnum Project Painter Plus, make sure you back brush. This involves running over the surface with a dry brush to remove streaks and air bubbles. Allow the primer to dry before painting on the topcoat.
7. Painting the Top Coat
Apply the paint using the methods above, either spraying, rolling or brushing it on. When using spray paint, dry brush the surface to remove air bubbles. Wait the necessary time for the paint to dry, and then repeat the process for the second coat.
8. Remove the Painter’s Tape
Remove the painter’s tape and plastic sheeting from the doors, windows, soffits, and trim.
Can You Paint Vinyl Sidings a Darker Color
The simple answer is you can, but you shouldn’t. Vinyl sidings are almost always light colors to stop them from absorbing the sun’s rays. This causes them to heat and warp.
Black is the worst color for your siding because it soaks up every last drop of heat from the sun. The general rule is not to paint the siding darker than the original.
Vinyl Siding Paint Colors
It is tempting to paint your vinyl sidings a bold new color. But which colors are suitable and why? Some shades are better at withstanding punishing UV radiation, while others cope with summer heat better.
Where you live is another factor when choosing a color. If you live in California, sunshine is a real problem. Painting your siding a bold color like red or blue could lead to issues.
Nothing fades in sunlight faster than red and blue paint.
Cream
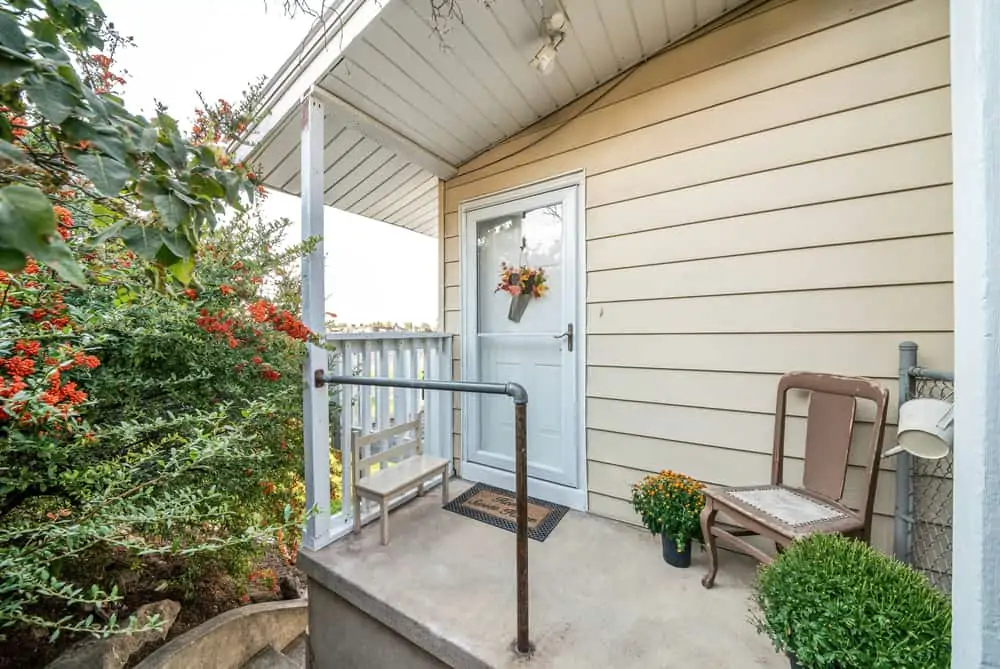
Cream is a great color to paint vinyl siding. The light hue repels the sun’s heat, keeping it cool even on the hottest days. It also masks dirt and grime and is easy to color match when the time comes for a refresh.
White
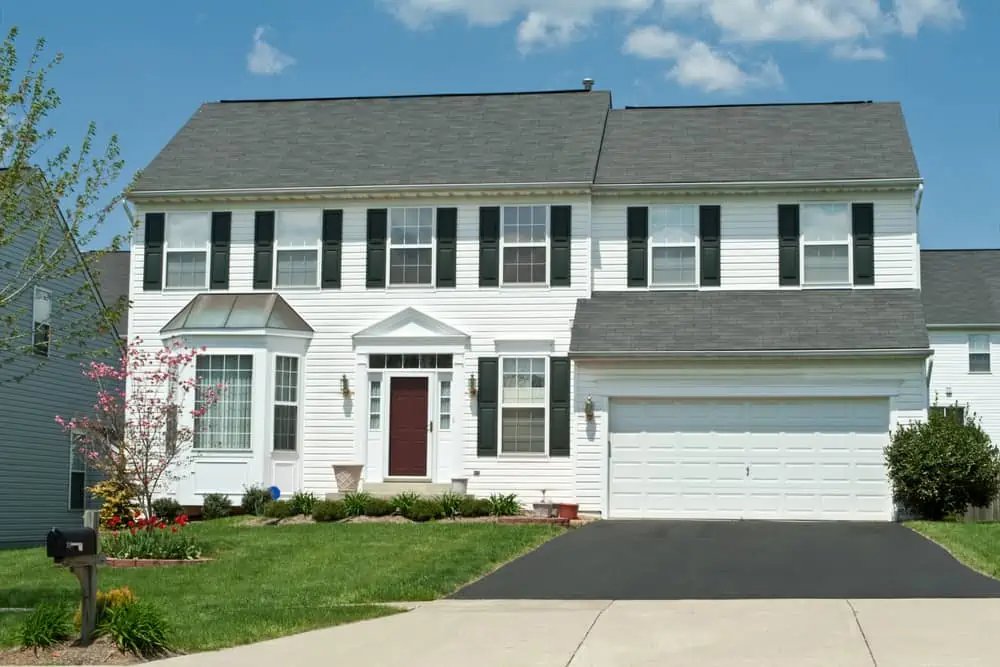
White is probably the most popular color to paint vinyl siding. It is classy, easy to color match, and hides stains and discoloration. It also masks the fading effects of the sun.
Earthy Colors
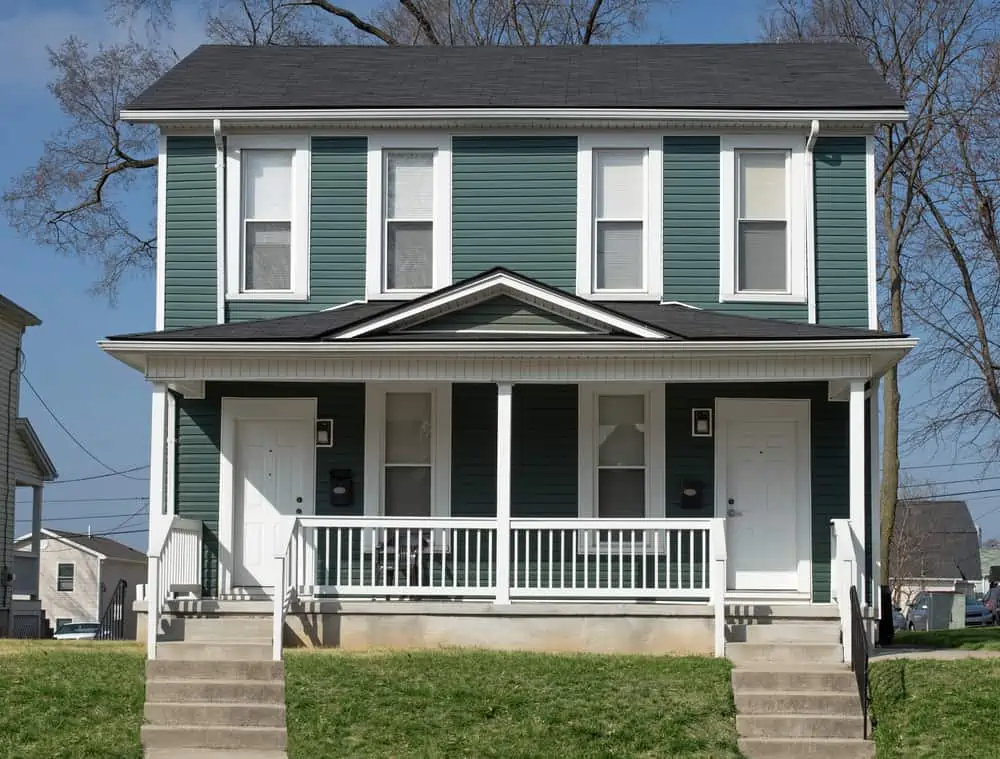
Sage green, light gray, beige, and sandy yellow are great colors for vinyl siding. They add a touch of class to the exterior of your home and soften the look. Imagine a wall of pure white compared to sage green, and you’ll see what we mean.
Should You Paint Vinyl Siding or Replace It?
The answer is simple: it all comes down to finances. Painting your vinyl siding is cheaper than replacing it, but is it a better option?
Costs
You would probably need four cans of this KILZ Siding, Fence, and Barn Paint to cover your entire siding. Each tin covers 500 square feet on smooth surfaces, making your total outlay just under $110. However, this does not include labor costs if you hire a pro.
You also need to factor in the cost of the primer. This KILZ Stain-Blocking Primer is a great option. Typical sidings cover 1,500 square feet, so four cans of KILZ should be ample.
Most professionals will charge between $20 and $50 per hour, and it could take three to five days to complete the project. It all adds up to a hefty bill, and that doesn’t include the cost of primer and cleaning the siding.
Replacing the vinyl siding is about $3.30 per square foot. So, your total costs could be as high as $6,600. But that depends on the quality of the siding because it could be as much as $11,000.
So, why would you choose to replace rather than paint?
Longevity
New vinyl siding typically comes with a 20 to 40-year warranty, meaning that manufacturers expect the siding to look great for a very long time. Your $6,600 investment may sound a lot, but spread out over 20 years, it equates to $330 per year.
Depending on weather conditions, you will need to refresh your painted siding every five years. When you factor in the costs of the primer and paint, your time, or hiring a pro, it narrows the gap between the two alternatives.
Difficulty of the Project
Painting siding is a lot easier than replacing it. All you need are the right tools, patience, and a head for heights.
Replacing the siding is easy if you get someone to do it. You could hire a pro, but that would cost you more. If you choose the DIY approach, you would need some practical knowledge.
FAQs

How Long Will My Vinyl Siding Last If I Paint It?
If you do the prep work and apply the paint according to the manufacturer’s guidelines, you should expect to get between five and 10 years of use.

Can Vinyl Siding be Spray Painted?
It can be spray painted, but you must remember to back brush afterward. This involves dragging a dry brush over the painted surface to remove air bubbles and streaks.

How Do You Make Vinyl Siding Look Modern?
The easiest way to bring your vinyl siding up to date is to paint it in an en vogue color. Sage green, light gray, and beiges are all natural-looking shades that soften the appearance of your house.

How Much Does It Cost to Paint Over Vinyl Siding?
If you do the work yourself, it will cost you the price of the materials. Primer and paint will set you back about $150. Hiring a pro will bump up the price considerably. Most charge by the hour or square foot.
You will pay between $20 and $50 per hour, and you should expect the paint job to take two to three days. That means you could spend over $1,000 just for labor alone!
Paint Like a Pro
While painting vinyl siding is a challenge, it is easier than replacing it. Painting your siding is an excellent way of extending the life for another five to 10 years, giving you the time to save for when it needs replacing.
Painted siding on a house makes it look smart, but it also protects the surface beneath against the elements. It also helps to insulate the home, improving energy efficiency. That’s why you must keep it in tip-top condition.