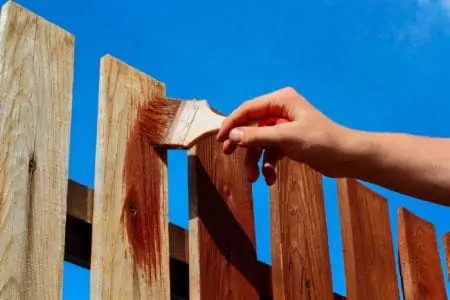
Thinking of painting your walls and ceiling but unsure how to use painter’s tape properly? If you’re not great at cutting paint lines, I’d recommend sticking with tape. It’s not as hard as some make it out to be if you know how to use it right.
Designed to give you clean paint lines and make it easier to clean the room, painter’s tape is a must-have product. I will show you how to tape for painting to get professional-looking results every time.
Key Takeaways
- Choose the right painter’s tape for your surface (wallpaper, drywall, wood, etc.).
- Prepare the room by cleaning surfaces, covering furniture, and protecting floors.
- Apply painter’s tape carefully, using a tape applicator or manual method, and pay attention to corners.
- Remove painter’s tape when paint has fully dried, pulling the strip at a 45-degree angle.
Difference Between Masking Tape and Painter’s Tape
While they may appear to be interchangeable at first look, there are some differences between painter’s tape and masking tape.
Reliability
Painter’s tapes are typically made of materials that are sturdy enough to deflect paint drops. While masking tapes are frequently flimsier and more susceptible to seepage.
Masking tape is also considerably more likely to tear randomly, making it more challenging to cover surfaces correctly and reliably.
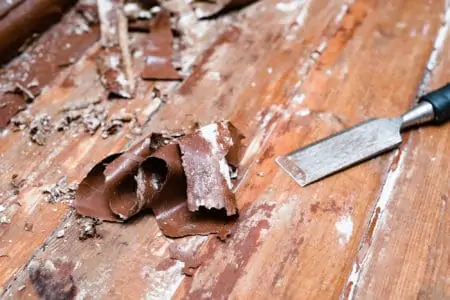
Removal
Once the paint has dried, high-quality painter’s tapes are designed to be removed neatly without leaving residual adhesive or tape fragments. Masking tape isn’t the same as it has more adhesion and can damage surfaces when removed.
Usage
Go for painter’s tape whenever you want to get clean lines and a professional-looking paint finish. This is especially good for geometric mural designs.
Masking tape has a strong adhesive, which could tear out layers of paint when you try to take it off. That makes it more suitable for application on surfaces that will not peel.
How to Tape a Room for Painting
Learning how to use painter’s tape is a simple process with the right supplies and a bit of patience.
What You’ll Need
- Duster/vacuum cleaner.
- Painter’s tape.
- Plastic sheets/drop cloth.
- Tape applicator (optional).
- Putty knife.
- Utility knife.
Preparing the Room
As with any DIY project, prep work is a must. It’ll ensure the best outcome, so don’t skip it!
1. Clean the Area
One of the first steps for painting is to clean the room. Before sticking the painter’s tape on, clean off the area to make sure the tape sticks properly. That means using a dry cloth for dust or even a degreaser/cleaning solution on areas where the tape will be placed.
2. Choose the Tape
Picking the right type of painter’s tape is important to get the best results. That’s because certain tapes are designed for sticking to wallpaper, while others are for drywall, wood, metal, and so on. You can also find multi-surface tapes.
3. Cover the Area
Taping for painting means getting whatever furniture you can outside the room and covering whatever is left inside. Tape and plastic sheets are very valuable at this point.
Place and secure plastic sheets on furniture pieces left in the room. Make sure to cover all the floors, power outlets, light switches, and light fixtures.
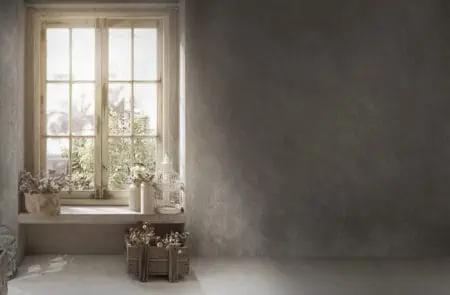
If you’re painting the walls, you also want to cover any window or door frames using painter’s tape. Make sure to cover anything that’s not supposed to be painted.
Nifty Tip
Here’s a time-saving strategy if you don’t have drop cloths. Place the edge of some kraft paper along the edge you want to tape and secure the seam with tape. The paper will protect the area while you paint above it.
Taping the Room with a Tape Applicator
Invest in a tape applicator if you’re serious about expediting and simplifying your taping job. It is intended to assist you in precisely masking by utilizing the surrounding surface as a guide.
Using it is very simple. Just roll it across the surface you want to cover. When you’re done, use the integrated cutter for cutting in the tape at the end.
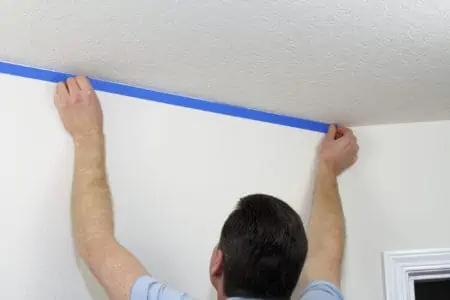
Taping the Room without a Tape Applicator
If you don’t have a tape applicator, you can still get those nice fine lines when applying the tape manually.
- Press a few inches of tape to the surface you want to protect (like the molding).
- Unroll six extra inches.
- Hold the roll of tape against the wall and rotate it down until it sticks.
- Repeat the process until you cover the entire edge.
Taping Corners
One of the most complicated things about applying painter’s tape is making your way through corners. This is actually easy to achieve if you use the following technique.
- Place the first piece of painter’s tape as you normally would but make it longer by running it a bit up the wall at the end.
- Take a putty knife and press it into the corner.
- Using a sharp utility knife, remove the cut-off piece.
- Continue applying painter’s tape on the adjacent wall.
Removing Tape
You deal with several yards of paint-stained tape when removing painter’s tape. It’s pretty difficult to remove a mass of tape smeared with wet paint without making a mess.
Some brands of painter’s tape allow a 14-day clearance period. The tape can be removed during this time without leaving a sticky residue. Adhesive residues may be left behind if kept in place for an extended period.
To properly remove painter’s tape without taking the paint off:
- Start at one end.
- Slowly remove the tape by pulling the strip at a 45-degree angle.
When Can You Remove Painter’s Tape?
Part of knowing how to use painter’s tape is knowing how to get rid of it properly. Remove painter’s tape when the paint has dried completely.
Products advertised as painter’s tapes are a type of masking tape. They use adhesives that almost guarantee that they will not pull away dried paint when removed.
Manufacturer instructions are straightforward in their recommendation that the paint job is entirely dry before removing the painter’s tape.
Dried does not necessarily mean dry to the touch in this instance. Dried implies that the paint has fully cured and is completely dry from top to bottom. Otherwise, you run the danger of smudging the paint.
When the tape is removed while the paint is still wet, moist paint may seep into the previously taped-off area. By retaining the tape in place until the paint has dried, seepage is successfully halted until the paint has dried.
Tips For Taping Before Painting
To get the best results when you’re using painter’s tape for your project, here are some extra tips:
- Make sure to always apply tape on a clean surface.
- Run your fingers on the edge to create a better seal when applying the tape.
- Put the tape roll on your wrist for easier application.
- Working with shorter bits of tape makes it easier to apply it.
What Tape to Use for Painting
Believe it or not, there are actually different kinds of painter’s tape for certain projects. So, always make sure you’re using the best one for what you’re doing.
Best Painter’s Tapes
Painter’s tape enables you to work fast and confidently, resulting in fewer errors to repair. Not all painter’s tapes are created equal or are suitable for all applications.
ScotchBlue Original Multi-Surface Painter’s Tape
UV-resistant, with a moderate adherence, ScotchBlue multi-surface painter’s tape is designed to peel cleanly away from the surface without leaving any residue. ScotchBlue’s original painter’s tape is an excellent all-purpose tape suitable for most painting applications.
FrogTape Delicate Surface Painting Tape
If you’re looking for painter’s tape which can be applied on delicate surfaces (like wallpaper), FrogTape is a pretty good option. It incorporates absorbent polymers that react with latex paints to generate a gel barrier that stops bleeding. The tape will adhere for up to 60 days and is recommended for indoor use.
Duck Brand 240194 Clean Release Painter’s Tape
Consider this medium-adhesive all-purpose painter’s tape when planning a future painting endeavor. Clean Release Painter’s Tape from Duck Brand is UV resistant, making it an excellent choice for interior and outdoor use. It clings quickly to specified surfaces, lasts up to 14 days, and removes cleanly.
Painter’s Tape Alternative
Try out these alternatives if you don’t have any painter’s tape.
- Paint Edger: This works if you have straight walls but is not that useful for situations where there are no straight edges.
- Angled Brush: This helps achieve a straight paint line without the need for any guides or markers.
- Cardboard: You can take a thin piece of cardboard and hold it up to the edges.
- Frog Tape: This is relatively similar to painter’s tape, but it bonds with latex paint to help stop bleeding.
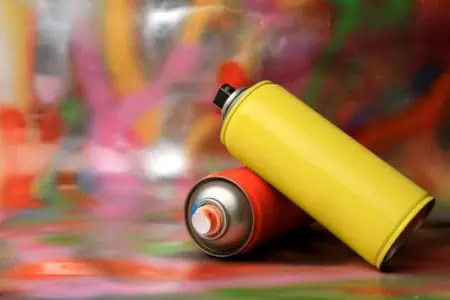
Keep In Mind
If you’re spray painting, make sure you leave the areas close to the edges unpainted and use an angled brush if that’s the alternative chosen.
FAQs
Still looking for more info? These common questions should help you out.

Do Professional Painters Use Tape?
It depends on the professionals in question. Some like to use painter’s tape because it makes the job easier and faster. However, some prefer to use the cut-in method (using no tape but an angled sash brush).

How Do You Keep Paint from Bleeding Under Tape?
Using soft, careful strokes of a paintbrush, apply a very thin coat of paint along the edge. This aids in sealing the tape’s edge and prevents seepage.

Can I Leave Painter’s Tape on Between Coats?
If your project requires numerous coats, you can keep the tape in place until the final layer is completed.
If the tape is removed after the first application, it must be applied in the same location as the first time. Otherwise, you risk ruining your line and accidentally placing the tape on the painted area.
Bottom Line
Once you learn how to use painter’s tape, choosing a quality painter’s tape is important. Not only that, you have to make sure that you understand how to tape a room for painting while also knowing how to remove the tape strips in the best way.