While professionals traditionally used drywall nails in days gone by, screws are the fastener of choice these days. But that doesn’t mean drywall nails are obsolete, far from it.
We compare drywall nails vs. screws and highlight the main differences to help you decide which you prefer.
Key Takeaways
- Drywall nails are flexible and less likely to shear, making them suitable for walls.
- Drywall screws have greater tensile strength and grip, ideal for ceilings and walls.
- Nails are cheaper and easier to install, but require more per sheet than screws.
- Screws provide a better surface for finishing and are easier to remove, but cost more.
Drywall Nails Vs. Screws
Both fasteners effectively secure drywall panels, but it seems that screws have the edge when it comes to popularity with DIYers and professionals. Why? Let’s compare the two.
Drywall Nails
When you compare drywall screws vs. nails, there is no contest. At least, that’s what you might think, but drywall nails are more flexible. This means they withstand lateral pressure better and are less likely to shear.
They are also easier to insert. In the olden days, workers could insert 20 nails into a board in double-quick time. Today, that process is made faster thanks to nail guns.
Drywall nails have a ringed shank that enables them to embed deep into the drywall, giving a solid anchor for the sheetrock panels. They are cheaper than screws, but you would use more per sheet, which might offset any monetary gains.
Some building codes dictate that you should use double the number of drywall nails than screws. For a standard 4 ft x 8 ft panel, you could use as many as 64 nails.
Drywall Screws
Drywall screws have a better grip, which stops the panels from pulling away from the studs. This is a massive bonus for ceiling installations, as gravity has a habit of forcing nails to lose grip.
You don’t need as many screws to secure each drywall sheet. A standard 4 ft x 8 ft panel (the most common size) takes 32 screws.
Drywall screws are also easier to remove, which is essential for making adjustments to the panels. Nails tend to crush the gypsum core of the sheetrock when you try to pry them out with a claw hammer.
Screws are more expensive than nails, but you use fewer per sheet, so the extra cost is offset. Using a hammer to insert screws vs. a nail gun for your drywall will take a lot longer, but luckily, you can purchase a screw gun.
Here’s a handy at-a-glance guide:
| Key Differences | Drywall Nails | Drywall Screws |
| Cost | $$ | $$$ |
| Strength | Strong | Strong |
| Speed of Installation | Fast | Slow |
| Number per 4 ft x 8 ft Sheet | 64 | 32 |
| Best Uses | Walls | Ceilings and walls |
When to Use Drywall Nails
Drywall nails are super-effective at securing sheetrock panels to wooden studs. Their ridged shank grips the drywall, holding it tight.
Take Note
Check with your local building code before using nails because some installations require screws or double the number of nails.
If you are on a tight budget, nails are the best option; just remember that you may use more nails than screws. If timescales are tight, drywall nails are easier to install, which is why construction companies often choose nails when building new homes.
In the professional world, time is money, and drywall nails are just as effective at gripping panels to walls.
Pros
- Easier to install.
- Cheaper.
- Great for wooden studs.
Cons
- Not suitable for ceilings.
- More nails are needed than screws.
When to Use Drywall Screws
Drywall screws are the perfect choice for hanging purposes. They are suitable for walls and ceilings because they grip so well and counteract gravitational pull. Use screws on load-bearing walls and high-traffic areas because they never work loose.
This means that the panels stay in situ no matter how much abuse the sheetrock gets. Drywall screws are more expensive than nails, but the added costs are offset by the amount you use.
Drywall screws are better for hanging ceilings or securing sheetrock to metal studs. They are also great when repairing nail pops (when a drywall nail comes loose).
Inserting drywall screws takes longer than nails, but they provide a better surface for finishing.
Pros
- Ideal for ceilings.
- Ideal for all drywall projects.
- Better for high-traffic areas.
- Works when hanging sheetrock to metal studs.
- Perfect for repairing nail pops.
Cons
- More expensive than nails.
- Slower to install.
How Long Should Drywall Nails Be?
When determining the length of drywall nails and screws, a lot depends on the thickness of the drywall. Both nails and screws are pretty standardized, meaning they are frequently the same lengths.
The most common length of nail and screw is 1-1/4 inches, which is the correct size to use on 1/2-inch drywall. When nailing 3/4-inch drywall, your nails should be 1-1/2 inches long, and the screws should be 1-3/8 inches long.
For 1/4-inch drywall, the nails and screws should measure 1-1/4 inches. For 5/8-inch drywall, choose 1-5/8-inch nails and screws, although you can extend that to 2 inches.
| Drywall Thickness (Inches) | Nail Length (Inches) | Screw Length (Inches) |
| 1/4 | 1-1/4 | 1 to 1-1/4 |
| 1/2 | 1-1/4 | 1-1/4 to 1-5/8 |
| 1-5/8 | 1-5/8 | 1-5/8 to 2 |
| 3/4 | 2 | 2 |
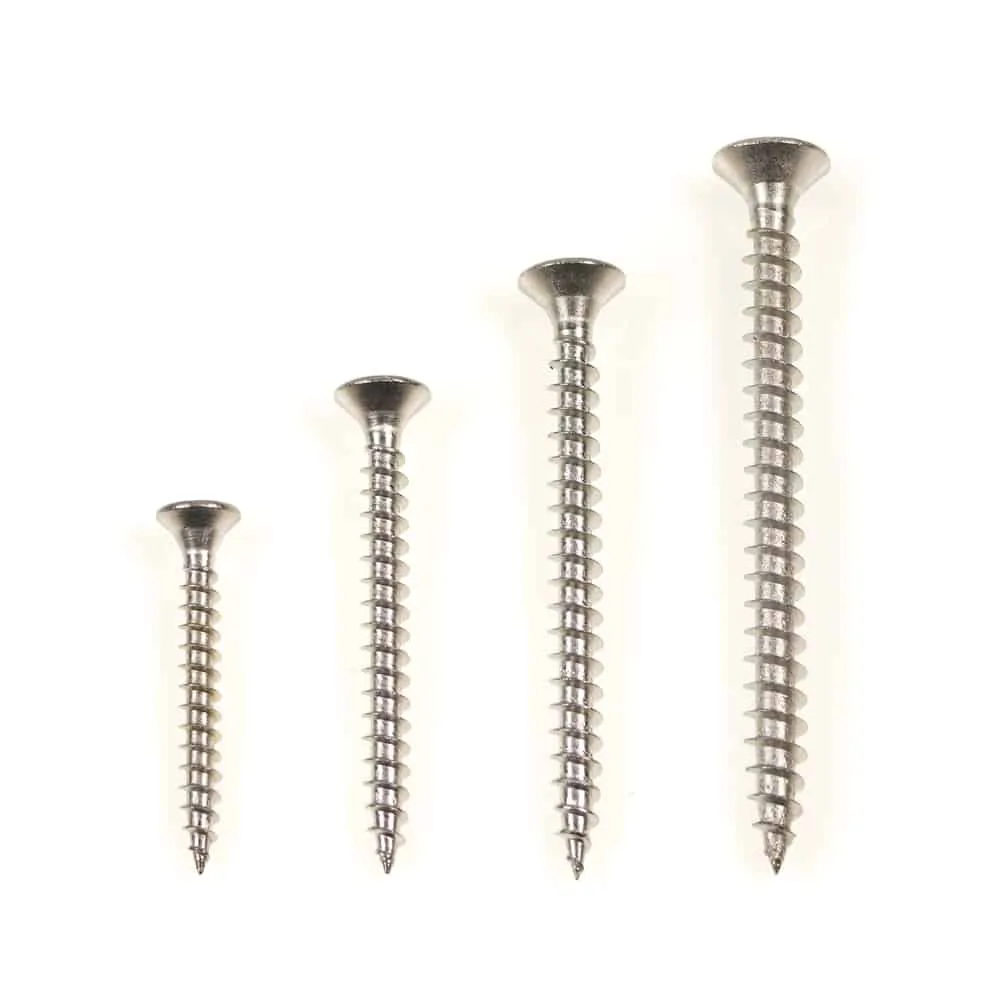
Drywall Screw Vs. Wood Screw
Can you use a drywall screw to secure two pieces of wood, and can you secure drywall with a wood screw? There isn’t much difference between the two to the untrained eye but think again.
Drywall Screw
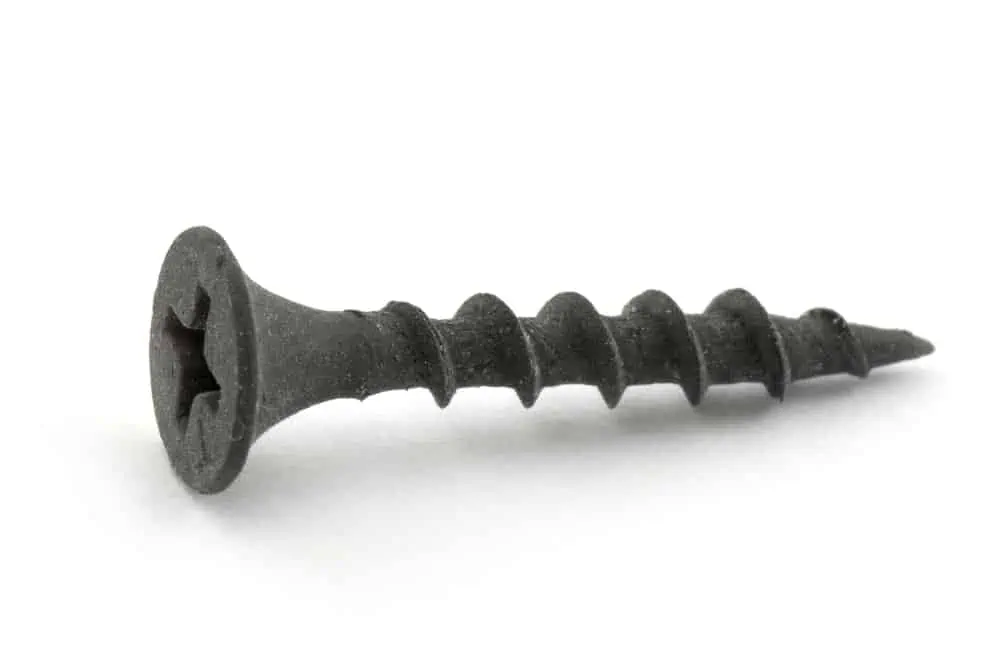
Drywall screws have specially designed threads that chew through the gypsum core with minimum damage. Couple that with a thin vinyl texture to protect against oxidation, and you have the perfect fastener for drywall.
Drywall screws have a crosshead (Phillips) and are either black or black phosphate. They also have a slight curve in the head, making it easier to conceal the screw with the joining compound.
The final feature of a drywall screw is that it has a thread that runs the entire length of the shaft. This ensures that the screw penetrates the drywall right up to the screw head.
Wood Screw
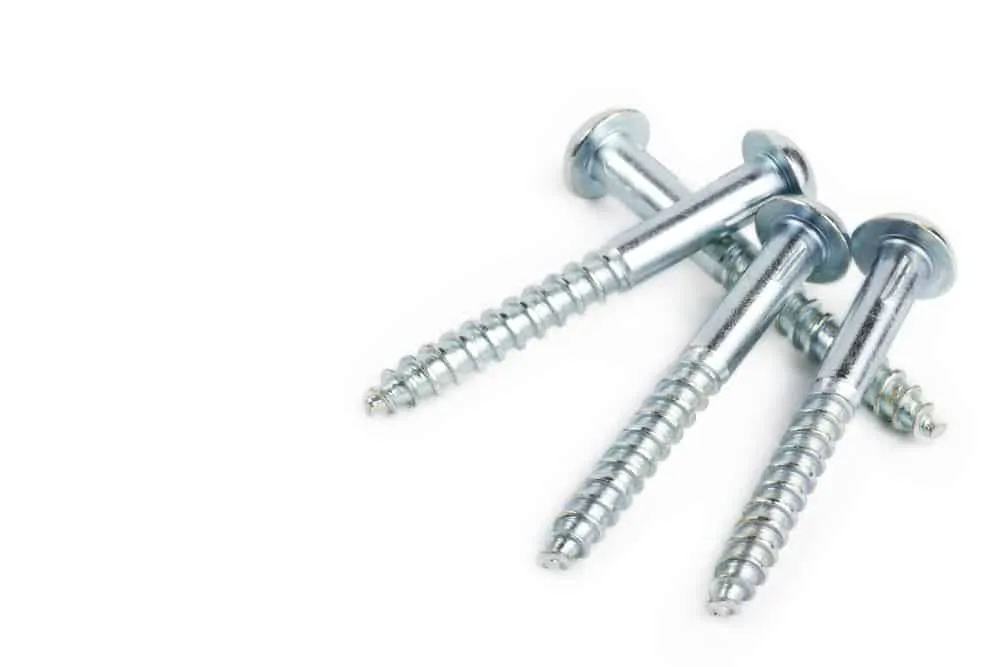
By contrast, wood screws have a thread that runs along the shaft but stops short of the last quarter located below the head. This means they tear the gypsum core, causing damage to the sheetrock.
The head itself can be Phillips, hex, or flat, and they come in any shape, thickness, and size.
You can use a drywall screw to secure two pieces of wood, but you cannot use a wood screw to install drywall.
When using drywall screws to secure wood, remember that they are not as strong as wood screws, lacking the tensile strength needed. So, only use them for lighter DIY projects.
Tips for Avoiding Popping
Drywall popping is more common than you might think. Wall settlement, moisture, and temperature changes can cause popping. However, it can be minimized if you follow a few basic guidelines.
Check the Depth of the Screw
The screw head should sit just under the surface of the sheetrock and still be visible. If you can’t see it, it has gone too far. Forcing the screw could cause the wallboard to pop.
Use the Correct Screw Size
Always allow 3/4 of an inch penetration into the wood stud behind the drywall. If the screw is too short, it won’t hold, and the panel will pop.
Don’t Use Too Many Screws
Don’t overload the drywall sheet with too many screws. You might think more is better, but it’s not. You risk weakening the integrity of the gypsum core, which causes the board to pop. The guidelines state that you should have 32 drywall screws in a standard 4 ft x 8 ft panel.
Don’t Use Too Few Screws
The same problems occur if you use the screws sparingly. You need the right amount of screws placed in the correct locations. Insert your screws at eight-inch intervals around the edge of the panel and 16 inches apart in the field (the middle of the board).
Moisture Control
The perfect humidity level of your home should be between 40 and 60 percent. If the moisture levels rise, it causes your drywall to expand. When that happens, the nails or screws start to pop.
Good airflow in the house keeps moisture at bay, or use a dehumidifier, like this hOmelabs Dehumidifier for extra-large rooms. It removes the water content, drying the air and preserving the drywall.
FAQs

Why are Houses Built With Nails Instead of Screws?
It all comes down to costs at the end of the day. Nails are cheaper and can be inserted faster, meaning the construction company gets more productivity for their money.

Can You Use Drywall Nails For Hanging Pictures?
Drywall nails are ideal for hanging lighter items on the wall, but you should use a dedicated picture hook or a screw for heavier pictures.
The Final Say
Whether you secure your drywall using nails or screws is a matter of choice. Both offer good levels of grip, but drywall screws are better when installing a ceiling. If money is no object, use drywall screws because they work in all applications.
If you have a tight budget, use nails and save a few dollars, but remember that nails are not the best fastener for ceilings.