A water softener will protect your plumbing and home appliances by removing minerals from hard water. However, your softener also requires maintenance to ensure it continues working as intended.
Maintaining your water softener is not a complicated process, with a few simple checks and techniques that will help your unit last longer. Still, if you have never done it before, you might be unsure what to do.
In this article, we will explain water softener maintenance and how to perform the different tasks that are required to keep your unit working properly. We will also address a few common issues that might prevent your softener from functioning as it should.
Key Takeaways
- Maintain the brine tank by topping up the salt, clearing salt bridges, removing salt mush, and routine cleaning.
- Keep the softener tank in good condition by using resin cleaners and regularly checking for any issues.
- Perform regular maintenance on the bypass and venturi valves to ensure proper water flow and system efficiency.
- Address common water softener issues by checking bypass valve, timer settings, hoses, and computer display for any problems.
Water Softener Maintenance
As water softeners have various components that each serve different functions, there is no one-size-fits-all maintenance process for the entire system. In the following sections, we will explore the maintenance methods for each part individually.
1. Maintaining the Brine Tank
A brine tank, or salt tank, cleans the softening tank of your unit. The softening tank removes minerals such as calcium and magnesium from your water and replaces them with sodium.
A softening tank contains resin beads that are coated with sodium. The negatively charged resin attracts the positively charged minerals and traps them. By releasing sodium, the softener maintains the balance of the water.
Eventually, the water’s mineral content saturates the beads in the softening tank, and they are unable to attract any more. These minerals need to be washed off and the sodium replaced, which is where your brine tank comes in.
Salt and water from the brine tank move into the softening tank to wash away the minerals and replace the sodium.
To ensure the brine tank is able to fulfill its role, you need to perform a few maintenance tasks:
- Top up the salt
- Clear away salt bridges
- Remove salt mush
- Routine cleaning
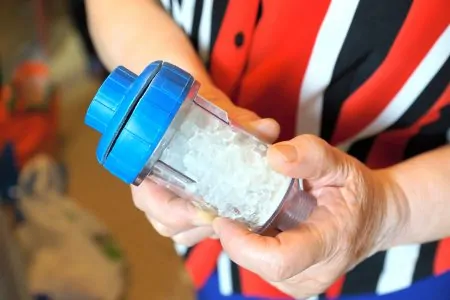
Topping up the Salt
For the softener to keep working as intended, you will need to ensure the salt levels are optimized:
- Check regularly: Check the salt level in the brine tank about once a month, or however often your manufacturer recommends. As a general rule, you shouldn’t fill the tank to more than about two-thirds. If you do, you risk creating a salt bridge (more about those in the next section).
- Salt compatibility: Ensure you use the right type of salt. Your owner’s manual should clearly state whether your system uses tablet, granular, or block salt. The most widespread type is granular salt, which is sold as pellets.
How to Clear a Salt Bridge
A salt bridge is a solid layer of salt that forms at the top of the brine tank. When this happens, it prevents the salt from mixing with the water beneath it, rendering the brine tank useless until it is cleared.
Signs that you have a salt bridge include:
- Salt levels: The salt level doesn’t diminish when the brine tank is used.
- Unsoftened water: You might notice cloudy marks on glasses, shower screens or dishes, or soap working less effectively. These are signs that your water is not being softened properly.
Salt bridges usually occur if you overfill your salt tank or use the wrong salt type for your softener, but they can also be caused by humidity or temperature changes.
To remove a salt bridge:
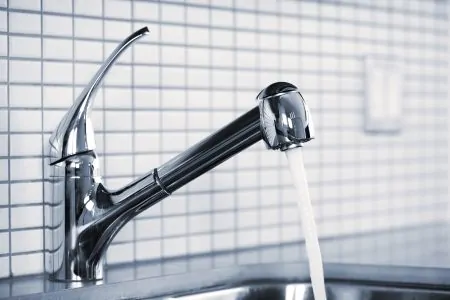
- Turn the water off: Shut off the water via either the bypass valve or the incoming faucet.
- Break the crust: Use a long thin object such as a mop or broom handle to tap the top of the salt bridge until the crust breaks.
- Remove loose salt pellets: Use a scoop to lift the loosened salt out of the brine tank.
- Clean the crusted salt from the edges: There will often be some salt crust still attached to the side of the tank. Use a plastic mallet to gently break the salt from the edges.
- Remove any remaining salt chunks: Remove any salt chunks that are still floating in the water.
- Remove the water left in the tank: Scoop out the water that is still in the tank. You can also use a wet and dry vacuum to do this.
- Refill and restart: Restore the tank’s water supply and replace the salt, but be careful not to overfill it. Remember, it is best not to fill it to more than two-thirds. Follow the softener’s manual to regenerate and clean the softener tank.
Go Steady
Salt Mush
Salt mush is created when salt recrystallizes at the base of the tank after being dissolved. This forms a layer of mushy sludge at the bottom of the brine tank, which is unable to mix with the water.
This can prevent the softener tank from regenerating and might cause the water level in the brine tank to rise, potentially even overflowing (1).
- Scoop it out: To solve this issue, scoop all the mushy salt out of the brine tank. Use a plastic scoop or container to do this, taking extra care not to damage the tank.
- Dissolve with hot water: The salt you remove from the tank can be reused by dissolving it in hot water, and then pouring it back into the tank.
How to Clean a Water Softener — the Brine Tank
Occasionally, your brine tank will need to be cleaned. Your owner’s manual should recommend how often this needs to be done. Many newer models only need to be cleaned every five years or so, but older ones might need to be cleaned as often as every 12 months.
If you notice that the brine in your tank appears to be dirty; this is a good indication that it needs to be cleaned. This happens because some salts contain impurities, especially cheap salts. In time, these impurities accumulate and leave sediment in the water that can eventually clog your system.
It is also a good idea to clean the brine tank when it’s low on salt. This means you won’t need to scoop out lots of salt to clean the tank. The tank will also be easier to carry if you want to move it somewhere more accessible for cleaning.
To clean the tank:
- Disconnect from softener tank: If you have a bypass mode on your softener, activate it so the water bypasses the softener system while you clean it. If you don’t have one, shut off the water via the incoming faucet. Disconnect the hoses between the brine tank and the softener tank.
- Remove the brine: Dump or siphon out the brine (salt and water mixture) from the tank. Don’t do this anywhere near your lawn or plants as the high sodium levels will damage them.
- Remove salt: Use a plastic container to remove any remaining salt from the tank.
- Take out the grid: Some brine tanks have a grid at the bottom of the tank. If there is one, remove it.
- Mix soap and water: Mix about 2 or 3 tablespoons of dish soap into a couple of gallons of water.
- Pour the mix into the tank: Pour the soapy mixture into your brine tank and then use a brush with a long handle to scrub the inside of it.
- Rinse the tank: Once you have finished scrubbing, empty the soapy mix and rinse the tank with fresh water.
- Disinfect the tank: Fill the tank with 2–3 gallons of fresh water and a 1/4 cup of household bleach. Mix it by stirring, and then leave the solution in the tank for about 15 minutes. You can scrub the inside of the tank again before emptying the mix from the tank.
- Rinse the tank again: Once the bleach and water mix has done its work, remove it and rinse your tank thoroughly with clean water.
- Replace and reconnect the brine tank: Return the brine tank to its position and reconnect all the hoses.
- Turn the water back on: Restore the water supply to your tank.
- Refill with water and salt: Follow your manufacturer’s instructions to refill your tank with water and salt.
Remember
Once your system is ready to go again, set it to perform a regeneration of the softener tank about 24 hours later. Don’t do it immediately as the salt and water will need time to mix and form the powerful brine needed to clean the resin.
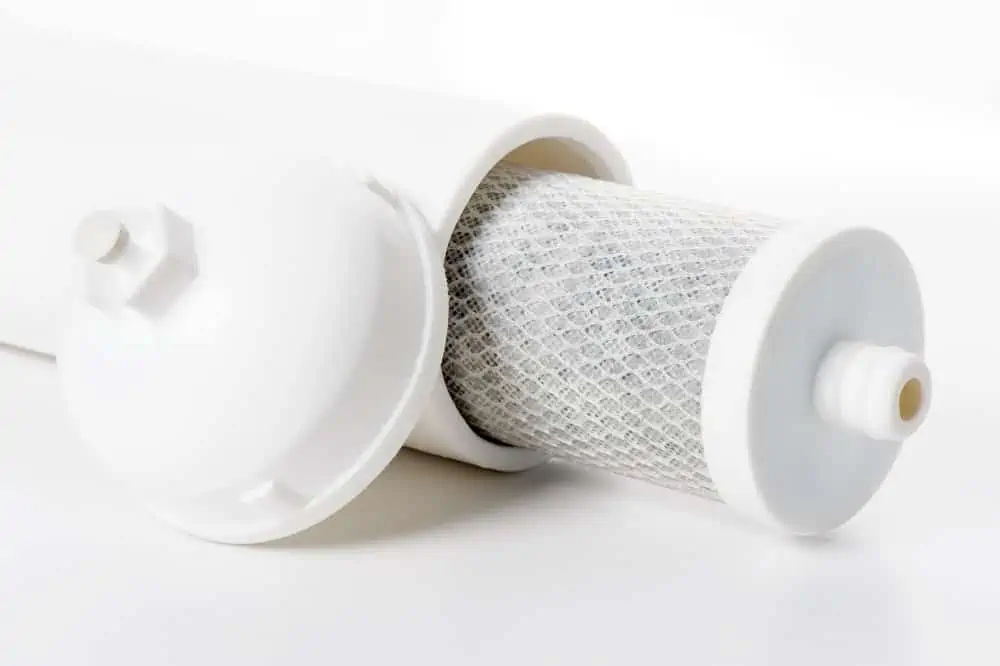
2. Maintaining the Softener Tank
The softener tank is where the unit removes the calcium and magnesium, or any other metals and minerals, from your hard water to make it soft.
The resin is cleaned regularly when you regenerate your system, and the beads are loaded with fresh sodium from the brine tank. However, there are also cleaners that can be used every few months. These help keep your resin working as it should.
These cleaners are especially useful if your water supply comes from a well. Well water can contain high levels of iron and other contaminants, which might not be removed from your softener during the regeneration process (2). In time, this will make your water softener less efficient.
You simply add these cleaning products to the salt. When the system regenerates, they clean the resin. It is possible to connect some cleaners to a drip, so they are automatically added each time the system regenerates.
After conducting some research, we recommend these top-rated cleaners:
- Rust Out: This is a popular product for a one-off clean. It can also be layered with your salt to clean your tank each time it regenerates.
- Iron Out: This popular water softener resin cleaner has been named “Amazon’s Choice”.
Whichever product you choose, make sure you follow the instructions carefully. These cleaners are automatically rinsed when the system regenerates. If you want to be sure that they have been removed, you can manually set a second regeneration to rinse the softener tank.
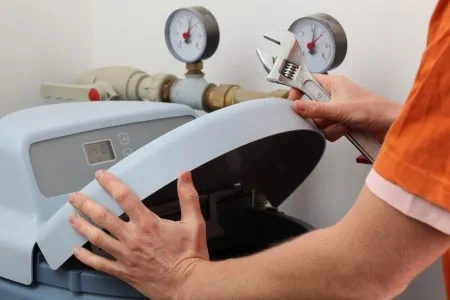
3. Maintaining the Valves in a Water Softener
There could be two valves in your water softener system that occasionally require some extra maintenance:
- Bypass valve
- Venturi valve
Maintaining the Bypass Valve
The bypass valve, if you have one, temporarily isolates the water softener from your incoming water supply. It is usually a rod that can be pushed to block the flow of water.
For maintenance:
- Turn supply off: Push the rod to turn off the water supply.
- Reset: Turn the outtake and intake valves off and back on.
- Turn supply on: Finally, move the bypass valve back to the on position.
Maintaining the Venturi Valve
The venturi valve helps siphon water from the brine tank to the softener tank during regeneration. It can become blocked by sediment, sand, or dirt.
To clean it:
- Use soapy water: Unscrew the cover, remove the internal parts and clean them with soapy water.
- Rinse and reconnect: Once the parts are clean, rinse them and place them back into position.
Repeating this process every six months or so will help keep your water softener working as expected.
Water Softener Troubleshooting Tips
If you suspect that your water softener is not working correctly and you have already performed the maintenance tasks we described, check these components:
- Bypass Valve: Make sure the bypass valve is open and water is flowing through the system.
- Timer: Check that the regeneration timer is set, so your system is flushing when required.
- Hoses: Ensure your system’s hoses aren’t kinked. If they are, it will block the flow of water.
- Computer display: Check the wires and fuses for any signs of wear. Then, make sure the power is switched on.
If your checks and attempts at water softener maintenance fail to get your unit working, you might need to call in a professional service engineer.
Be Safe, Not Sorry
FAQs

How Often Should You Have Your Water Softener Serviced?
You should have your water softener serviced at least once per year. By servicing your water softener annually, you can ensure that the valve settings are optimum, resulting in cost savings.
For instance, if the number of people in your household decreased because one of your children moved out to attend college, you almost certainly consume less water these days.
Your neighborhood water treatment specialist should be able to modify the settings on your valves so that the softener will renew less frequently.

How Much Does It Cost to Maintain a Water Softener?
A water softener’s annual maintenance plan costs between $150 and $250. An inspection can cost anywhere from $40 to $100, and that doesn’t include the cost of any necessary repairs.
An all-inclusive maintenance contract typically ranges from $100 to $250 per year. It may include coverage for water testing, salt refills, cleaning, and annual inspections.
What Happens If You Don’t Maintain Your Water Softener?
Not maintaining your water softener can cause permanent damage to the system. Like any other appliance, your softener contains moving parts and o-rings, which will eventually wear out and need to be replaced. There is a possibility that the valve on your softener requires servicing.

What Happens If I Stop Putting Salt in Water Softener?
There are several consequences to stopping putting salt in the water softener. If you don’t add enough salt to the softener, the resin within will remain at its maximum saturation level. This causes the ion exchange to cease.
It then becomes possible for hard water minerals to accumulate in the water pipes and reach your home fixtures and appliances, causing damage.

How Do I Know If My Water Softener Resin Is Bad?
Check to verify if the salt used by your water softener is being consumed at the typical rate. If so, and you do not have soft water, the resin bed may have clogged with iron deposits or been harmed by chlorine to the point where it can no longer regenerate by the brine.
If so, you need to replace the resin bed. The issue is most likely a faulty valve head if it does not use much or any salt. This indicates that the resin bed is not getting refreshed with brine water.

How Do You Know When Your Water Softener Needs to Be Replaced?
Some common indicators that let you know your water softener needs to be replaced include soap, not lathering, itchy skin after a shower, or a funky water scent. If your water softener is giving you problems, it is time to evaluate its status.
The warning signs your water softener needs new salt are similar to those that appear when it’s time to replace the softener itself. Changes in your water’s flavor or an appreciable buildup of scale on your faucets are two common warning indicators.