Winter is here, and it’s time to get your snow blower out of the garage. That driveway isn’t going to clear itself. If you live in an area that gets deep snow, you will likely be no stranger to getting rid of the white stuff.
We give you 15 valuable snow blowing tips to make your life easier.
Key Takeaways
- Plan ahead and remove obstacles before snow blowing to ensure efficiency and safety.
- Clear snow when it’s a couple of inches deep to avoid clogging and preserve your snow blower’s life.
- Keep your snow blower well-maintained, use fresh fuel, and consider using synthetic oil for better performance.
- Always prioritize safety by wearing proper footwear, avoiding loose clothing, and keeping children and pets indoors.
Snow Blowing Tips
Snow blowers seem like simple enough tools to operate, but think again. There are thousands of snow blower injuries every year in the US, with the number one cause being blockages.
With that in mind, here’s our 15 tips.
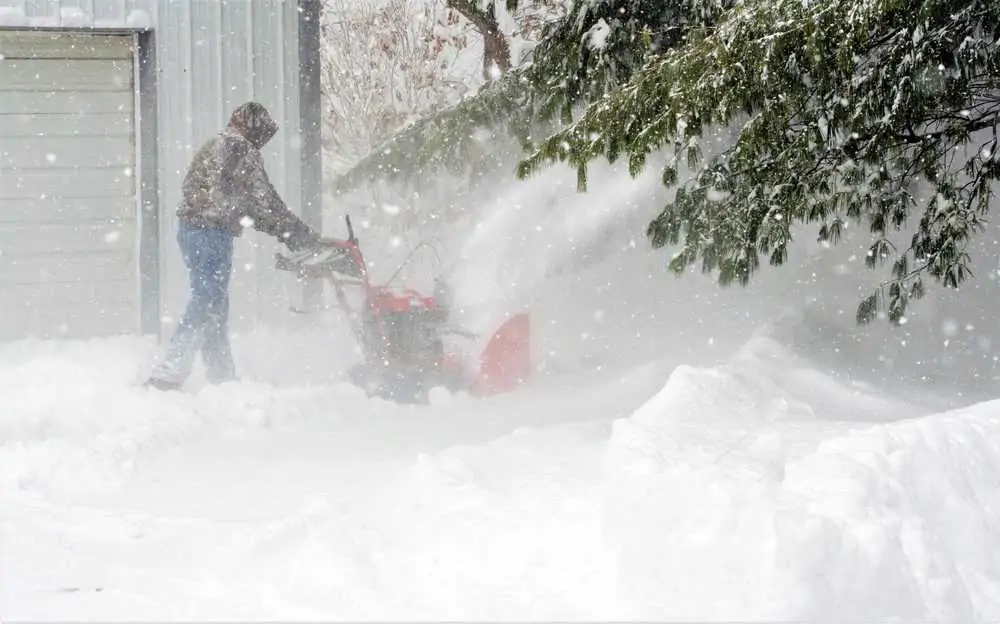
1. Don’t Wait for the Snow To Stop
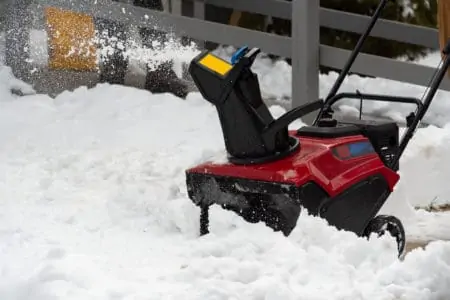
If you wait for the snow to stop falling, you risk making the task harder. First, it could be 2 or 3 feet deep, and that is going to put your snow blower under extreme strain. And second, densely compacted snow is harder to shift.
If you want to avoid clogging and increase the distance the blower throws the snow, do the clearance when the snow is only a couple of inches deep. It does mean repeating the job a couple of times, but it’s safer, more efficient, and you preserve the life of your snow blower.
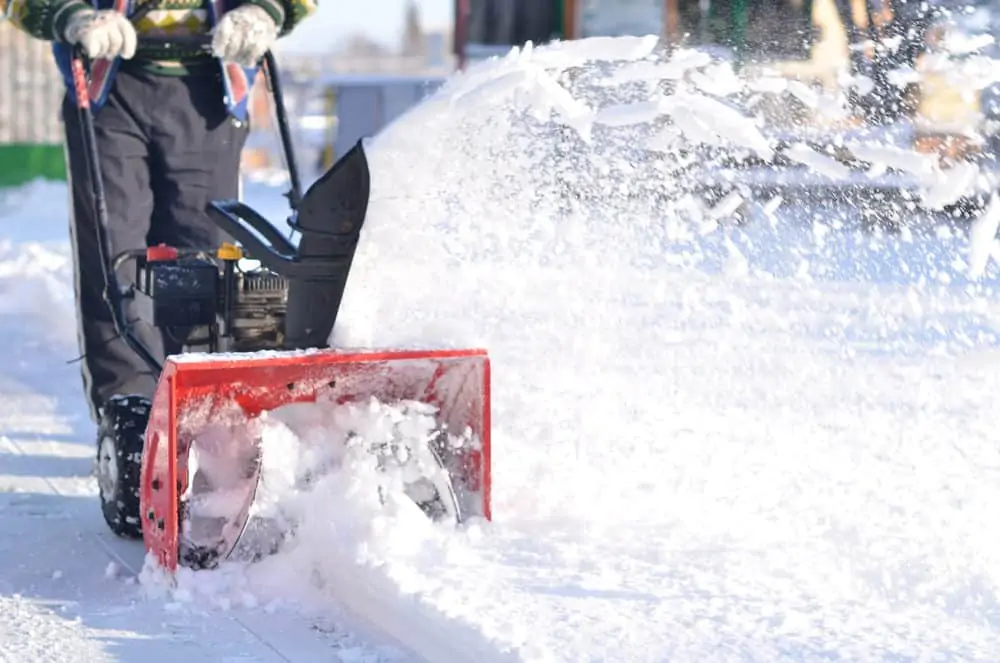
2. Throw the Snow Far
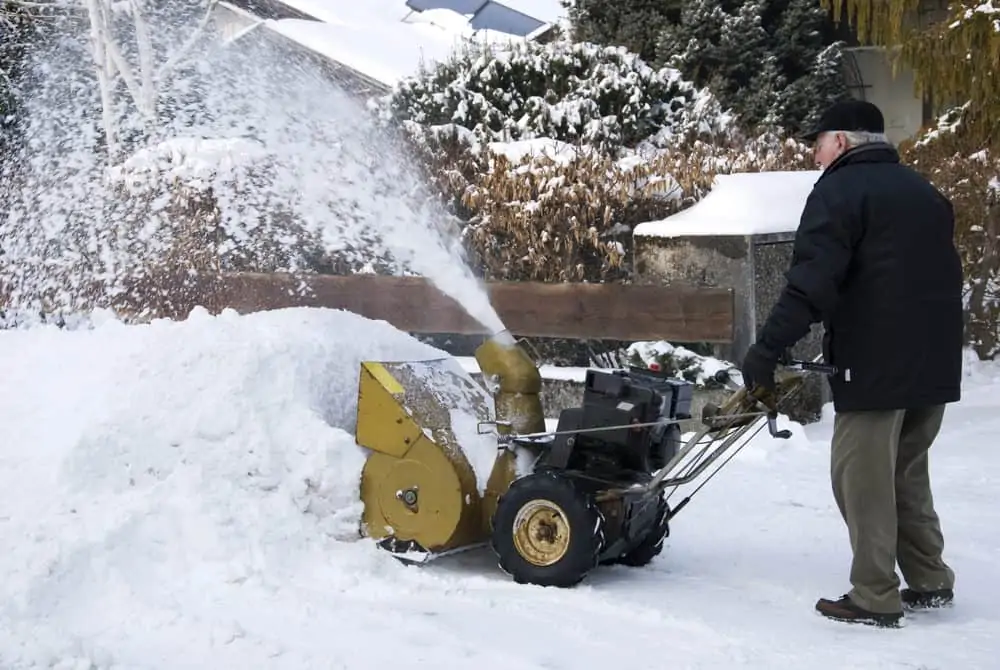
Try and get the snow as far away from the path or the driveway as you can on the first attempt. Throwing it halfway and then making a second sweep only increases the time it takes to clear the snow.
Also, it puts your snow blower under pressure, which leads to malfunctions.
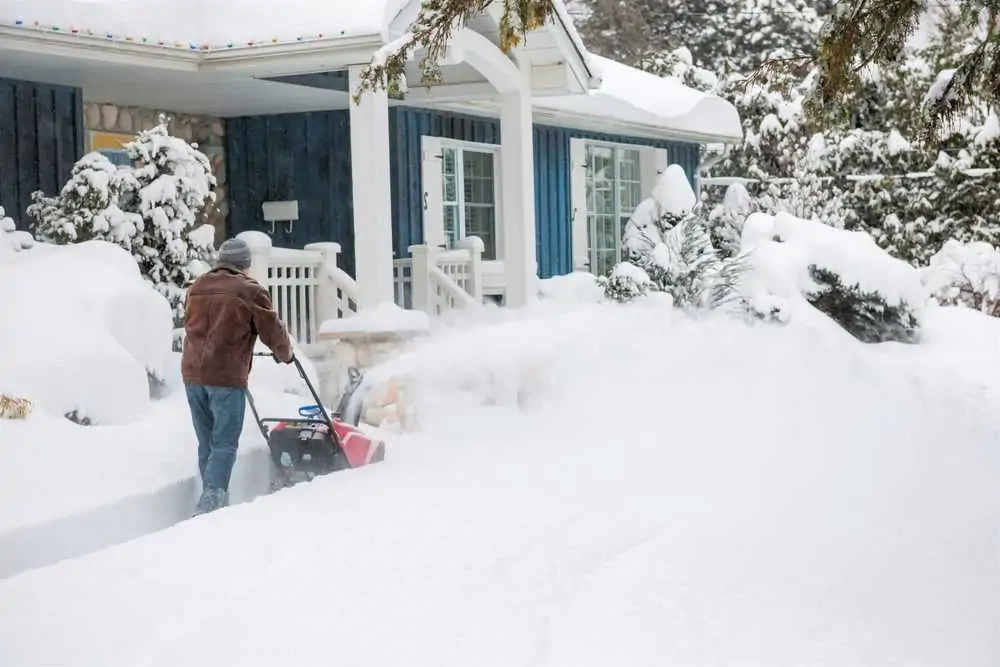
3. Plan Ahead

Assess the conditions and try to target the areas that need the most attention. Getting the job done right the first time makes you more efficient. Be aware of obstacles and plan where you are putting the snow.
It might be an idea to lay markers along the line of your driveway, so you avoid obstacles and know where to stop and turn. If the ground is frozen, use a cordless drill with a masonry bit and drill holes to insert the markers.
4. Dealing With the Wind
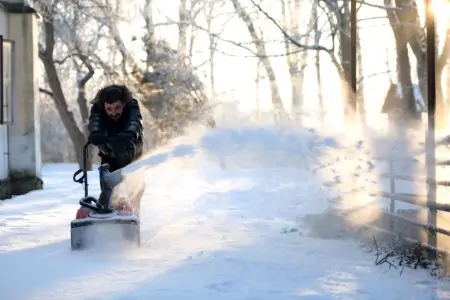
If the snow is falling fast, there’s every chance you will be working in blizzard conditions, which means you need to factor in the wind direction. Start by working upwind, slowly moving downwind as you move along in straight lines.
This technique keeps the wind on your side, throwing the snow powder further and avoiding a face full of snow.
5. Avoid Gravel

Snow blowers aren’t built to deal with gravel, especially single-stage models. Gravel gets sucked into the blower and shoots out of the exhaust at dangerous speeds. High-velocity projectiles firing from your snow blower is a recipe for disaster.
If you want to preserve your windows and car paintwork, avoid gravel. Also, think about the damage it does to your blower as it rattles around inside the motor or the chute.
6. Prepare for the Snow
Before the white stuff hits, conduct a survey of your property to identify potential problems. Remove any obstacles and large stones that could impede your snow blower and cause damage.
Make sure garden hoses are removed, along with any exterior power cords.
7. Watch Out for Newspapers
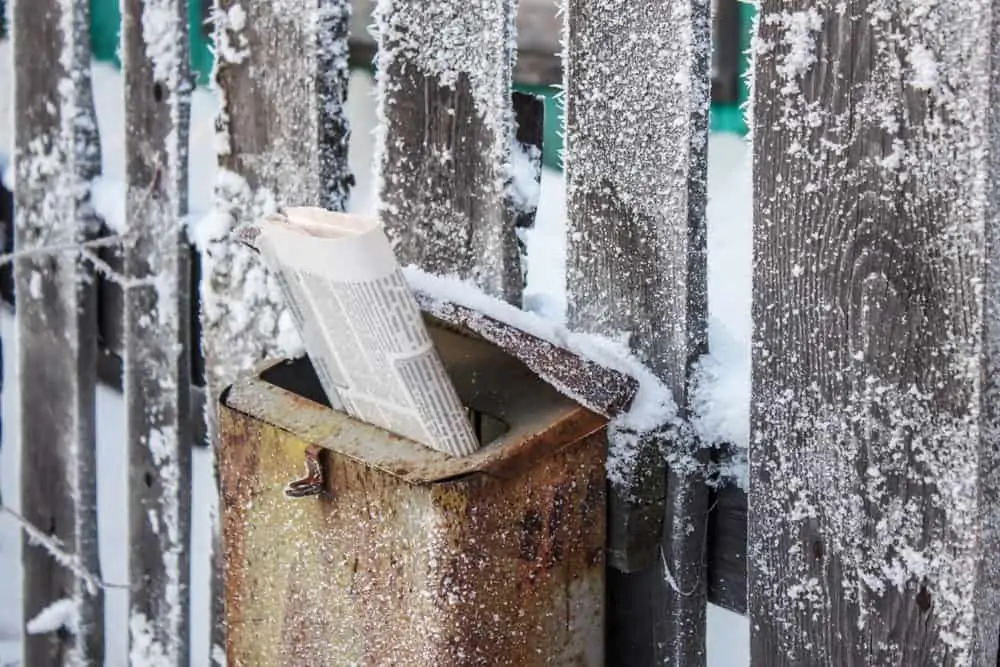
We’ve all seen the newspaper kid tossing your favorite daily on the lawn as they make their deliveries. In the winter, a layer of snow makes the newspaper hard to see. Nothing blocks your blower worse than a mulched up newspaper.
It can damage auger and impeller components, as well as snap pins and drive belts. If you suck up a newspaper, kill the motor immediately, and then get on your hands and knees to prod a broom handle inside the chute to clear the blockage.
If it doesn’t shift, it may need a trip to an expert to get it sorted.
Top Tip
8. Take Smaller Bites
Rather than trying to rush to get the job done, why not try taking bite-size chunks out of the snow. It might take a little longer, but it keeps the blower from blocking and reduces your need to stop every 5 minutes to clear blockages.
The best advice is to take it slow and steady rather than rushing. Also, take half-width passes rather than full-width. Manufacturers recommend this technique for thicker snow to avoid blockages in the blower’s chute.
Plus, it helps the machine and allows the snow to get thrown further, which avoids you dumping the snow nearby and increasing the workload.
9. Keep the Fuel Fresh

The number one cause of hard starting on cold days is stale fuel. Dump the old fuel into your car’s tank and use a winter blend instead. Winter fuel is better suited to the conditions because it is treated with butane to get a faster ignition as it increases the Reid Vapor Pressure (RVP).
10. Wait for the Blower To Cool Between Fill-Ups

If you run out of fuel midway through clearing the driveway, wait for the blower’s motor to cool before attempting a refill with fresh gasoline.
The engine gets super-hot, and the gas tank sits on top of the motor, so you will be pouring a gallon of fuel into a hot tank. This is an accident waiting to happen, possibly with severe consequences.
If you want to save yourself a trip to the ER with skin burns, wait until the engine cools. Manufacturers recommend waiting a minimum of 10 minutes before refilling. Blower fires are common enough that they issue such advice.
On the plus side, you can use the downtime to get a cup of coffee and warm your frozen fingers.
11. Add Fuel Stabilizer
Adding a fuel stabilizer to the petrol when you fill up at the pump ensures that the stabilizer mixes with the fuel as you drive home. You can also add a stabilizer to the fuel tank of your blower.
The stabilizer bonds with the gasoline to help reduce evaporation.
12. Use Synthetic Oils
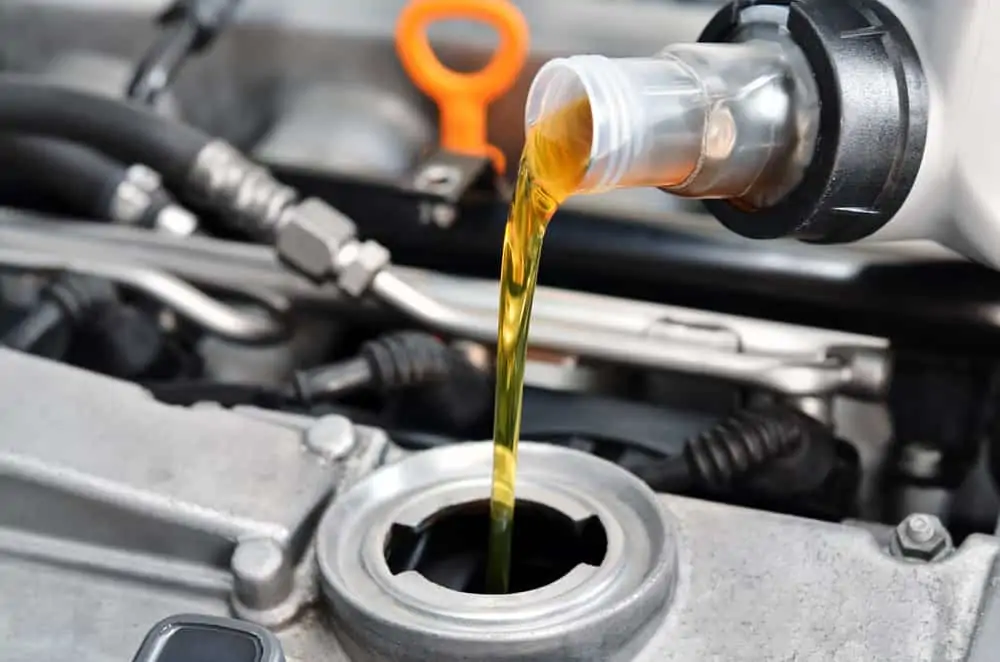
If your small motor is going to start on cold days, it needs to reach 400 RPM. Traditional motor oil thickens as the temperature drops, making it harder for the engine to fire up.
Synthetic oils handle the conditions far better, allowing the motor to run faster, making it easier to start when you pull the cord.
13. Pre-Season Maintenance
Keeping your snow blower in tip-top condition is vital if you want it to perform in the dead of winter. To do this, you should complete a pre-season maintenance checklist.
- Lubricate the axles with marine oil.
- Lubricate the linkage joints with engine oil.
- Lubricate the chute cable, gears and linkage with lube.
- Wax the inside of the chute with a premium car wax.
- Coat the second-stage impeller with silicone spray.
Sand and remove rust and then repaint, coating the fresh new surfaces with polymeric car wax to protect it. Applying the wax to the chute will help to avoid clogs.
It’s always a good idea to consult your owner’s manual before performing maintenance. It gives guidance on the correct lubrication to use and where to apply it.
14. Keep Spare Parts
Don’t wait until the blower breaks down before ordering spares. It’s too late, and the driveway will still fill with snow. Keeping spares like spark plugs, drive belts and shear pins helps to keep your machine in working order.
Pre-planning what parts you need keeps you working when you need it most and your driveway clear. It also reduces expensive repairs when you least need them.
15. Look After Your Auger
The driveshaft applies torque to the shear pin, which supplies it to the auger. If the auger rusts, it bonds with the driveshaft, which increases clogging and causes significant damage.
Keep the driveshaft lubricated to stop it from rusting. Lubricate the driveshaft with oil after you remove the shear pin. Spin the auger to spread the oil evenly.
Snow Blower Safety
Operating a snow blower comes with risks, so safety is paramount to avoid accidents. Here are some safety tips.
Avoid Loose Clothing
Loose jackets, scarves and pants can become tangled in snow blowers. We don’t need to highlight why this is a bad idea.
Sturdy Footwear With Traction
Snow is slippery, and you need to keep a firm grip on the blower. If you fall, the blower is out of control and could roll back onto you, especially if you live on an incline.
Consider shoes suitable for snow conditions or use boot grippers for added traction.
Keep Focused
Keep your mind on the task at hand and avoid your thoughts from wandering. We suppose that a protracted snow clearance task could see you slipping into auto-pilot.
Avoid Alcohol
Never operate your snow blowing machine while under the influence of alcohol or drugs. Also, avoid medication that makes you sleepy. The last thing you want are dulled reactions in an emergency.
Start Your Machine Outside
Avoid starting the snow blower inside your garage or shed. Carbon monoxide is a killer, and enclosed spaces trap the fumes, which can be fatal if you breathe them in.
Use Ear Defenders
Snow blowers operate at about 105 decibels, making them one of the noisiest machines you use. Ear defenders keep your ears protected from sustained abuse. You can also use earplugs if you don’t have ear defenders.
All you need to remember is that reduced hearing while operating a dangerous machine reduces your sense of awareness, so constantly check out your surroundings and plan where you are going to clear the snow.
Keep Children and Pets Indoors
Children should stay indoors while you are operating a snow blower. Youngsters have less fear and understanding of the risks involved, and they can be unpredictable.
Pets are exactly the same, and if the snow is deep, they can also be hard to spot.
Take It Slow and Steady
Rushing to get the job done faster creates corner-cutting. When this happens, mistakes creep in. Pace yourself and allow plenty of time to get the snow clearance done.
Time It Right
As the days get shorter, timing when you start the snow clearance is crucial to your safety. When the light fails, so does your field of vision. Never operate a snow blower in the dark.
Snow Blowing Tips FAQs

What Time of Morning Can You Start a Snowblower?
When starting a snowblower, the best time of the morning to do it is always going to be as early as you can. One hour after sunrise should be optimal in most cases, but it depends on local regulations and how understanding your neighbors are.
That’s when the engine isn’t cold, and temperatures are high enough for a seamless start-up. Plus, starting early gives you plenty of time to clear your driveway or sidewalk before work.
You should never start a snowblower too early because you’ll likely annoy all your neighbors with the noise. If you need to use a snowblower early, I suggest using an electric model, as they’re quieter.

Can You Snowblow Frozen Snow?
You can snow blow frozen snow, but you can’t do it with any type of snowblower. Electric snowblowers are generally good at removing layers of ice up to 4 inches in thickness.
For anything above that, you will need something more powerful, which is at least a 2-stage gas blower. These units have augers that can crush the snow beneath them and are much more efficient when dealing with icy driveways/freezing winter temperatures.

How Low Should a Snowblower Be Set?
The proper height of a snowblower depends on the type of snow and driveway conditions you’re facing. The snowblower should be set between 0.75 and 2 inches if you have a gravel driveway.
When unsure about the proper height, think of it this way: a snow blower can deal with powdery snow even from a great height. Otherwise, it should be as low as possible without touching hard surfaces on the ground.

Should I Spray My Snowblower with WD40?
WD-40 can be an efficient way of preventing snow from getting trapped in the chute. If you were unaware, “WD” stands for “water displacement.”
This product is designed to be applied on dry surfaces to prevent metal from accumulating water. It creates a thin film that doubles as a protective barrier, so snow doesn’t stick to your snowblower’s shoot.

Which Is Better: A Single-Stage or Two-Stage Snow Blower?
To provide an accurate response to this question, you need to ask yourself what’s your driveway setup and what type of winters you have in the area where you live.
A single-stage snowblower is best for you if you don’t have to deal with harsh winters and heavy snowfall. It comes with an auger that scoops the snow while the chute throws it out in a single motion.
A two-stage snow blower is better for those living in really cold temperatures, heavy snowfall, and icy roads. These units have powerful augers (usually made with serrated steel) that break larger chunks of snow and ice and feed them to the impeller.
The second stage is pushing the crushed snow and ice into the chute, which is released outside. You want a two-stage snow blower to deal with wet snow.
It’s Snow Joke
Snow blowing is a lot of fun and incredibly satisfying, but you should take it seriously. Planning, safety, the welfare of others and the technique you employ all play a part in the successful clearance of your yard.
And don’t forget to keep your snow blower in perfect condition with a pre-season maintenance schedule.