Using a shower diverter is as simple as flicking a switch. But what happens when your diverter fails, and the water still pours out of the faucet?
We show you how to tell if your diverter is broken and how to repair it in easy-to-follow steps.
Key Takeaways
- Identify a broken shower diverter: If water still flows out of the bathtub spout after engaging the diverter, it may be broken.
- Repair the diverter: Try cleaning the valve with vinegar, lubricating with cooking oil, or soaking the entire faucet assembly to fix the issue.
- Replace the valve gate: If the above methods fail, purchase a matching replacement valve gate and follow steps to install it.
- Install a new diverter: If all else fails, replace the entire shower diverter valve by following the step-by-step guide in the article.
How Do I Know if My Shower Diverter Valve Is Broken?
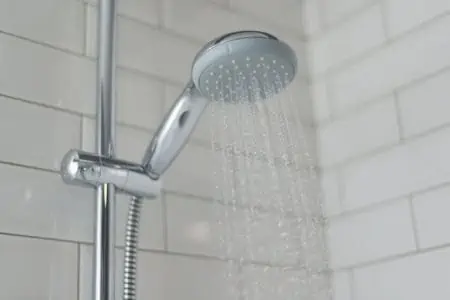
When you flick the water diverter switch, the water should divert from the faucet and come out of the showerhead for a nice hot wash.
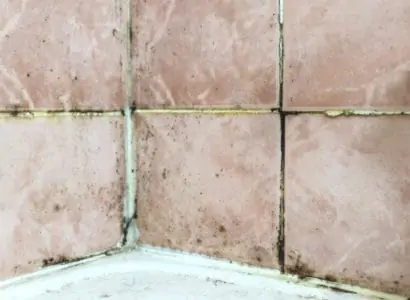
When you divert the water, and it still flows out of the bathtub spout, you know you have a problem. It could be something simple like an inner rubber stopper failing to create a good enough seal to channel the water, or it could be something more serious.
How To Repair a Shower Diverter
Sometimes when you engage the diverter valve it feels stiff or makes a grating or squeaking sound. This could be the result of dirt or grime build-up.
Before you get started with the repairs, here are some handy things you will need:
- White vinegar.
- Plastic bag.
- Rubber band or string.
- Cooking oil spray.
- Screwdriver.
- Tape.
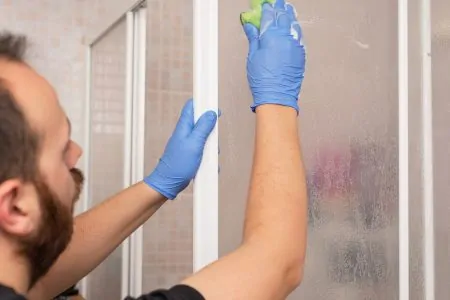
1. Clean Your Diverter Valve
Grab a plastic bag and fill it with white vinegar. You can mix the vinegar with water if you like. Wrap the spout with the plastic bag, ensuring that the fixture is completely submerged in the solution.
Keep the bag in place using a rubber band or string and leave the shower faucet submerged for 3 or 4 days. Once the spout looks new, pull off the bag and engage the diverter.
2. Use Cooking Oil
If the vinegar soak method fails, reach for the cooking oil to act as a lubricant. Pull the diverter valve up and down several times to loosen it. Coat the knob in cooking oil spray to act as a lubricant.
Now try and move the diverter knob several times to see if it has loosened. Apply more spray if you need to, and then wipe away any excess oil to clean up the spout.
3. Soak the Whole Faucet Assembly
If soaking the faucet spout doesn’t work, try cleaning the entire assembly.
Turn off the water supply from the main spigot to avoid flooding. There are 3 main styles of faucet:
- A single screw under the spout.
- A threaded pipe that attaches to the wall.
- A pipe that slots into the wall and locks into place.
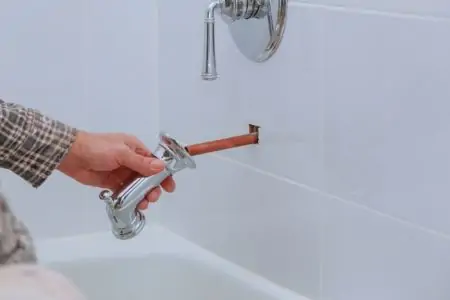
Remove the spout by twisting the screw counterclockwise or using a screwdriver to pry the pipe off the wall. Once the faucet is free from the wall, inspect the inside and remove any grime or build-up using sandpaper.
You could also make up a paste of baking soda and vinegar and spread it on the affected areas. Leave it to work for 30 minutes and then clean it off.
Take the spout and submerge it completely in a vinegar solution and leave it for 3 to 4 days. Check on it regularly, using a rag or toothbrush to remove any debris that you can see.
Once the spout is sparkling clean, dry it off and add some Teflon tape to the tip and reattach it to the copper pipe in the wall.
Reconnect the water supply and try the diverter to see if it is working.
4. Replace the Valve Gate
Cover the drain with tape to stop any screws from falling down the hole. Remove the spout from the wall and use it to match up the replacement at the hardware store. Attach the new one to the wall and twist it, so it sits upside down.
Pry the plastic prongs apart and remove the white bits out of the spout. Remove the metal diverter knob and replace it with the new one. Now insert the underside portion of the valve, starting with the spring and the black washer.
Slip on the white plastic peg to hold it all in place. Twist the spout so it now faces the right way and reconnect the water to test the diverter.
How To Replace a Shower Diverter Valve
Once you establish that the shower diverter is broken and you’ve tried repairing it, you might need a new one. It is a pretty simple job that you can do in less than a day, and it means you improve your showering experience.
Before you get started, there are some tools you will need to perform the task.
- A screwdriver.
- Tape.
- A dry towel.
- A wrench.
1. Turn Off the Water
Before attempting a repair, you need to isolate the shower diverter and stop the flow of water.
2. Seal the Drain
Use some tape to cover the drain to stop small things like screws from falling into the hole. There is nothing worse than losing small items that you need for the repair. Plus, it could cause a blockage when you come to drain the water from the bathtub later on.
3. Tighten the Screws
Grab the screwdriver and tighten the screws on the faceplate of the diverter valve to try and stop the water from pouring out of the faucet spout. If you do this and the water still comes through the tap into the bathtub after the diverter is engaged, you may need to step it up a gear.
4. Disassemble the Valve
If your shower diverter has a rotating valve, find the nut on the stem and unscrew, removing the entire valve. If you have a gate-style model, unscrew the bathtub spout.
5. Replace the Diverter
Take the old diverter with you to the hardware store to get the exact replacement. Install the replacement, making sure you don’t cross-thread each part.
Use a wrench to get a tight seal on the diverter, but be careful not to tighten it too much. Twist the gate or adjust the stopper to get it in the correct position.
6. Turn on the Water
Turn the water back on and engage the sho
wer diverter so the water flows out of the showerhead. If the water runs out without any escaping through the faucet, pat yourself on the back for a job well done.
Try Repairing Before Replacing
If you like saving money, a repair is always cheaper than a replacement. A shower diverter is a simple thing to disassemble and repair, so before you rush out to the DIY store, take a look and see if you can fix it yourself.
If you doubt your plumbing skills, you could always call a plumber, but that would dent your bank balance.