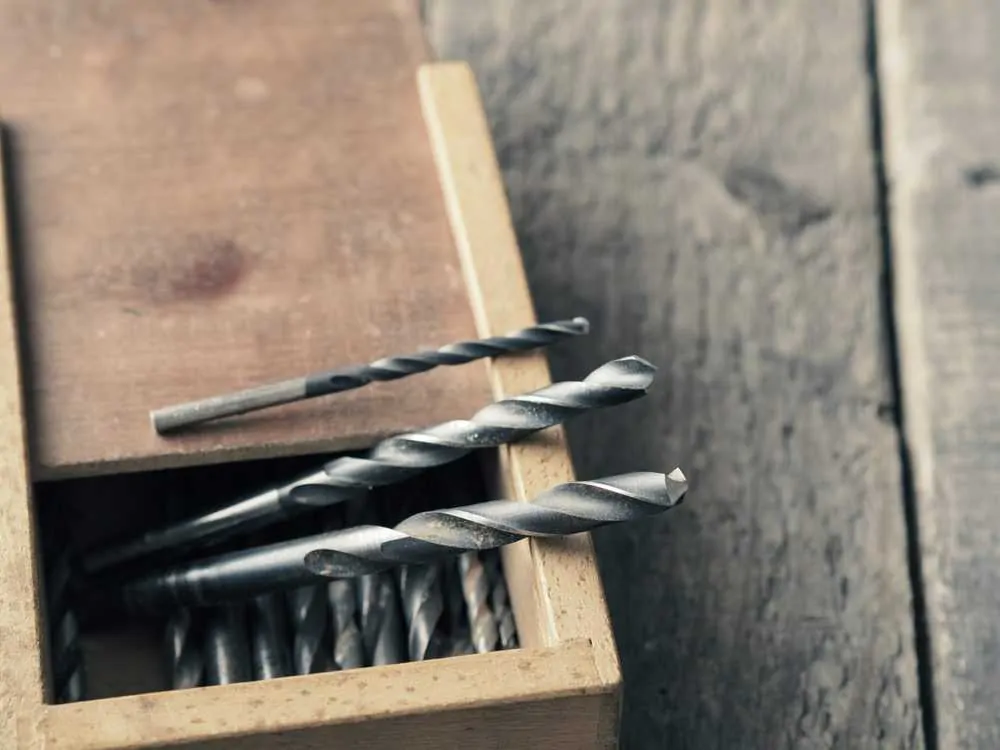
Having an effective tool set isn’t only a matter of buying the best tools you can find. It is also important that you keep those tools in top condition via regular maintenance, which includes sharpening your drill bits.
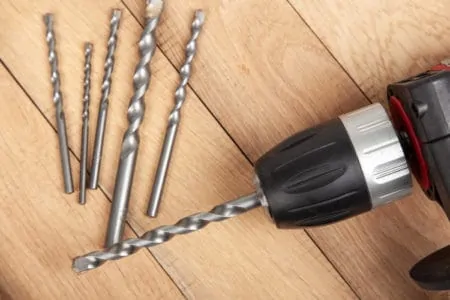
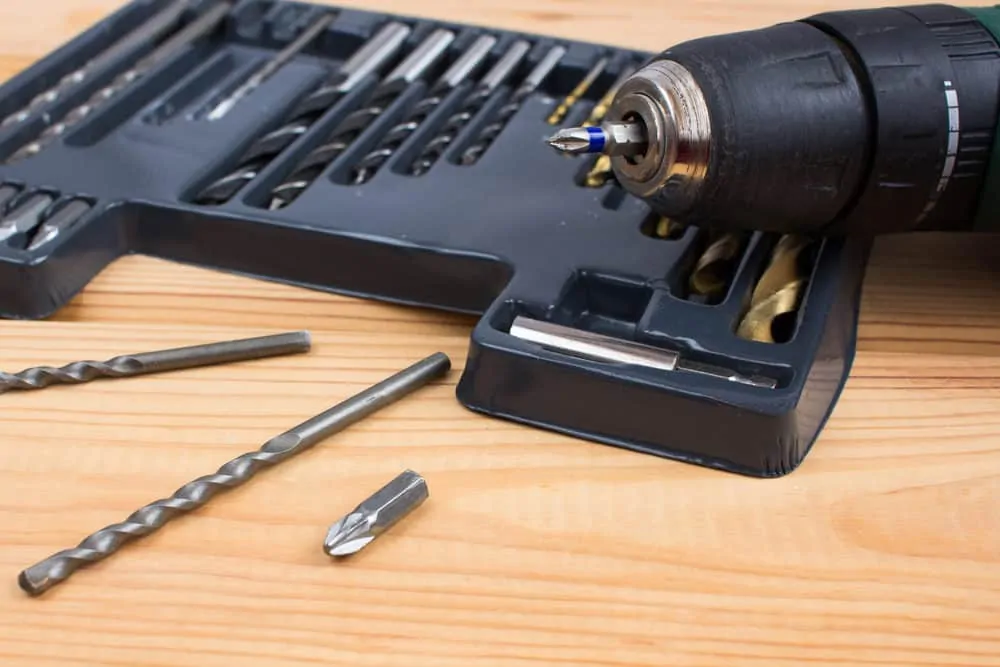
Drill bits are expected to penetrate tough materials such as bricks, wood, and metals. A bit might have to do this hundreds or even thousands of times if you are a professional builder or a keen DIYer, which will eventually blunt it.
In this guide, we will walk you through how to sharpen drill bits. Taking the time to sharpen your bits means you will be able to keep drilling quickly and effectively.
Key Takeaways
- Check drill bits for dullness before sharpening.
- Wear safety goggles and use a grinder or specialized sharpener.
- Sharpen at the correct angle and work in short bursts.
- Test the sharpness of the drill bit on scrap wood before using.
Is it Worth Sharpening Drill Bits?
If you want an efficient drill that will make clean holes with minimal effort, you should absolutely dedicate some time to sharpening them.
Sharpening your bits is an important part of maintaining your tool kit. Replacing dull drill bits can be expensive, so it is worth getting as much use from them as possible. You should also consider the safety aspect, as a blunt drill bit could cause injury.
On a practical level, a sharp drill bit will help you complete tasks quickly. A blunt bit could slow your drilling down considerably, so the relatively short time it takes to sharpen them will be an excellent investment.
How Can You Tell if a Drill Bit Is Sharp?
When a sharp drill bit turns, you should be able to feel it cutting through the material. There will be some degree of resistance. As it turns, the drill bit will also extract pieces of debris, and it should make the hole when minimal pressure is applied.
However, when a bit is dull, it spins more quickly because it is not cutting into the material. This leads to the bit heating up and dulling further. You will also notice a lack of debris being removed from the hole.
As the friction heats the bit, you might see smoke or smell burning, especially when drilling into wood. If this happens, stop what you are doing immediately or you could cause a fire.
Best Ways to Sharpen Drill Bits
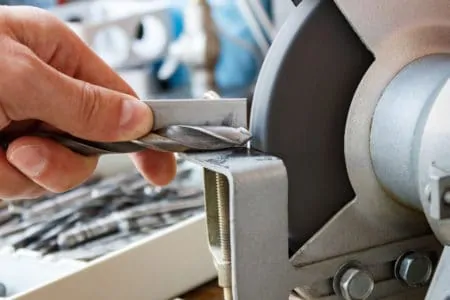
Bench Grinder
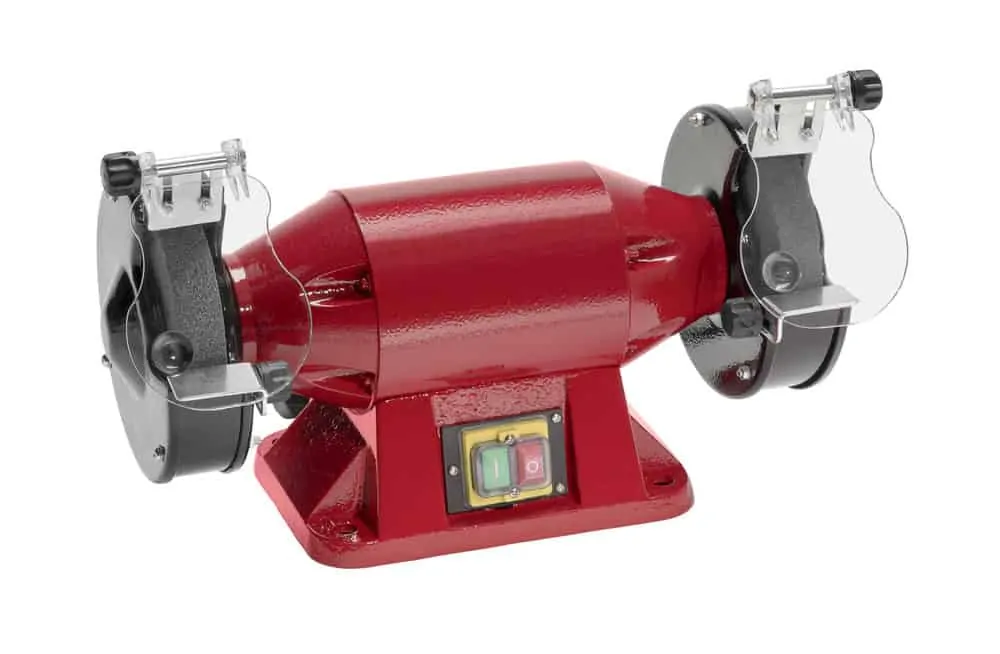
Bench grinders are excellent for sharpening drill bits. You can simply put on some eye protection, turn on the grinder and start sharpening your bits. However, not all drill bits are suitable for this method.
You can use a grinder to sharpen flat wood bits, twist bits, masonry bits, and spur point bits. Most grinders have coarse and fine wheels that will help you achieve a satisfactory finish. With that said, grinders will require some practice to get your technique right.
All you need to do is hold the drill bit so its cutting surface is in contact with the wheel. You can then adjust the angle freehand until you are happy with how your bit looks and cuts.
Pros
- Quick results
- Can fix broken bits
- A grinder has various uses
- Short set-up time
Cons
- Difficult to master
- Not suitable for all drill bits
- Less accurate than other methods
Drill Doctor
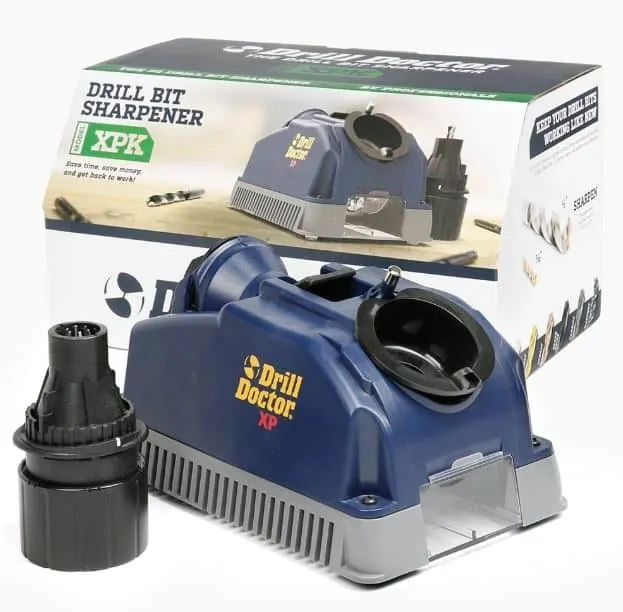
If you want to restore your bits to make them as good as new, a drill bit sharpening tool such as the Drill Doctor is an excellent investment. These tools are generally only bought by professionals as they can be expensive.
They can be used to sharpen masonry and twist drill bits but may be unsuitable for flat wood, spur point, or wood auger drill bits.
The Drill Doctor allows you to clamp the bit in a chuck, select the angle you require, and lock the bit to the grinding block. With the machine active, you make half turns to rotate the bit, sharpening both blades at the same time.
Every even number you count represents a full turn. Make between 20 and 40 turns until your drill bit is sharp.
Pros
- Easy to use
- Sharpens in less than a minute
- Allows you to customize the sharpening angle
- Suitable for tough drill bits
Cons
- Relatively expensive
- Not suitable for all bit types
Diamond File
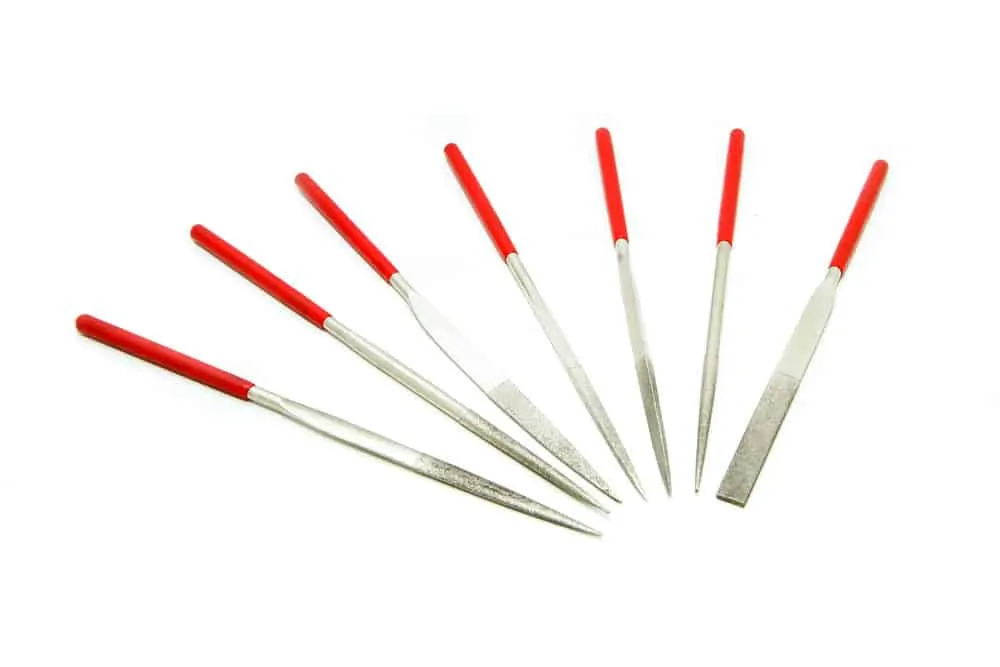
Using a diamond file is an old-fashioned and time-consuming method, but it offers more precision than a grinder. It is the only way you can sharpen auger bits, pilot screws, and countersink bits. You can also sharpen spur points more effectively by using this method.
As diamond files don’t have teeth, you can move them in any direction. Diamond files work when you push and pull them. The tapered end of the file is ideal for getting to the hard-to-reach spots.
Pros
- Cheap to buy
- Easy to use
- Sharpens every type of drill bit
- Provides a precision finish
- Extremely long lifespan
- Easy to carry in your toolbox
Cons
- Takes longer than a machine
- Requires user precision
Drill-Powered Bit Sharpening Tool
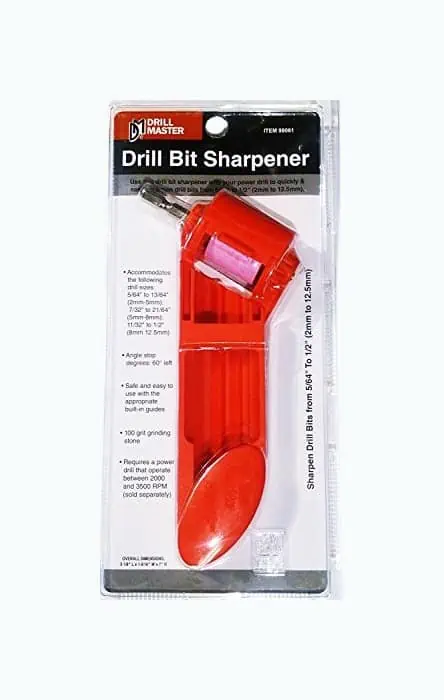
These drill attachments are relatively inexpensive and will effectively turn your drill into a bit sharpening tool. They provide an excellent alternative to the more expensive Drill Doctor and still achieve satisfactory results. However, they are lacking in precision.
They work by attaching your drill to a small grinding wheel mounted in a special frame. The bit is inserted into a slot and held in place by hand as the wheel sharpens the cutting edge. This method is only suitable for twist drill bits.
Pros
- Cheap
- Compact
- Lightweight
- Easy to set up
Cons
- Imprecise
- Tricky to use
- Angles require some guesswork
- Only suitable for twist drill bits
- Limited drill bit size
Dremel Tool
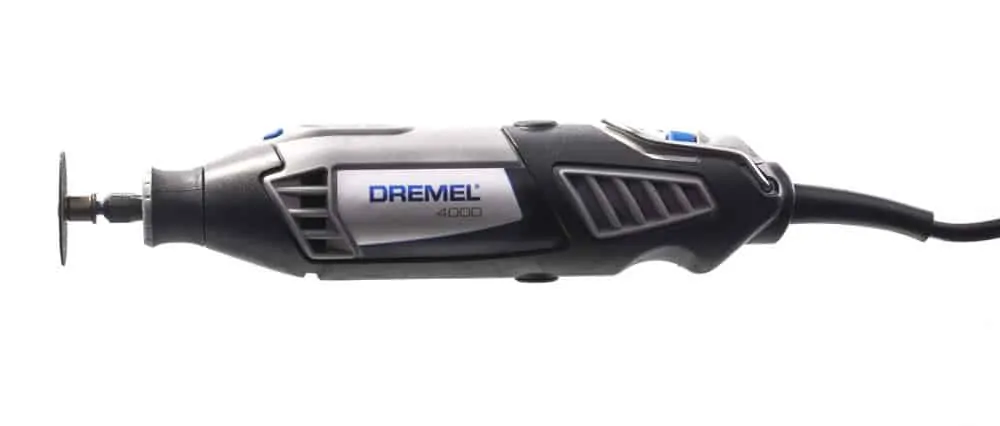
Dremels are versatile tools that can perform many tasks, including sharpening your drill bits. You can think of one as a mini grinder. It can be used to sharpen drill bits such as twist, flat wood, and masonry bits, but a Dremel will probably struggle with more specialized bits.
Sharpening a drill bit with a Dremel is essentially using a makeshift grinder. You can clamp the Dremel to a workbench and move the drill bit across the spinning abrasive surface.
Pros
- Easy to use
- Rapid results
- Can easily adjust the angle
Cons
- Imprecise
- Involves some guesswork
- The drill bit gets hot
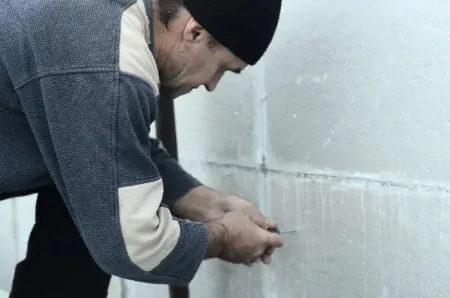
How to Sharpen Drill Bits by Hand
If you are considering sharpening your drill bits by hand, this guide should help you achieve good results relatively quickly.
What You Need
- A bench grinder with coarse and fine grinding wheels. If you don’t own a grinder, a belt sander will work equally well.
- Safety goggles are essential when working with anything that launches sparks or thin slithers of metal. You will need to work close to the machine, so protect your eyes.
- Gloves are optional, as some people don’t like that they can reduce your grip. Loose-fitting gloves can be dangerous as they might get snagged on the grinding wheel.
- A bucket of water will help keep your drill bit from overheating, which can otherwise dull the cutting edge.
- Some scrap wood to test your drill bit after sharpening it.
1. Separate the Blunt Bits
Determine which drill bits need some attention and separate them from the sharp bits. There is no point trying to sharpen bits that are already sharp, as you will only shorten their lifespan.
2. Grind the Edges
Put your goggles on before starting. Your goal is to remove the minimum amount of surface metal while making your bits as sharp as possible.
Turn on the grinder and hold the worst drill bits against the coarse wheel first before graduating to the finer wheel. Hold the bit so the blade is parallel to the grinder. Press gently and allow the grinder to smooth away unwanted metal.
Hold the bit still and don’t rotate it while it is touching the wheel. You should aim to replicate the factory setting of 60 degrees.
3. Don’t Overdo It
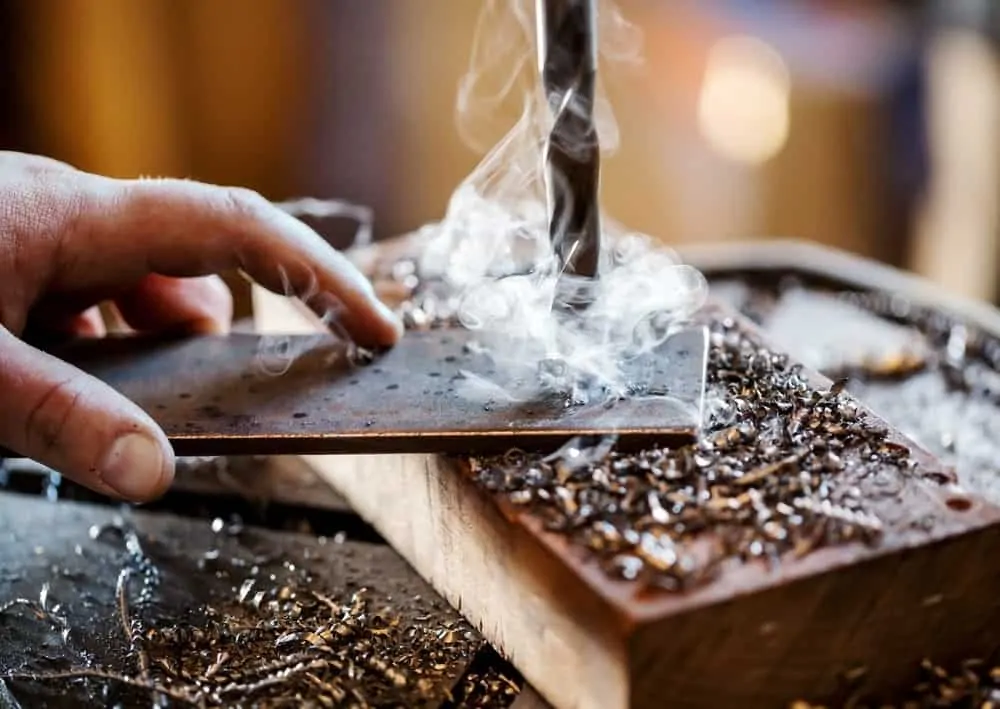
The drill bit should be in contact with the grinder for no more than five seconds at a time. To achieve the best angle, try to sharpen the area where the twisted shaft meets the tip.
4. Dip the Bit in Cold Water
After sharpening the bit, dip it in your bucket of cold water. This will prevent the bit from heating up and burning your hands. When bits heat up, they can also lose their sharpness.
Remove the bit from the water and check the edge to see whether or not it is sharp.
5. Do the Other Side
If you are satisfied with the first side, turn the drill bit 180 degrees and repeat the process on the other side. Aim for a central point where both cutting surfaces meet in the middle of the bit.
To achieve better results, try swapping the sides of the drill bit every few seconds to balance the honing. This is similar to how you might sharpen a knife, working on each side in short bursts.
You should also aim for a 60-degree angle for the best results.
6. Give the Bit a Dry Run by Hand-Turning
Once you are satisfied, test the bit by hand to check its sharpness and balance. Hand-turn the bit into a piece of scrap wood. If the bit cuts into the wood without much pressure, you can be confident that the bit is sharp.
If you can’t drill the wood without pushing hard, return to the grinder until you achieve the desired results.
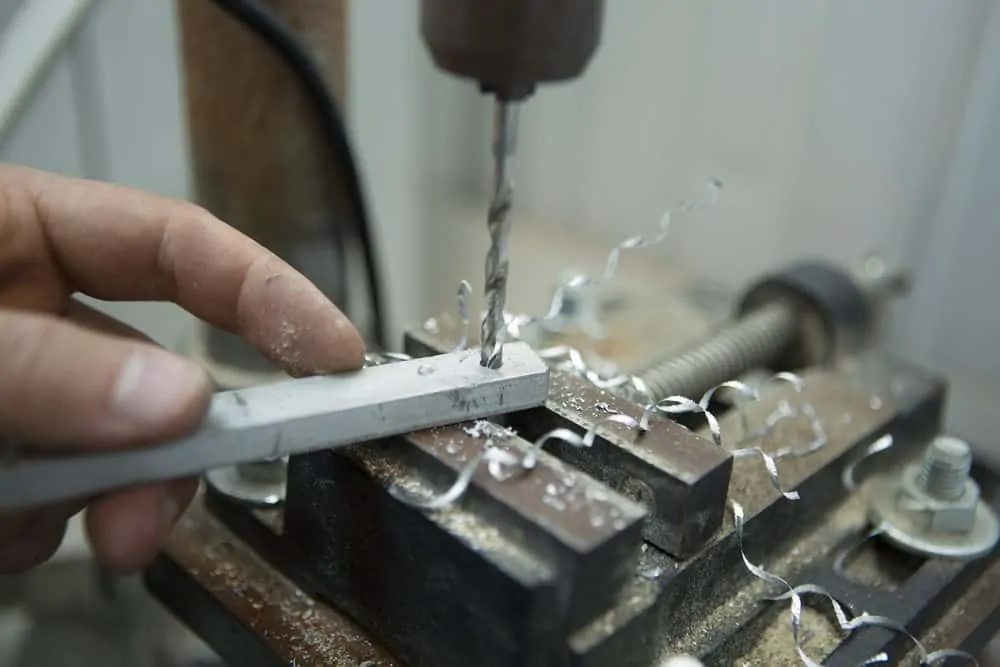
7. Use Your Drill to Test It
It is now time to test the drill bit properly. Insert it into your drill and press it against the scrap wood. If you feel the drill bit biting straight away, you have succeeded.
Top Tips for Keeping Drill Bits Sharp
Tip #1: Use the Right Drill Bit
With so many drill bits to choose from, it is easy to use the wrong one. A spur-point drill bit won’t last long if you insist on using it to drill into brick walls. On the other hand, masonry drill bits will overheat if you use them to drill holes in wood.
Make sure you know what your drill bits are for to avoid wearing them out quickly.
Tip #2: Store in a Dry Place
Drill bits are made to be durable but moisture can still damage them over time. Make sure you keep your bits sealed and away from water, or you might find them dulled by rust and corrosion.
Tip #3: Practice Your Drilling Technique
Every time you drill, stop halfway and retract the drill bit. Blow away any debris before putting it back into the hole. This will prevent material from clogging the recesses of the bit and overheating it.
As it heats, the bit will dull. Cleaning away the debris also clears a path into the hole, reducing the workload of your drill bit.
Tip #4: Keep the Bit Cool
Keep a jug of cold water nearby when you drill. After drilling each hole, dowse the bit in the water to cool it. This should prevent it from overheating.
Tip #5: Keep Spares

If you are working on a project where you will need to drill a lot of holes, you should always have some spare bits. By keeping spares, you will still have a sharp bit ready to use if one becomes dull. This will allow you to continue working without needing to stop and sharpen them.
FAQs

How Many Degrees Should the Clearance Angle Be Ground to When Sharpening Drill Bits?
There’s no set ideal clearance angle. It’ll vary depending on what material you’re drilling, but 60 degrees is generally a good starting point for most things.

What Could Happen When Using Improperly Sharpened Drill Bits?
Dull bits can increase friction between the bit and the drilled material, resulting in reduced performance and speed. Aso, using a poorly sharpened drill bit makes it way more likely you’ll experience breakage or tears in your material as you’re drilling.
These issues can cause damage to both the material and the tool itself, not to mention the increased risk of injury from flying shards of wood or metal tailings.

What’s the Best Drill Bit Sharpener?
If you are searching for a drill bit sharpener that is completely failsafe, the DD500X from Drill Doctor is as close to perfect as it can get. It includes two angles, 118 and 135 degrees, already configured for you.
Using these pre-sets, you can select the appropriate drill bit angle without worrying about being off by more than a degree or two.
Diamond grinding wheels make it easy to work with various types of bits, and this one comes standard.
It can also “split” the end of the drill bit, resulting in a hole drilled with greater precision. It can handle most of the drill bits that come in a regular set since it can sharpen drill bits with diameters ranging from 3/32 inch to 1/2 inch.