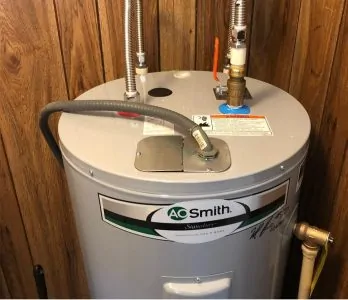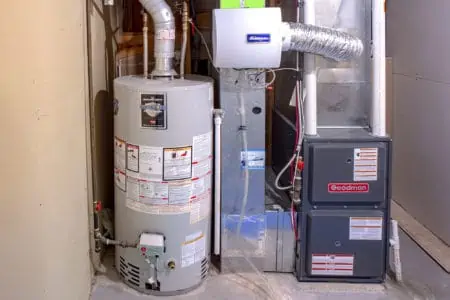
Have you recently discovered that the pilot light on your gas-powered tank water heater won’t stay lit? This will prevent your heater from functioning and leave you without hot water and central heating.
Before you rush to buy a new water heater, it’s worth taking the time to investigate the source of the problem. It might be caused by a bad thermocouple, which can be cleaned or replaced.
Water heater thermocouple replacement is an easy job with the necessary knowledge. In this article, we will explain what a thermocouple is and how to replace a thermocouple on a water heater.
Key Takeaways
- Thermocouple is a safety feature in gas-powered water heaters, controlling gas flow and detecting pilot flame.
- Common thermocouple issues include a weak pilot light or pilot light not staying lit, indicating a potential replacement is needed.
- To replace a thermocouple, turn off the gas control valve, disconnect the control valve, remove the old thermocouple, install the new one, and check for gas leaks.
- Thermocouples cost around $20, making it a relatively inexpensive repair, especially when done by yourself.
What Is a Water Heater Thermocouple?
A thermocouple controls gas flow within a gas-powered water heater. It is sometimes referred to as a water heater flame sensor, but this is more common in new heaters.
The thermocouple is a component of the pilot burner. It works with the gas control valve, which is on the exterior of the unit. Essentially, it converts heat from a flame into small electrical currents.
This allows the thermocouple to work similarly to a switch, controlling the gas flow from the gas valve. A thermocouple is an essential safety feature of a gas-powered water heater. If it doesn’t sense a flame, it will stop the gas flow to the burner.
A thermocouple consists of two parts. The first is a small probe, about one inch long and ¼ inch in diameter positioned directly above the pilot orifice. When the pilot light is on, the probe is heated by the flame.
The other part is a copper tube. This is connected to the front or side of the gas valve with a small nut.
Thermoelectric Effect
The thermocouple as we know it today is based on the Seebeck effect, which was named after the German physicist who discovered it in 1821 (1).
The effect works with any two types of metal. However, the metals most commonly used in water heater thermocouples are stainless steel and copel — an alloy of copper and nickel.
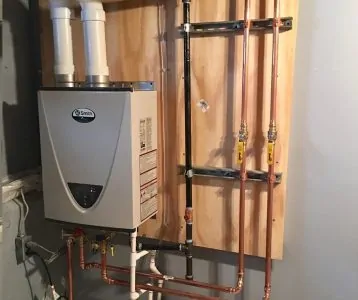
Electronic Ignition vs Standing Pilot
There are two main ignition systems available: standing pilot and electronic ignition. How to replace the thermocouple depends on the type of system your unit has.
In a standing pilot system, you only have the pilot and the thermocouple with the burner assembly. Electronic ignitions include the same parts but also have an electronic igniter.
An easy way to check whether you have a standing or electronic system is to see if there’s a pilot flame. Standing pilot units always have a small flame burning. Electronic ignition units rely on the thermostat to decide when the burner should light.
How Do You Know If You Have a Bad Thermocouple?
When you turn on a gas-powered water heater, hold the gas control knob for about 20 to 30 seconds. This gives the thermocouple time to heat up. If the flame initially lights but goes out when you release the knob, there is a problem with the thermocouple.
If the pilot light is burning but is weak and orange in color, there could also be a problem. There might be an obstruction in the pilot tube, preventing the pilot light from heating up the thermocouple.
If the pilot won’t light at all, it could also be due to an obstruction in the pilot light tube. In this case, the problem should be fixed after removing the obstruction.
How to Test the Thermocouple
If you’re still unsure whether or not you need to replace the thermocouple, you should test it. As the thermocouple creates small electrical currents, you can use a multimeter to test if it works.
Start by unscrewing the thermocouple from the gas valve, then light the pilot — you may need a friend to hold the gas control knob in.
Set your multimeter to millivolts and wait about a minute until the probe is hot. When you’re sure it’s hot, place one lead on the thermocouple shaft and another lead on the connector.
A working thermocouple will generally get a reading between 25 and 35 millivolts (2). If you see a result of 25 millivolts or less, the thermocouple has malfunctioned and needs to be replaced.
How to Replace a Water Heater Thermocouple
Once you have determined that your thermocouple is faulty, you need to replace it. The replacement method varies slightly for each system, so we will explain how to install a thermocouple in each way.
1. Removing the Cover Panel
Before starting, it’s important to turn off the heater’s gas control valve. You do this the same way whether you have a standing pilot or electronic ignition.
You now need to close the shut-off valve on the main gas supply pipe. If you have a standing pilot, you can then begin to take out the cover panel to reveal the burner assembly.
If you have an electronic ignition, you will need to remove the burner assembly manifold cover panel. Start by removing the fasteners that secure the manifold top plate.
Depending on the manufacturer, these could be screws, nuts, or even specialized fasteners.
Next, you will need to take out the burner reservoir tube. Then, gently press down to get the pilot tube, manifold, and thermocouple circuitry out.
Be Gentle
2. Disconnect the Control Valve
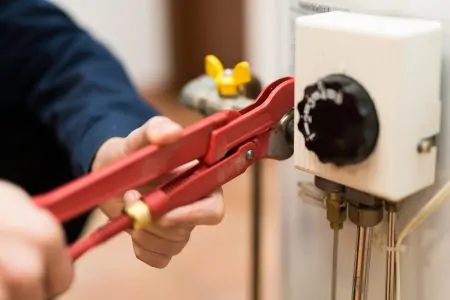
Use an open-end or adjustable wrench to release the thermocouple connection from the control valve. You also need to disconnect the pilot supply tube and main burner supply tube. If you have an electronic ignition, the wire to the Piezo igniter also needs to be removed.
3. Removing the Thermocouple
Once you have removed the burner assembly, carefully but firmly remove the faulty thermocouple from its mounting bracket. Take care not to damage any parts.
To completely remove the thermocouple from an electronic ignition system, you will need to pull it through the grommet seal.
4. Install the New Thermocouple
It’s now time to install your replacement thermocouple. This process varies depending on the type of system you have, so let’s take a closer look:
For Electronic Ignition Systems
For both electronic ignition and standing pilot systems, you will need to place the thermocouple inside the mounting bracket. Push it gently until it’s fully in position or clicks to indicate that it is in place.
Place the thermocouple so the pilot flame covers about half an inch of the thermocouple tip.
The burner assembly needs to be reinstalled in the burner combustion chamber. Make sure it’s securely in place.
An electronic ignition system also requires a gasket around the manifold top plate. If it’s still in good shape, you can reuse the same one. If it looks damaged or old, replace it with a new one.
5. Reconnect Gas Control
Start by reconnecting the pilot and burner supply tubes, and the thermocouple, to the gas control valve. Make sure the thermocouple is only a quarter-turn more than hand-tight. If you have an electronic ignition, the Piezo igniter also needs to be reconnected now.
Next, open the gas shut-off valve, then move the gas control valve to “ON”. If you have a standing pilot system, you’ll need to light the pilot before turning the gas control valve on.
Set your desired temperature at the thermostat.
6. Check for Gas Leakage
When dealing with a gas-powered water heater, it’s crucial to make sure there are no leaks. The best way to check is by using a water and soap mixture.
Cover all the fittings with the soapy mixture and watch for any air bubbles. If you do notice leak bubbles, re-check and tighten all fittings. Keep checking until you’re sure there are no leaks.
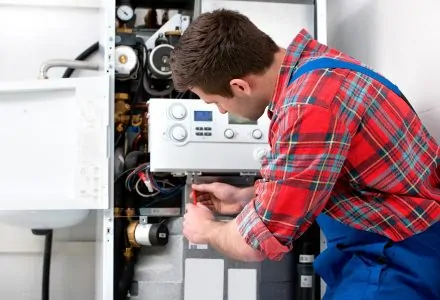
How Much Does a Thermocouple Cost?
A thermocouple is an inexpensive but important part of a gas-powered water heater. If you choose to have a plumber do the job, it could cost up to $150.
However, if you follow our guide and do it yourself, you will only need to pay for the replacement thermocouple — usually about $20.
You can buy a thermocouple for a water heater at your local hardware store, plumbing supply store, or home improvement store.
We recommend that you bring your old thermocouple to the shop. It’s important to get an exact replacement, which can be difficult without the actual item to hand.
FAQs

Where Is the Thermocouple on a Water Heater?
On a water heater, the thermocouple should be relatively easy to access and remove as it is a part that commonly needs replacing. It will be near the pilot light, as the thermocouple controls the flow of gas into the heater. If the thermocouple can’t detect the presence of a pilot flame, it cuts off the gas supply to prevent gas from leaking out of the heater.

Why Does My Hot Water Tank Pilot Light Keep Going Out?
If your pilot light won’t ignite, it’s possible that there is a blockage in the pipe that supplies gas to it. However, if you are able to light it but it quickly goes out, it might be an issue with your thermocouple. The thermocouple acts as a safety device, preventing gas from escaping when the pilot won’t light. However, sometimes there is a problem with the thermocouple and it prevents the flow of gas when it shouldn’t.

Does Gas Leak if a Pilot Light Goes Out?
With a modern boiler, gas won’t leak from the system even if the pilot light is out. This is thanks to your thermocouple, a component that controls the flow of gas into your hot water heater. It constantly detects whether or not there is a pilot flame and shuts off the gas supply to the heater when there isn’t. This makes it particularly important that your thermocouple is in working order.

Why Do Thermocouples Go Bad?
There are a few different reasons why thermocouples go bad. It could be due to a burned-out or broken thermocouple, soot build-up blocking the flame, or the thermocouple not being lined up correctly, which causes the pilot light flame to not cover the thermocouple’s rod top.

Are Water Heater Thermocouples Universal?
Certain water heater thermocouples are universal, but not all of them. A universal thermocouple has a screw that goes into the bottom of the gas valve, and the other end has a sliding probe that fits into a holding bracket that is located close to the pilot light.
A range of lengths is available for universal thermocouples, from 15 to 36 inches. Any residential water heater using universal kits can get by with either an 18 or 24-inch.

How Do I Know What Kind of Thermocouple I Need?
To know what kind of thermocouple you need, you must pay attention to the selection criteria. You must consider aspects such as installation requirements, vibration resistance, abrasion, chemical resistance, and temperature range.
Ungrounded thermocouples work best with corrosive environments, while exposed ones are better if you need high response times.

What Is the Difference Between J Type and K Type Thermocouples?
J Type thermocouples are made from constantan and iron, while K Type ones are made of nickel-aluminum allow and nickel-chromium alloy.

What Tools Do I Need to Change a Thermocouple?
To change a thermocouple, you will need a screwdriver and/or an adjustable wrench. Adjustable wrenches will come in handy when removing the thermocouple from the gas valve.
Remove the thermocouple from its position on the pilot assembly. Some thermocouples can be removed by simply pulling them off, while others call for the use of a screwdriver to first remove the screws holding them in place.

How Often Do You Need to Replace a Thermocouple?
When properly maintained, thermocouples only need replacing every 10 years or so.