There are few tools that can boast the versatility of radial arm saws. This single saw can perform the duties of several other stationary tools.
In the hands of an experienced woodworker, a radial arm saw is one of the most dependable tools you can buy. They achieve this while being more affordable than some of the larger, more specialized tools that are available.
If you have never used one before, you might not know about various radial arm saw uses. To give you a clearer picture, we will take an in-depth look at radial arm saws, including the various cuts they can make.
Key Takeaways
- Radial arm saws are versatile tools, capable of making crosscuts, rip cuts, bevels, miters, rabbets, and dado cuts.
- These saws can cut through materials up to 3 inches thick and 4 feet long, making them ideal for various woodworking tasks.
- Radial arm saws are powerful machines; it’s essential to follow safety precautions to avoid accidents, such as setting up the saw correctly and practicing emergency shut-offs.
- The average cost of a radial arm saw ranges from $150 to $500, depending on size, quality, and additional features.
What is a Radial Arm Saw?
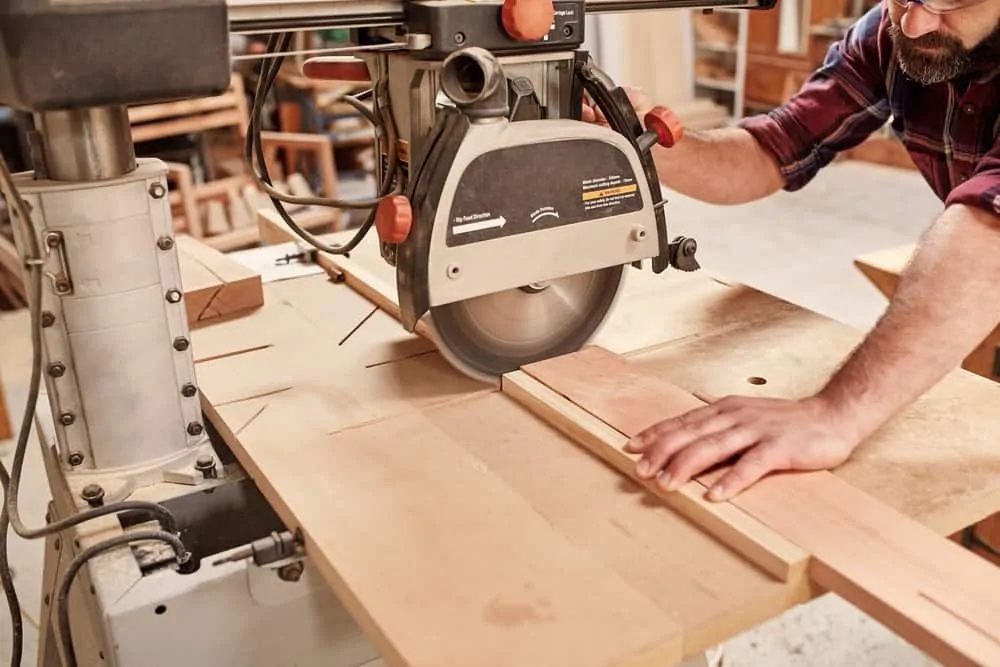
A radial arm saw is a cutting power tool with a circular saw mounted on a sliding arm that extends over the workpiece. They are unusual in that the motor and blade move toward the stock, unlike other stationary cutting tools, where the material is moved into the blade.
The blade can be locked into position when making rip cuts so the stock approaches the blade instead, increasing its versatility.
The radial arm saw was the brainchild of Raymond DeWalt in 1922, after he was asked to improve productivity at a sawmill without increasing the workforce costs (1).
He reasoned that, if you couldn’t expand the workforce, you had to give workers tools that helped them complete tasks more quickly and without assistance. As a result, he invented the world’s first radial arm saw, a design known as the “Wonder Worker”.
What Is a Radial Arm Saw Used For?
Radial arm saws are designed primarily for making crosscuts, but they can also be used for rip cuts, bevels, miters, rabbets, and dado cuts.
Crosscuts
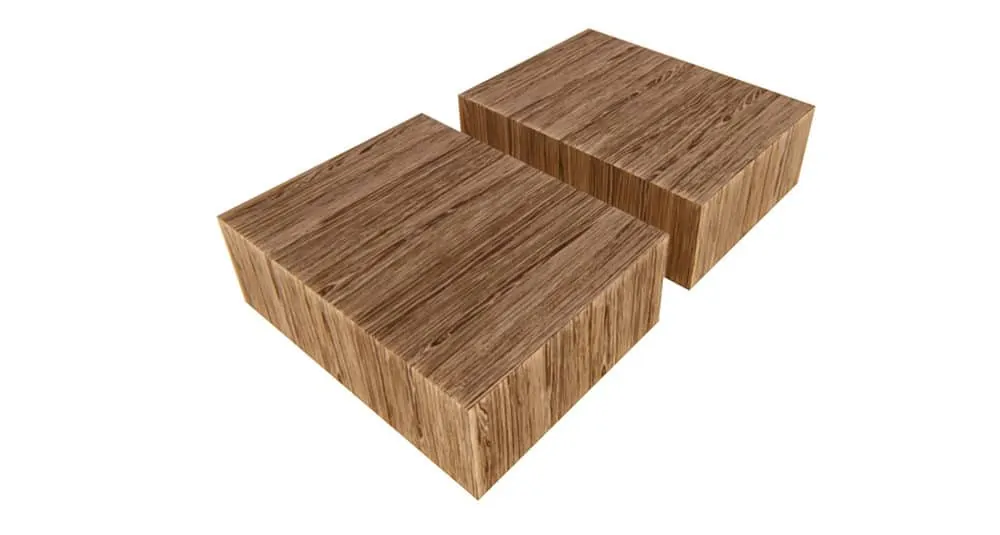
Set the depth of the blade just below the base of the stock you are crosscutting. If you don’t have much experience using radial arm saws, the tabletop will probably suffer a few unintentional cuts.
Never hold the material freehand when using a radial arm saw. Always push the stock firmly against the fence. Wait until the saw is spinning at full speed before you lower it to the material you are cutting.
As you pull the saw toward the material, the blade will spin away from your body. This means the sawdust is blown behind the machine and away from you, helping keep your line of sight clear. However, the downside of the blade spinning away is that it can snatch the stock as it lurches forward.
Always apply pressure to the material to prevent the saw from dictating the speed at which it cuts, as this will help you maintain control during your work.
One way to counteract this grabbing action by the blade is to pull the saw toward you and then push it away as the blade cuts through the stock.
Rip Cuts
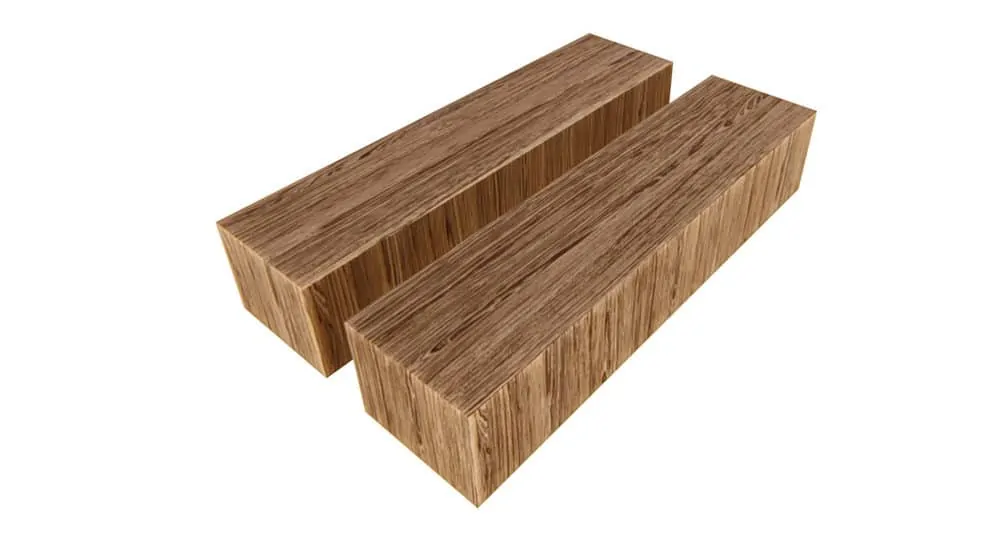
If you need to make rip cuts frequently, it is best to do it using a table saw as they are designed for this purpose. Even so, once it has been configured properly, a radial arm saw does an admirable job of making rip cuts. It will be limited in terms of rip capacity width but it will otherwise work well.
Make sure you use the riving knife and pawls to reduce the chances of kickbacks. The riving knife prevents the stock from binding after it has been cut, which is otherwise one of the leading causes of kickbacks.
The pawls hold the stock and prevent it from kicking back if the material becomes wedged in the blade during a rip cut. Both these devices are parts of the radial arm saw’s anti-kickback safety system.
Always set the depth specifically for the stock you are working on.
Remember
Miter and Bevel Cuts
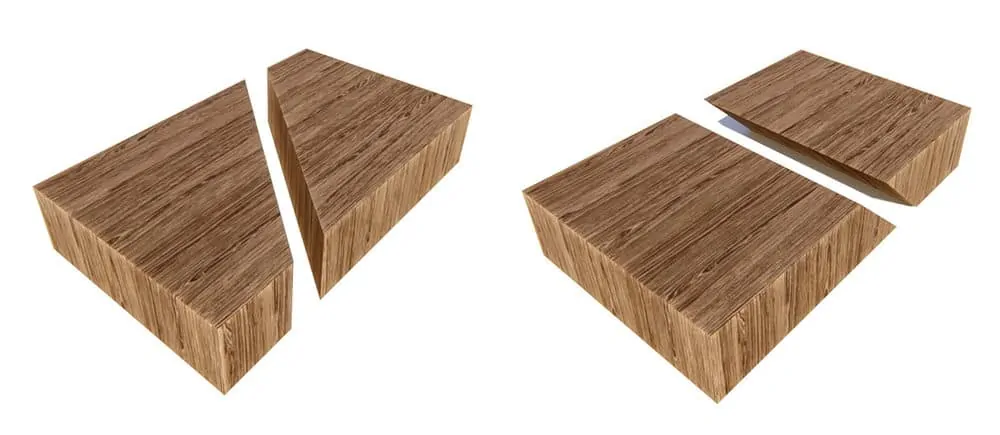
For cutting miters, a radial arm saw typically cuts both left and right at 60 degrees and bevels at 90 degrees but only in one direction. Judging the angles on a radial arm saw is more challenging than a miter saw, but you will have the ability to cut more complex angles than a compound miter saw.
Top Tip
Dadoes and Rabbets
Radial arm saws are excellent tools for cutting dadoes and rabbets. Before you start working on your dadoes, check the depth of the miter saw blade with a scrap piece of wood. If you are happy, stack your dadoes to the height you want, making sure they don’t exceed the depth of the blade.
When you are satisfied that the saw is configured properly, install the blade guard and start cutting. Cutting dadoes and rabbets is about as straightforward as making crosscuts.
Top Tip
Radial Arm Saw Safety Tips
Like any power tool, there are some important safety precautions you should follow to reduce the likelihood of accidents.
- Set Up the Saw Correctly: Always set up your radial arm saw at a slight angle, leaning away from you. This will prevent the saw blade from sliding toward you under its own weight.
- Blade Speed: Make sure the saw blade is spinning at the correct speed before you start making any cuts. This will keep the blade from binding and help you cut as smoothly as possible.
- Keep Hands Safe: Whenever you need to reposition your hands, always bring them back to your body first. This will help you keep them away from the blade and prevent accidental contact. Never swing your hands or arms around when the saw is operational and don’t wear anything with baggy sleeves as they could get caught in the machine.
- Remove Blockages: If something becomes lodged in the blade, always shut down the saw and unplug it before attempting to remove the item. Don’t try to keep sawing as you could overstress the motor.
- Practice Emergency Shut-Off: Familiarize yourself with where the shut-off is and practice reaching for it in an emergency. Turning the machine off quickly should become second nature, which will make a significant difference if an actual emergency occurs.
- Size the Table: When setting up the saw, make sure the table it sits on is wide enough to accommodate it. Never place the saw on a table it will overhang when fully extended.
- No Loose Clothing: Baggy clothes are a potentially major hazard when using a radial arm saw, as they can get snagged on the blade, which will pull your hand and arm toward it. You should always wear short sleeves or something snug when using a power saw.
FAQs

Are Radial Arm Saws Obsolete?
Radial saws aren’t obsolete, but they are also far less popular than they once were. Radial arm saws are large and bulky, as well as being relatively expensive. Miter saws and circular saws have replaced radial arm saws in many workshops because they are lighter, easier to use, and easier to move from place to place.

Why Is a Radial Arm Saw Dangerous?
Radial arm saws are dangerous because they are powerful machines that spin razor-sharp blades at 3,000 RPM. The reason they are more dangerous than table saws is that radial arm saws are designed to move, unlike table saws where the blade is fixed in place.
It is essential that you take great care when using a radial arm saw. You should also place it so the blade will slide away from you when released, rather than toward you.

Can a Radial Arm Saw Replace a Table Saw?
There are advantages and disadvantages to both radial arm saws and table saws. A radial arm saw can cut in both directions, so you only need clearance to the left and right, but a table saw also requires clearance at the front and back.
If you have limited room in your workshop, a radial arm saw can make the same cuts as a table saw while occupying less space. On the other hand, a table saw is easier to master and is better at making rip cuts.
In short, a radial arm saw can replace a table saw, but a table saw is still your best option for making frequent rip cuts.

Do You Push or Pull a Radial Arm Saw?
When making crosscuts, it is best to pull a radial arm saw toward you. It is possible to pull the saw toward you and then push the saw blade back across the stock when making crosscuts, but the recommended technique is always to pull.
It is better to pull the saw because when the first teeth make contact with the wood, the stock is pulled toward the fence, clamping it in place. This is because the blade spins away from the user.
If you push the blade toward the wood, the teeth will instead do the opposite and lift the stock off the table, so more pressure will be required to hold the workpiece in place.
If you visit a commercial lumber yard, you will typically see the pull technique being used.

Is It Worth Having a Radial Arm Saw?
Radial arm saws offer a wide range of capabilities that set them apart from other cutting tools. These saws are perfect for detailed work and can make any job easier. They are great for making precise cuts in long and short timber pieces and sheet materials like plywood and MDF.
Their versatility means they can make straight crosscuts, miter cuts, angle cuts, or even dadoes or rabbets with the right attachment. Whether a radial arm saw is worth investing in depends on your specific needs – if you regularly require detailed cutting jobs, then it may be worth the expense.

Why Is It Called a Radial Arm Saw?
The radial arm saw is named for the unique arm that extends out from the base of the saw and can be moved around to achieve different angles.
This arm allows users to move the blade around in a full 360-degree circle, allowing them to adjust the depth and angle of their cutting, creating custom cuts on a range of materials with ease. The flexibility offered by this arm makes it a handy tool and has earned this type of saw its name.

What Is the Average Cost of a Radial Arm Saw?
On average, a radial arm saw costs range from $150 to $500, depending on the size and quality. Larger models tend to be more expensive and you should expect to pay more for features like dust collection systems and laser guides.
Higher-end models may also feature electronic controls, auto-stop functions, adjustable speed settings, and other advanced features.

What Material Can a Radial Arm Saw Cut?
Radial arm saws are incredibly versatile tools, capable of easily cutting various materials. They can make straight crosscuts, miter cuts, angle cuts, and even dadoes or rabbets. Radial arm saws can be cut through wood, plastic, aluminum, and metals like steel or copper.
They are also perfectly suited for precise cuts in long and short timber pieces and sheet materials like plywood and MDF.

How Thick Can a Radial Arm Saw Cut?
Radial arm saws can cut through materials up to three inches thick, depending on the blade size and power of the saw. The blade, mounted on a pivotable arm, is rotated at high speeds and can be adjusted to different depths.
This makes it ideal for making crosscuts in timbers up to around three inches thick or cutting thicker materials using multiple passes. With the right blade and setup, a radial arm saw can cut large logs into manageable pieces that are easier to work with.

What Is the Widest Range of Cut for Most Radial Arm Saws?
Most radial arm saws are designed to cut a wide range of materials, from delicate thin stock to thick, solid lumber. Most models can cut up to 3 inches thick and 4 feet long in one pass. So, they’re great for crosscuts, rip cuts, and easy cutting angles and slopes.
Also, advanced models may feature a sliding table to enable longer, straighter cuts. With the right blade, radial arm saws can be used for various tasks, from framing to finer woodworking projects.