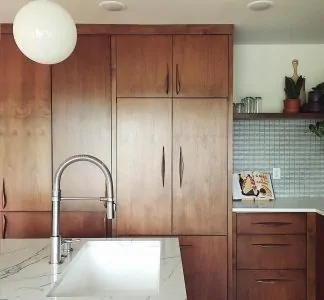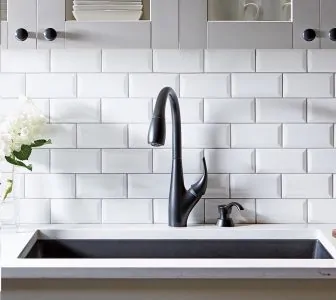
Pull-out kitchen faucets are incredibly versatile and give you lots of options when it comes to washing up pots, pans, and plates. However, with more moving parts and lots of elements that could malfunction, the chances of encountering a problem increase.
Pull-out spray kitchen faucet problems are more common than you might think. Let’s take a look at typical faults before you decide if one of these taps is the right one for you.
Key Takeaways
- Common pull-out spray kitchen faucet problems include non-retractable hoses, low water pressure, and leaks.
- To fix low water pressure, clean the aerator with a toothbrush or boiling in vinegar to remove mineral deposits.
- If the hose is leaking, it may be necessary to replace it or the entire spray head.
- Regular cleaning and maintenance can help prevent issues with your pull-out kitchen faucet.
Common Pull Out Spray Kitchen Faucet Problems
Here are the 7 most common faults to beset your pull-out spray kitchen faucet. It’s worth noting that prevention is better than the cure, so if you want to minimize repairs, keep on top of your maintenance schedule.
1. Non-Retractable Pull-Out Faucets
When you pull out the hose, it automatically retracts when you let it go. Well, that’s what is supposed to happen, so when it stops retracting, it can be extremely frustrating. If you find yourself pushing the hose back in, it may be time to take action.
The hose should have a weight attached that pulls it back in, so it might be worth checking that the weight is still attached. It could also mean the hose is sticking to the sides of the faucet.
If that’s the case, cleaning it might help, but you might need to replace the hose if the problem persists. Luckily, swapping the hose is pretty simple.
Locate the water isolation taps beneath the sink and turn the water off. Remove the weight by unscrewing it and disconnect the hose from the water supply. Pull it out through the faucet housing and discard it.
Grab the new hose and feed it through the same opening, making sure it goes all the way in. Go back under the sink and attach the weight and connect the hose to the water supply. Now turn the water back on and run the tap to see if there are any water leaks.
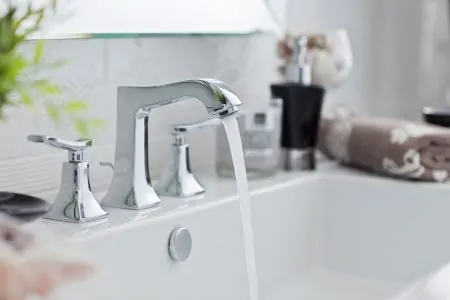
2. Low Water Pressure
Spray faucets have an aerator inside the tap housing to create that waterfall effect. In hard water areas, mineral deposits block the aerator, causing a drop in water pressure. It’s worth noting that even standard faucets have an aerator to get air into the water flow, making it feel softer.
Remove the aerator and scrub it clean with an old toothbrush. If the mineral deposits are stuck fast, you might try boiling it in a pan of vinegar for an hour or so. If the problem persists, grab a pin and manually remove any sediment.
If you want to minimize mineral deposits, it might be worth investing in a water softener to remove the chalk content from the water. In a hard water area, it could save you a lot of headaches down the line, especially if the faucet clogs up and needs replacing.
3. Spout and Body Doesn’t Sit in the Cradle
Time and regular use are your enemies, so as the faucet starts to age, the hose might not fit as snuggly in the cradle. It is an inevitability, but more so with cheaper models rather than expensive ones.
Top-end pull-out faucets have cradles designed to minimize this fault, and the quality of the components means they withstand daily use much better.
If it happens, you probably have a stretched hose, and it might be worth considering a replacement.
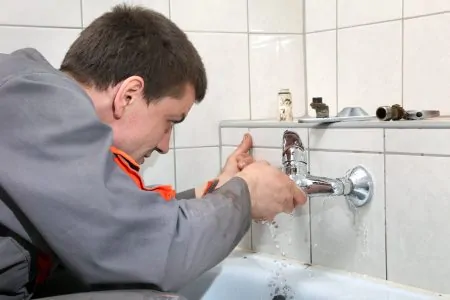
4. Leaking Pull-out Hose
When you develop a leak, it is more likely that it is the connections rather than the hose itself. If that’s the case, you can replace the hose rather than the entire faucet.
You need to locate the water isolation taps, which are usually under the sink. Once this is done, find the weight and remove it by unscrewing. If you have a plastic weight, leave it in situ until you remove the hose, and then you can slide it off.
Don’t forget to reattach it when you put the tap back together. Next, you need to detach the hose from the water supply, so make sure you read the manual to find out what type of connector you have. There are several different varieties.
Remove the hose through the faucet spout and feed the new hose into the housing. Crawl back under the sink, connect the new hose to the water supply and screw the weight back on. Now turn the water on and check there are no leaks.
5. Leaking Spray Head
Sometimes the leak is in the spray head. If that is the issue, you will need to replace the entire head rather than try and fix it. Locate the isolation taps under the sink and turn them off. Next, unscrew the spray head and remove the washer and C-clip.
Attach the new head by putting the C-clip and washer back on and screwing it onto the faucet. Now turn the water on and run the tap to check for leaks.
6. Clogged Diverter Valve
The diverter valve channels the water from the main faucet to the spray head. Over time, it can become clogged with sediment and mineral deposits. If that happens, it could affect the water pressure.
If you feel the water flow weaken when the sprayer is on, it could be a sign that the separator needs to be cleaned. Also, if the water pulsates or still runs out of the main faucet with the separator engaged, it is a sign that something is wrong.
If this is happening to your pull-out kitchen faucet, the best course of action is to call in the professionals and get it mended unless you can source the spare part and have the skill to perform a repair. It will probably mean an entirely new separator.
7. Sticking Water Handle
If the handle starts to stick when you operate it, you could have a build-up of dirt and grime. Give the faucet handle a thorough clean, and that should remedy the situation.
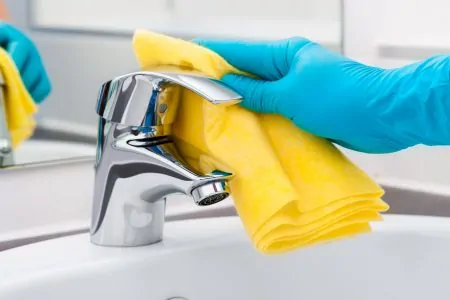
It’s Easier Than You Might Think
Locating the source of the problem on your pull-out spray kitchen faucet is easier than you might think. All it takes is a little patience and logical thinking.
One of the best ways to reduce faults with your extendable faucet is to adopt a cleaning regime that removes dirt, grime, and mineral deposits before they cause you headaches further down the line.