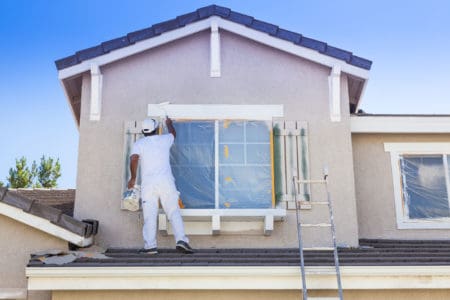
Are you looking to repaint that exterior fence with old and chipping oil-based paint? Or is your outdated living room trim in desperate need of a fresh coat of paint? If you live in an older house, oil paint was likely the previous paint of choice.
Whatever the case, painting over oil-based paint isn’t rocket science. You just need to understand how the new type of paint interacts with the old one. And we’ll teach you everything you need to know.
Key Takeaways
- Prep work is crucial: Sand the surface, clean with TSP, and prime with a bonding primer like Zinsser.
- Latex paint can be applied over oil-based paint if proper preparation is done.
- Test the old paint with denatured alcohol to determine if it’s oil-based or water-based.
- Sanding is a necessary step for proper adhesion and to prevent peeling or chipping.
Can You Paint Over Oil-Based Paint?
The short answer is yes. However, you need the right products and methods, which will vary depending on the type of paint used for the new layer.
With Latex Paint
Latex paint is water-based, and it’s important to know how to apply a water-based paint over an oil-based one.
A great deal of knowing how to apply latex paint over oil-based paint lies in the prep work. You must prep the surface for the best results, whether on concrete, wood, or drywall. This process involves:
- Sanding to make sure gloss from previous paints is eliminated.
- Deep cleaning with TSP to make sure latex paint adheres to the surface.
- Priming so that any remaining old finish underneath doesn’t peel or chip, ruining the new paint job.
Remember
When painting with acrylic or water-based paint, the new coat will not bond well with the glossy nature of oil-based paint. That’s why prepping the surface is critical.
With Other Oil-Based Paint
If you’re looking to paint over oil-based paint with a fresh coat of oil-based paint, you need to pay close attention to the details.
You should avoid using alkyd paint over natural oil-based paint that isn’t properly cured. Alkyd paint can cause the natural oil-based paint to harden and crack. Therefore, alkyd paint can only be applied over cured natural oil-based paint or on top of another alkyd.
If the natural oil-based paint is cured, you can apply any type of oil-based paint on top.
What Primer Should You Use Over Oil-Based Paint?
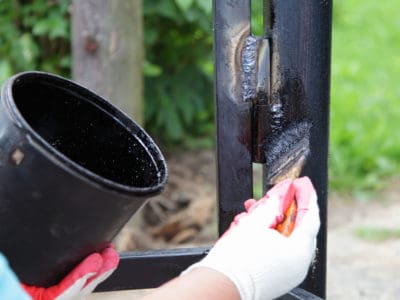
Cover the old oil-based coat with a bonding primer like Zinsser. This avoids peeling and chipping during the drying and curing phases. Choose a primer specifically developed to cling to glossy and other difficult-to-paint surfaces for excellent paint adhesion.
It usually takes two coats of an oil- or water-based bonding primer for a better paint job. Let it dry according to the manufacturer’s instructions between each coat.
How to Tell If Paint is Oil-Based
Grab a cotton swab or a cotton ball. Soak a little amount of denatured alcohol into the surface you’ll be painting. Rub the cotton over the surface.
If the paint doesn’t rub off, you’re dealing with oil-based paint. So, you’ll need to prime the surface using a bonding primer before painting the surface with latex-based paint.
If you notice any paint on the cotton swab, you’re dealing with water-based paint.
How to Paint Over Oil-Based Paint
The most time-consuming part of painting over oil-based paint is dealing with the surface before painting it.
What You’ll Need
- Protective gear.
- Soft sponge.
- Paint.
- Primer.
- TSP.
- Wood filler or wood putty.
- Putty knife.
- Tack cloth.
- Medium-grit sandpaper.
- Fine-grit sandpaper.
- Paintbrush or roller.
1. Remove the Gloss
Grab your sandpaper and sand the surface until any enamel or gloss from the old oil-based paint is removed. You want to get rid of the surface sheen for better application.
2. Get Rid of Chips
Take the putty knife and try to remove as many paint chips from the surface as possible. Any loose chips will prevent proper adhesion because they will peel or fall off completely.
3. Fix the Holes
If the surface you’re looking to paint over has small gaps and holes, fill them with either wood filler orwood putty like DAP. When it’s completely dry, sand the areas to ensure the surface is even and ready to paint over.
4. Clean the Surface
Using a tack cloth, wipe down the surface you want to paint. This will help move any potential dust or debris particles and helps remove sandpaper granules.
5. Perform a Deep Clean
If you’re trying to paint on a greasy or dirty surface and the tack cloth isn’t helping you clean it, proceed to use TSP. Make a mixture using ¼ cup of TSP and a gallon of hot water.
Next, dip a sponge in the TSP solution and wash the surface from top to bottom (to avoid streaks).
Sponge the surface with clean water to rinse it. Note that some TSP formulas don’t require any rinsing. Just be sure to read the instructions on the one you buy. Allow the surface to air dry before proceeding.
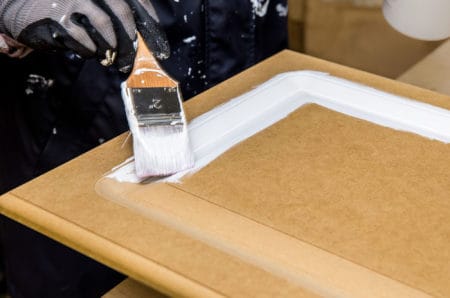
6. Prime the Surface
Once the surface is clean and dry, you can apply the primer. Primer is essential because it helps prevent latex paint from peeling and creates a seal to prevent stains.
Apply the primer to the surface using a paintbrush or roller. You’ll likely need to apply two coats.
Bonus Tip
Some people choose to apply an undercoat after the primer. This can help fix minor imperfections and works in situations where you want to paint a lighter color over a darker one.
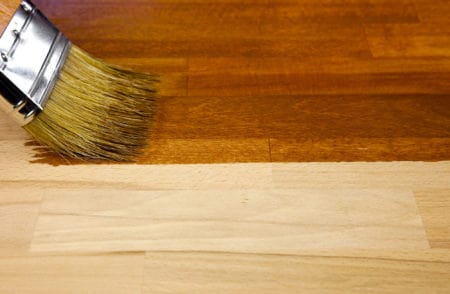
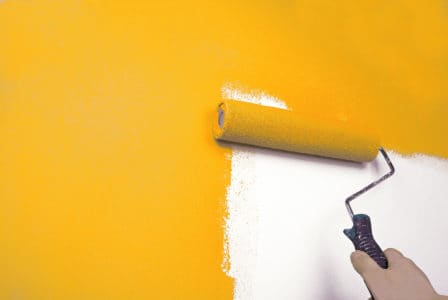
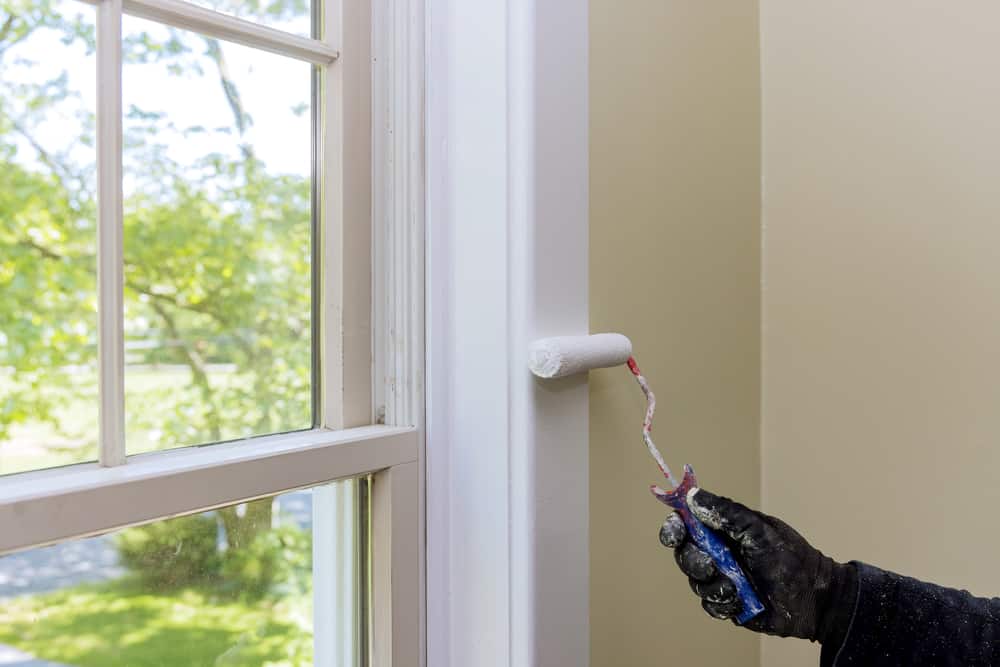
7. Paint the Surface
When the primer coats are fully dry, paint the surface as you normally would. You’ll likely need two coats of paint as well. Make sure to allow the first coat to dry for at least two hours before applying the second one.
Can You Paint Over Oil-Based Paint Without Sanding?
Sanding is a very important part of prepping a surface for painting. The sanding process helps remove the sheen of the previous coat of paint, which allows for better adhesion of future coats of paint and primer.
It can also help clean the surface of any impurities and helps get rid of chipping or peeling paint. If you try to paint over oil-based paint without sanding the surface, two things can happen:
- Your paint and primer will not stick to the surface.
- Old and loose paint might fall off, taking the new coats of paint with it.
FAQs
Dealing with oil-based products can be a pain if not done right. If you’re still left with questions, hopefully, these answers will help.
Bottom Line
Knowing how to paint over oil-based paint is easy, but there are important steps to follow to get the best results. Consider testing the old coat of paint to know exactly how to proceed.