Are you thinking about applying an orange peel texture to your walls? It can add a nice touch to your home’s aesthetic and is increasingly popular in today’s trends. But how do you do it?
It might seem intimidating to apply this texture yourself without the help of a contractor. However, once you know the steps, it’s really easy to redecorate your walls without professional assistance.
Key Takeaways
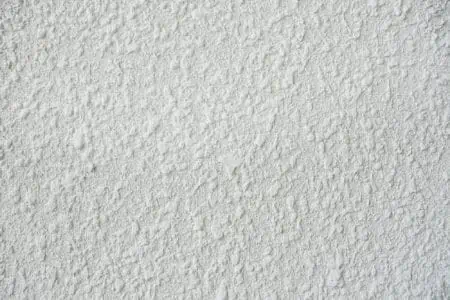
- Orange peel texture is a wall finishing technique that adds small bumps, resembling an orange’s skin, and is often used on sheetrock and drywall.
- Applying orange peel texture can be done with a spray gun, premade spray cans, or other tools like rollers and sponges.
- To apply the texture, practice spraying on a piece of cardboard before starting on your walls, and hold the spray at the recommended distance while spraying in a circular motion.
- If you need to fix or remove orange peel texture, you can sand it off or use a spackle to scrape the texture away and then prime and paint the surface as desired.
What is Orange Peel Texture?
If you can envision what the exterior of an orange looks like, you can pretty much imagine what orange peel texture is.
It is a wall finishing technique designed with small bumps and is often also referred to as “splatter texture.” Wallboard and plaster walls are the most common surfaces for orange peel texture application.
Orange peel wall texture can be applied on finished walls, but it’s most commonly used for sheetrock and drywall. It also works for ceiling applications.
While it’s true that orange peel texture does have its appeal, it’s important to analyze both the advantages and drawbacks of choosing this wall decoration method:
Pros
- Very easy to replicate.
- Pleasant to the touch.
- Can add a ton of personality and flair to any room.
Cons
- Can be difficult to clean due to the textured surface.
- Porous nature makes it unsuitable for kitchen and bathroom applications.
Knockdown vs. Orange Peel Texture
Numerous homeowners make the mistake of confusing orange peel texture and knockdown texture.
Even if they both enhance the aesthetic attractiveness of walls, they are fairly distinct. Orange peel texture gives walls the appearance of orange skin, with a bumpier surface than knockdown texture.
The application process is distinct. Making an orange peel texture is all about learning to control the application method.
You’ll mostly need a spray gun and the mixture needed to make the texture. Alternatively, you can buy premade spray cans with orange peel texture.
Knockdown texture is a wall texture that lies somewhere between flat and orange peel. It imparts a mottled pattern to walls, making them more intriguing than a basic flat wall.
To apply knockdown texture to a wall, you must dilute a joint compound with water and spread it using a trowel. As the compound dries, it forms stalactites. You must then use a trowel or a sponge to get that specific finish.
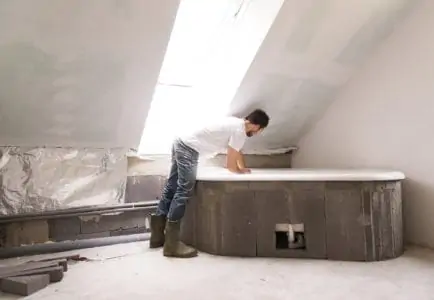
How to Apply Orange Peel Texture
Creating orange peel drywall texture isn’t complicated if you follow these steps and get the right tools and materials for the project. This application method is great for those of you without a hopper (the canister usually attached to a paint sprayer).
What You’ll Need
- Safety goggles.
- Dust mask.
- Working gloves.
- Plastic sheets.
- Painter’s tape.
- Cardboard piece.
- Orange peel texture spray.
1. Put on the Safety Gear
When working with these types of renovation projects, staying protected is always important. Make sure you have safety goggles, a dust mask, and work gloves. If you have a worker’s apron or clothes you don’t mind getting dirty, that’s even better.
2. Protect the Room
Take any movable piece of furniture out of the room. Cover whatever is left with plastic sheets and secure them with painter’s tape. Add sheets on the floor, cover up power outlets, light switches, and light fixtures.
3. Practice the Spray
If you’ve never used orange peel drywall texture spray before, you should practice a bit. Follow the instructions provided on the label while practicing on a piece of cardboard.
4. Apply the Texture
The spray can label should tell the distance from which to apply the spray. This is usually between 16 and 24 inches. Hold the spray at the distance mentioned on the label and start spraying in a circular motion.
Some people like to see more random patterns in their orange peel wall texture. So, you can experiment with that as well. From time to time, shake the spray can.
Tips For Spray Painting Orange Peel Texture Walls
While there aren’t that many steps for creating a splatter texture, some parts may take some practice. There are three major tips that I can give you to get the best results.
Cut Ceilings with Patience
There’s a bit more work involved when cutting in your ceilings on rough walls with a brush compared to a flat surface. Cutting in involves making a straight line where the wall meets the ceiling or trim. Take your time and move your brush back and forth to get the paint into all the small spaces and grooves.
Practice Your Spraying
When you’re ready to begin spraying, you don’t want your initial bit of spray to land on your walls or ceiling. This is a sure-fire way to get off to a terrible start.
You can also try spraying and texturing directly on your walls. But you will almost certainly have to scrape them clean afterward if the texture looks bad.
Experiment with spraying your splatter texture thick and thin to determine which texture you want. Some people want a very thin texture that does not entirely cover the wall. Others prefer a thick layer of orange peel on the walls with no visible drywall board.
Check for Texture Consistency
As you’re applying the texture, check its consistency every 10 feet. If you notice that parts of it are uneven or light, you might want to add some more spray to that area.
Even if your texture is completely dry, you can go back and apply additional orange peel splatter. If you believe your texture is too thick and you dislike the appearance, you have two options:
- If the texture is still wet, you may easily scrape it off using a 9-inch mud knife or a spackle.
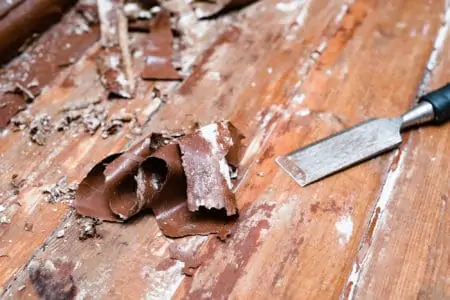
- If you dislike the texture after it has dried, you will need to sand away the spatter and begin again.
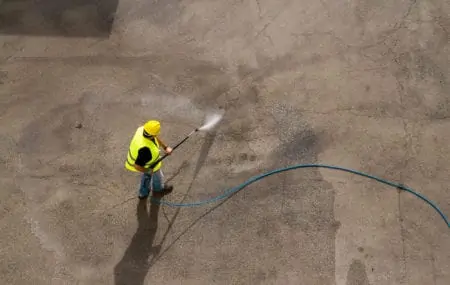
Orange Peel Wall Texture Removal
You might have to remove the orange peel texture from your walls or ceiling in certain scenarios. Before starting this process, you have to wash the walls with a clean sponge. Then rinse them and use cloths to pat them dry.
Use fine-grit sandpaper and start sanding the walls in a circular motion. This could be a lengthy process that takes a little bit of effort. But it’s also really effective in terms of results.
When the walls are smooth, apply primer to the surface and let it dry (about one to two hours). Then you can apply the paint color you want.
Safety First
It’s very important to use eye protection, gloves, and a dust mask when removing orange peel texture.
How to Fix Orange Peel Texture
Had some damage to an existing wall with texture, and now you want to fix the repaired spot? There are a few ways you can go about this. Choose the method you think works best.
By Hand
If you want to repair orange peel texture by hand, follow these steps:
- Make a mixture of pre-mixed wallboard compounds diluted with water until it reaches a pancake consistency.
- Fill the bottom section of a paint tray halfway with this mixture.
- Using a ⅜-inch nap roller (to give the texture), apply the compound to the area that needs repairs.
- Work from the center of the area towards the ends.
- Allow for complete drying of the wallboard compound.
- Grab 220-grit sandpaper and lightly sand the area.
- Take a clean cloth and rub the repaired area to soften the edges.
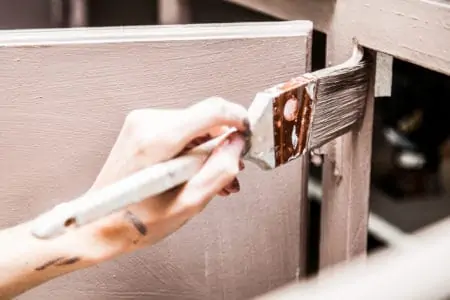
- Apply at least one coat of primer. Then paint the area to match the rest of the surface.
With Spray
Alternatively, you can use an aerosol spray product that’s available in plenty of online stores or local hardware stores.
- Put on your safety eye goggles.
- Put drop cloths or plastic tarp on the floor for protection.
- Shake the spray can to mix the ingredients.
- Test the spray pattern on a cardboard piece.
- Hold the can at a distance from the surface, according to the product’s specifications.
- Spray in a circular motion, covering 50 to 75 percent of the repair area at once.
- Let the walls dry as stated on the product label.
- Prime and paint.
FAQs
Our FAQ should set you on the right track if you missed some key facts or still have questions.

Is Orange Peel Texture Outdated?
There was a time when these textured walls were considered outdated. However, designers have a flair for bringing everything back to life. With the right decor items, orange peel texture walls can look as modern as ever.

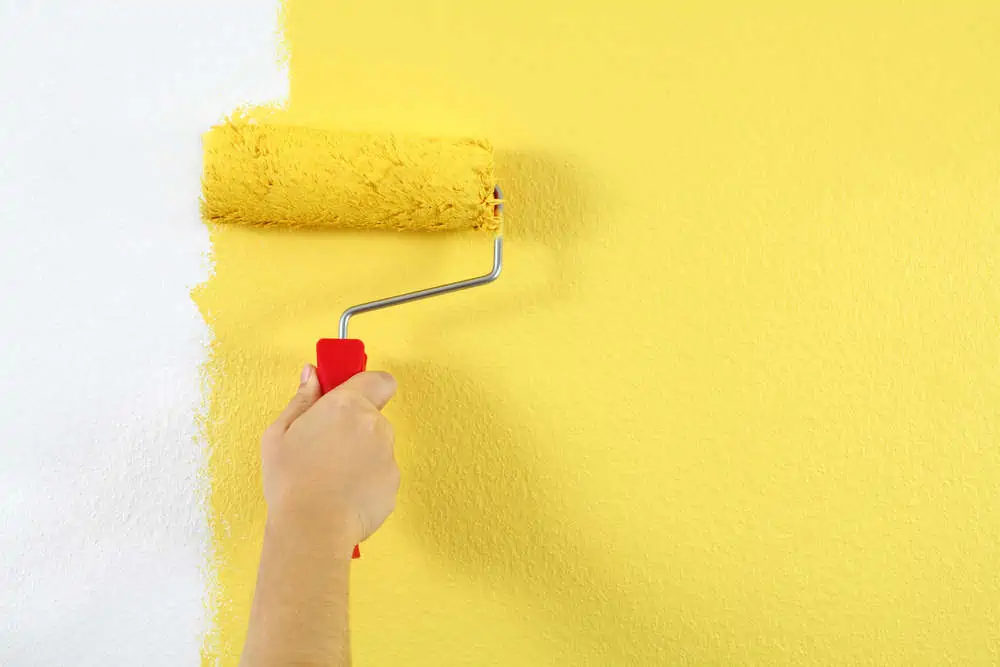
Can You Roll On Orange Peel Texture?
Yes, you can. The ideal rollers for creating the texture of orange peel have naps of 3/4-inch and 1/2-inch.

Can You Use a Texture Sponge to Create Orange Peel Texture?
Yes, you can. In fact, there are Orange Texture Sponges available online specifically for this purpose.

Is My Orange Peel Texture Fine, Medium, or Heavy?
To answer that question, you have to take a look at the consistency. All these three terms refer to the consistency of the texture. For instance, if you apply a lighter consistency, you will get a fine texture.
The Bottom Line
The beauty of this project is that it doesn’t take a long time, and you don’t need a plethora of materials to make it happen. The most complicated part about applying orange peel wall texture as part of a DIY project is getting used to how to apply it evenly.
There is also versatility in the process, as you can choose to make the drywall mud mixture yourself, apply it with a roll-on, a sponge, a spray gun, or even from a store-bought spray can.