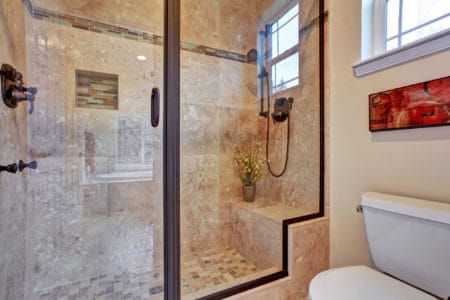
Did you put a new window in your shower but don’t want to leave it exposed to water damage?
Moisture accumulation can pose serious health risks and structural damage, so learning how to waterproof a window in a shower is essential. We will teach you how to seal a window in a shower and check for water damage.
Key Takeaways
- Replace wooden window sill with vinyl or fiberglass to prevent water absorption.
- Use a waterproof shower curtain, shutters, or blinds to protect the window from water spray.
- Apply waterproof paint on the sill and install a pitched window sill to redirect water.
- Ensure proper ventilation and maintain the window by regularly checking for water damage, mold, and stains.
How To Waterproof a Shower Window
Waterproofing a window in a shower can be done using several methods, so here are your options.
Replace the Sill with Vinyl
Wood and water have never been good friends, so you want to avoid this combination as much as possible. If you have a wooden window sill, you want to replace it with fiberglass or vinyl.
While it may seem tedious, this will prevent the material from absorbing water and make the sill easy to clean.
Add a Shower Curtain
When you’re looking to save money on this whole waterproofing process, a shower curtain is the easiest and cheapest way to approach the problem. A vinyl shower curtain can protect the window from water, but it’s mostly a short-term fix.
To install a vinyl curtain, simply put a tension shower rod in the alcove, running from wall to wall. Install a curtain and have it protect your window until you’re ready to move on to more permanent solutions.
Add Shutters or Blinds
Installing blinds or shutters can further protect the window and its frame from water spray. However, they need to be installed to cover all the problematic parts of the window.
You also have to make sure that your shutters or blinds are made from waterproof material. It’s best to opt for blinds made from PVC or vinyl, as they will repel water off their surface.
Apply Waterproof Paint
Waterproof paint can also help protect the shower window sill. There are loads of varieties of waterproof paint to choose from, including oil-based enamel or latex enamel.
Install a Pitched Window Sill
Thanks to the mighty power of gravity, one solution for waterproofing a shower window is to install a sloped sill made from bathroom tiles. This will prevent your old sill from collecting water, as you’re replacing it with one that can redirect water back into the shower.
Add Interior Window Flashing
For those unfamiliar with the term, flashing refers to the material installed at the edge of windows to prevent water infiltration. Flashing deflects water away from a structure.
Flashing a window could seem a bit more complicated when comparing the process to installing a mere curtain, for instance. But it is a better long-term solution. With patience and some proper measuring, you can apply different flashing layers to direct the water outwards and back into the shower.
Ensure Proper Ventilation
Moisture can be a problem when you’re taking a shower, so proper bathroom ventilation can help. Make sure to leave the window open after showering and install a better ventilation system. This will aid in proper evaporation and prevent sitting water in the shower.
Tile the Jambs
The jambs are the vertical sides located in the interior part of the window frame. If they are made from moisture-absorbing materials, like wood, they do not belong in the shower.
Replace them with tile, and you can further waterproof your shower window. Tiled jambs are less prone to suffer water damage.
The challenge here is to find a tile that matches the one you already have in the shower. If your tile is really old and the model was discontinued, you can opt for a contrasting tile to add more interest and visual depth to the shower window.
Install Glass Blocks
Don’t get rid of your shower window unless there’s absolutely no other solution left. One less ideal solution is installing a glass block. This is a solid glass block often used in partition walls or for privacy.
You’ll benefit from natural light in the shower while also providing moisture protection. The downside of a glass block is that it has a minimal R-value, which means it’s only suitable for houses located in temperate climates.
Relocate or Remove the Window
If you’ve tried the above methods without success, maybe it’s time to turn to the last resort, which is closing up the window. This method isn’t ideal because everyone could benefit from having natural light in the shower.
For those with very large shower windows, removing them and walling them up might require a building permit, especially if the project is more complex and interferes with the wall’s structure.
This process is a little more complicated than the others, as you’ll have to remove the trim, casing, tile surround, and the window. You will also have to remove some of the wall studs, add insulation, cement board/drywall inside, and siding on the outside.
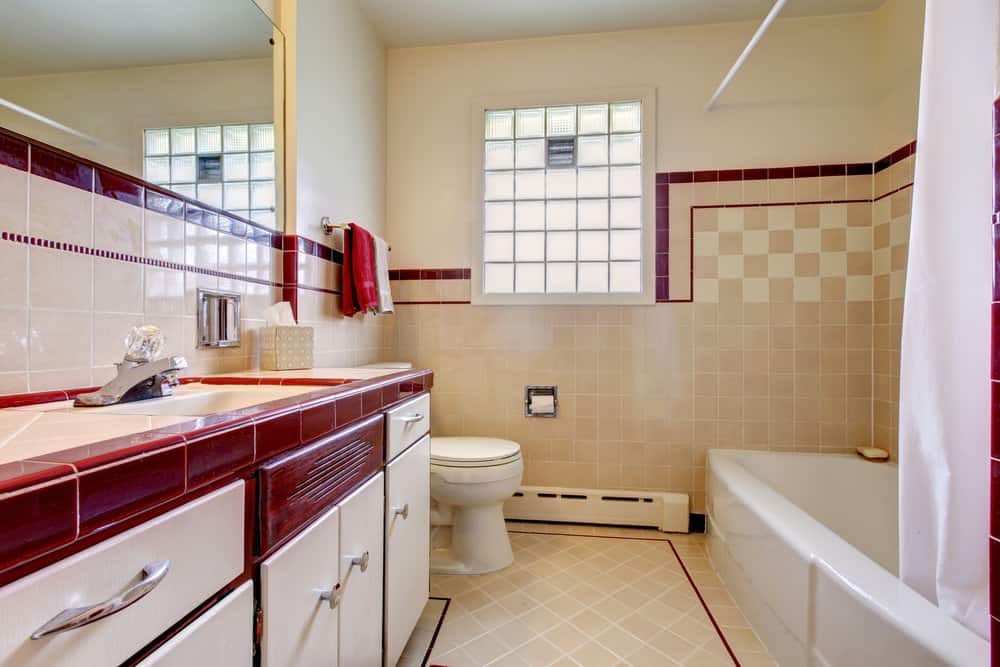
Maintenance For Shower Windows
Part of learning how to protect a window in a shower is about maintenance. Prevention is key when it comes to shower windows, so you have to check them regularly to spot signs of water damage.
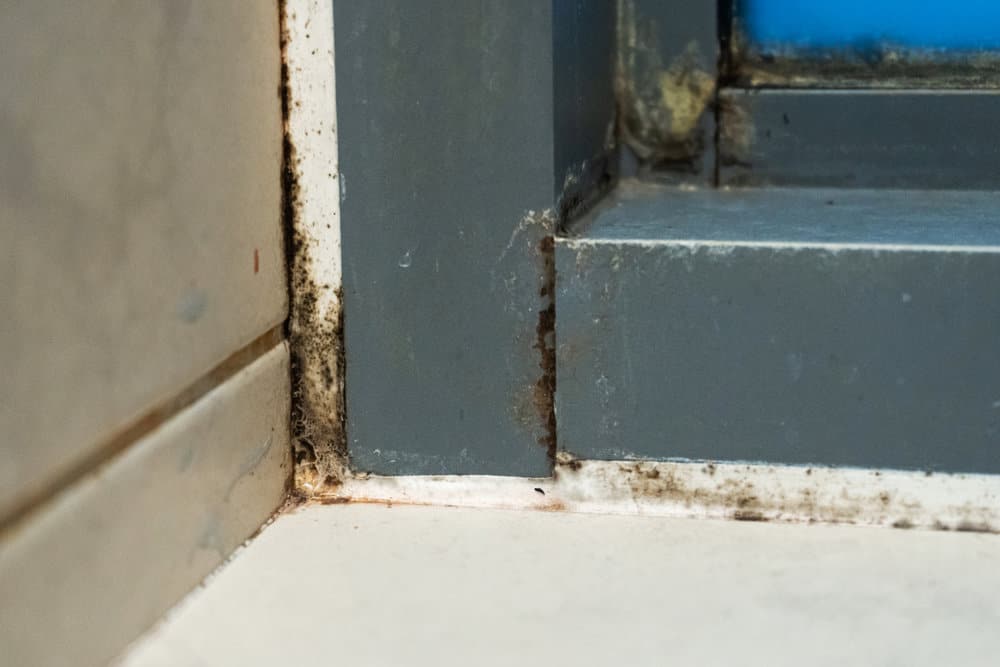
Cracked and Peeling Paint
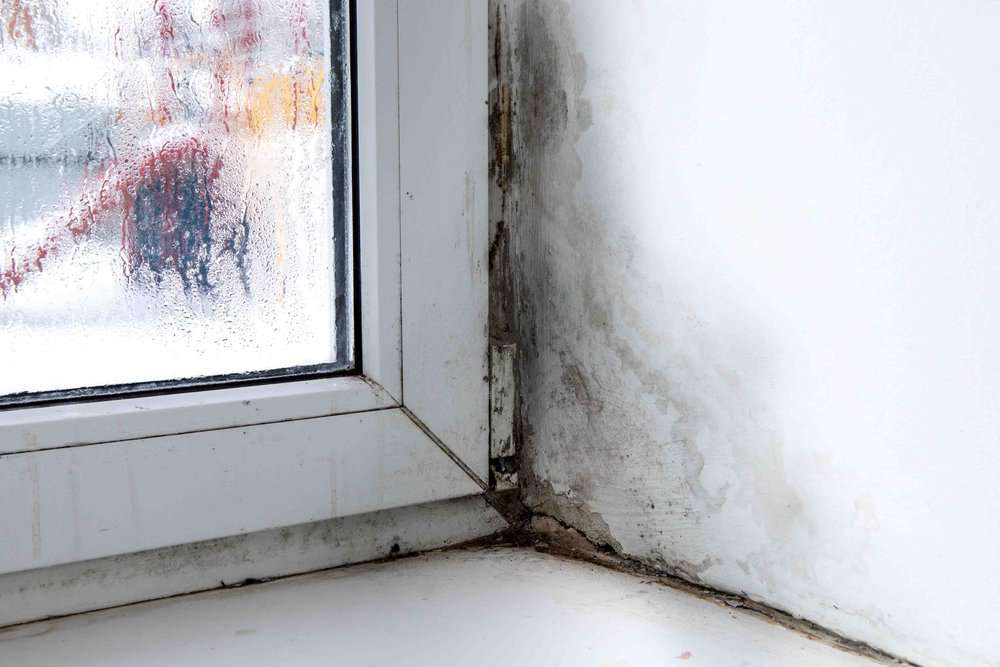
If the drywall around the shower window absorbs any water, the paint will start to peel off. You might also see cracking and crumbling of the drywall or tile.
Mold
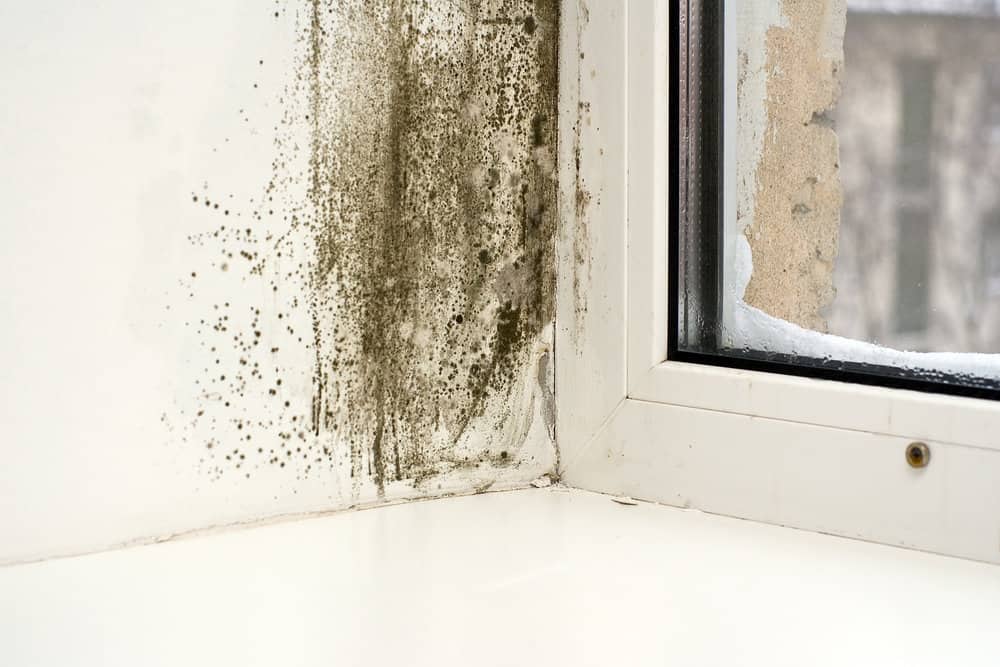
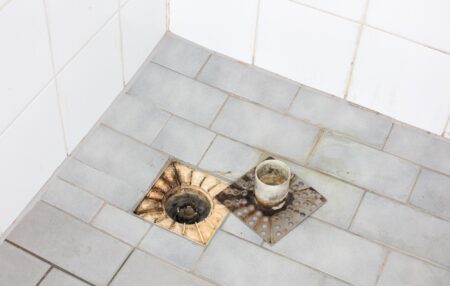
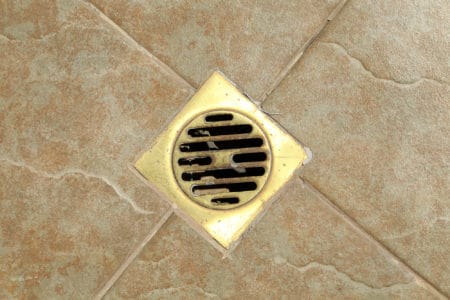
One of the biggest threats and signals of too much shower moisture is the apparition of mold. If you notice any mold surrounding your shower window, it’s a sign that you’re dealing with excessive moisture.
While there are products you can use to clean mold, you will eventually have to waterproof your shower window. Mold spores are dangerous for your health when inhaled.
Stains
Another frequent sign of too much water is the appearance of stains around the shower window. Discoloration can also be a good sign. Whether the area is wet or dry, or the stains are brown, yellow, or copper, you’re dealing with a water issue that needs to be addressed.
What Do You Cover a Window in the Shower With?
If you want to have more shower privacy, there are a few tricks you can turn to.
Frosted Spray
You can find plenty of different brands that sell frosted spray paint for windows. Use painter’s tape to cover the window trim and follow the instructions on the can. Easy!
Vinyl Film
Cover the glass with a vinyl film to make the view more difficult to see. This type of film is available in various obscurity levels and patterns, allowing you to choose how much light gets inside the shower. The sticky backing makes for easy installation but also means you can remove it if you change your mind.
Plantation Shutters
You also can get plantation shutters designed for shower use. They’re more expensive than other options, but you can easily adjust them.
They are easy to install too. Just follow the directions that are sold together with the shutters.
The Verdict
Now that you know how to waterproof a window in a shower, it’s time to carefully analyze your options and see which option is best suited for your needs.
Remember that some options are less expensive and easier to see through than others, but they might only be short-term solutions.