Don’t panic if your toilet vent is blocked or you don’t have one. Getting rid of bad odors needn’t require a major construction project. It can be done a lot cheaper and easier than you might think.
We show you how to vent a toilet without a vent, talking you through the process in a step-by-step guide, giving you hints and tips along the way.
Key Takeaways
- Air admittance valves can vent toilets without an outside vent, preventing bad odors from entering your home.
- Installing an air admittance valve is a simple process that requires basic plumbing skills and tools.
- Find the main drain pipe, cut it, install a tee fitting, and attach the air admittance valve with pipe cement or glue.
- Consult local plumbing codes and ensure proper venting to avoid issues with wastewater and solid waste removal.
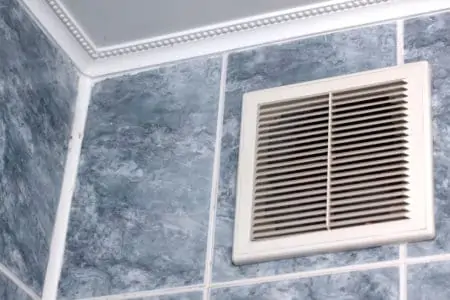
Does Every Toilet Need a Vent Pipe?
You don’t need a vent pipe for every toilet. You can install an air admittance valve anywhere to vent the toilet. These valves are commonly known as cheater vents.
You should check with your local plumbing authority before installing one, as they are a bit of a gray area in America. Cheater vents are common in Europe, but the US has a patchy record of using these vents. They are less common, with most homeowners and professionals opting for an outside vent, typically through the roof.
How To Vent a Toilet Without a Vent
We’ve talked about air admittance valves and that you can install them anywhere, so let’s take a more detailed look at them and discuss what they are and what they do.
Air Admittance Valve
Air admittance valves let air into your drainage system to vent the toilet and prevent foul odors from leaking back inside your home. When the atmospheric pressure drops in the drainage system, the valve seal opens automatically to allow air to balance the pressure in the pipes.
When the pressure balance is restored, the valve closes to prevent odors from leaking into the house.
They come in all shapes and sizes, with the design differing between manufacturers and capacity. They are typically constructed from plastic with a mesh screen to prevent unwanted critters from crawling out of the sewer and into your home.
You can get the correct size valve for your home by determining how much waste fluid your toilet system releases per second. If you have a lower capacity, you could install a mini valve that handles 119 US gallons per minute.
For heavy usage, a maxi valve tackles 507 US gallons per minute. These cheater vents also withstand extreme temperatures from minus 4 degrees Fahrenheit to plus 140 degrees Fahrenheit.
What You Need
Before starting your project, make sure you get the right tools and materials. The good news is that installing an air admittance valve is relatively easy if you have some basic plumbing skills.
- PVC saw or backsaw.
- Miter saw.
- Deburring tool.
- Marker pen.
- Pipe cement.
- Air admittance valve.
- Spare drain pipe.
1. Locate the Drain Pipe
Find the main drain pipe in the floor beneath the toilet and trace it along until you find the 4-inch main drain line pipe. This may involve you lifting floor coverings and floorboards.
2. Saw the Pipe
Grab the marker pen and draw where you intend to cut. Use the PVC saw and cut through the drain line about 4 inches before the pipe connects to the drain stack. Consult your local plumbing codes to determine how far to locate the vent from the toilet.
The tee pipe doesn’t need to be vertical. If you lack the space, grab the miter saw to cut an angle no more than 15 degrees in the required direction.
Use the deburring tool to neaten the edges of the cuts and holes so that the pipes get a snug fit.
3. Install the Tee Pipe
Install a tee fitting at your cut by sliding the two cut ends of the pipe into the opposite ends of the fitting. Push the cheater vent onto the other inlet on the fitting. You can make adjustments by twisting it left or right. This stops any interference or obstructions caused by the valve.
4. Glue It In Place
Once you are satisfied that they fit correctly and the positioning of the valve works, remove the fittings and vent. Now coat each end of the pipes and the vent with pipe cement. Reassemble the fittings in the same configuration as beforehand and let the adhesive dry for a couple of hours.
You could use glue if you don’t have pipe cement to hand. Spray adhesive is very effective and dries quickly, which means you can get the job done faster.