Hole saws are drill attachments that can make larger holes for laying cable, installing pipes, fitting door handles, and various other tasks. A hole saw is an essential tool for various contractors and DIYers.
There are many hole saws to choose from, including models from some of the leading tool brands in the world. If you have never used one before or don’t have much experience, you might need some advice on how to do it properly.
In this article, we will explain how to use a hole saw. This includes how to prepare, the equipment you will need, how to make a hole, and some important safety tips.
Key Takeaways
- Choose the right hole saw: Select the appropriate hole saw for the material you are cutting and ensure it’s the correct size for the hole you want to make.
- Use a pilot hole: Drill a pilot hole as a guide for the hole saw, which will help with accuracy and prevent the saw from walking.
- Attach hole saw to the drill: Attach the hole saw to the drill securely, making sure it’s tightened on the arbor thread and locked in place with a locking nut if applicable.
- Safety gear is essential: Wear safety goggles, a face mask, and earplugs to protect yourself from sawdust, debris, and noise while using the hole saw.
When to Use a Hole Saw
Hole saws can cut large, circular holes quickly and accurately, making them the tool of choice for carpenters, plumbers, and electricians. If you are laying electrical cables and need to make a wide hole through drywall or wood, a hole saw is an ideal tool to use.
Plumbers also need that extra width to accommodate pipework when fitting toilets, bathtubs, and other items. Hole saws are ideal for quickly fitting door handles into doors that aren’t pre-drilled. All in all, these are versatile tools for anyone who wants to make holes quickly.
What You Need
If you want to cut holes smoothly, accurately, and, most importantly, safely, you will need some important pieces of equipment:

Goggles
Making holes in wood and drywall will inevitably release sawdust, which will irritate your eyes due to its abrasive nature. Protecting your eyes with safety goggles also means it will be easier to maintain a clear view of whatever you are working on.

Face Mask
Sawdust and drywall particles are often toxic if inhaled. An N95 face mask will filter about 95% of pollutants out of the air, protecting your lungs against potential damage.

Earplugs
Hole saws can be loud, so it is important to wear earplugs or other ear protection, especially if you are cutting holes for prolonged periods. This will prevent hearing damage.
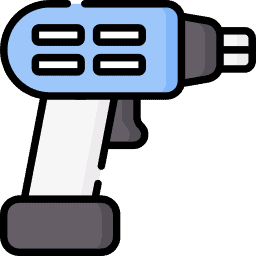
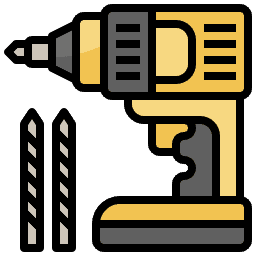
Drill
Hole saws are attachments rather than complete saws. To use one, you will need a drill to attach it to. A power drill will help you make holes quickly and easily.
Pilot Bit
Hole saws are hollow but most models have pilot bits in the center, which make it much easier to cut accurate holes. You will know exactly where the center will go and it will hold the saw in place as it spins, preventing it from walking.
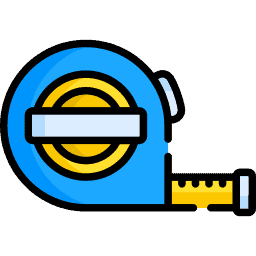
Tape Measure
A tape measure will help you work accurately, which is essential as it will be very difficult to repair holes after making them.
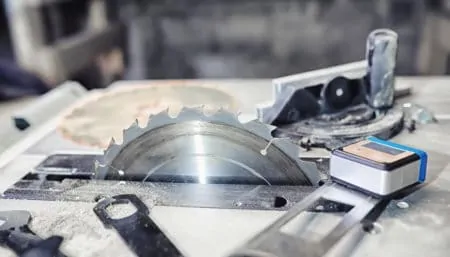
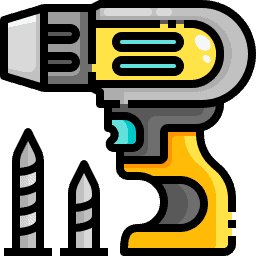
Hole Saw
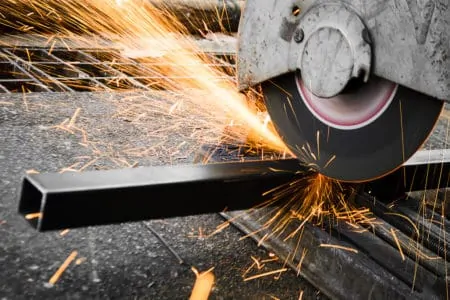
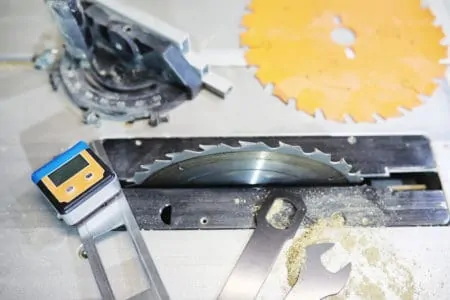
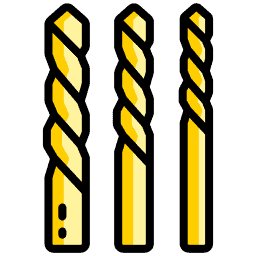
You will need to use an appropriate hole saw for the material you are cutting. For harder surfaces such as metal and concrete, use a diamond-coated hole saw for a smoother cut. The saw’s size is critical as unlike other drilling techniques, it will be difficult to increase the size of your hole saw once you have drilled a hole. This is because you will no longer be able to make a pilot hole.
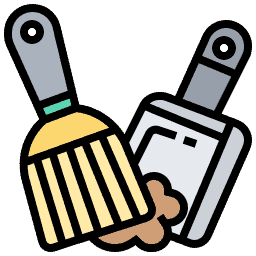
Vacuum or Dustpan and Brush
As mentioned previously, a hole saw will release a large amount of sawdust. Make sure you have a vacuum cleaner or dustpan and brush if you are drilling indoors, so you can clean up after yourself.
How to Use a Hole Saw
If you have never used a hole saw before, or it has been a while since you last did, you might need some advice. Here is a quick guide on how to use a hole saw to make smooth, accurate holes in various materials.
1. Put on Your Safety Gear
Safety is essential when using any power tool. Put on your goggles, earplugs, and face mask before using your hole saw, as this will protect you against noise, sawdust, and other debris.
2. Mark Your Spot
Use your tape measure to determine where the hole should go, then mark the center spot for the pilot hole. Double-check your measurements before making a hole as it will be very difficult to correct any mistakes later.
3. Pilot Hole
Use a standard drill bit to make a pilot hole so the hole saw has a guide to follow. Ensure the drill is properly aligned when you make the pilot hole, as this will prevent the hole saw from veering off at an angle later.
The pilot hole will improve your accuracy and remove any guesswork. Make sure the bit you use for the pilot hole is the same size as the center bit of the hole saw, as this will help it stay in place while cutting.
Top Tip
4. Attach the Hole Saw
Swap the pilot bit for the correct hole saw size. Tighten the chuck so there is no movement during use. Ensure the hole saw is tightened on the arbor thread, so there is no chance of it working loose while cutting. If the hole saw moves unexpectedly during use, it could ruin the quality of your finish or leave the hole in the wrong place.
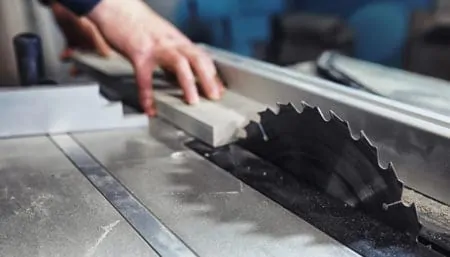
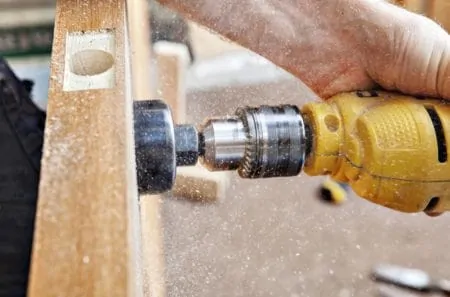
5. Make the Hole
Place the hole saw so its center bit fits snugly into the pilot hole. Before activating the drill, make sure the saw’s edge is flat against the surface of the material you are cutting.
If you are satisfied that everything is properly aligned, start the drill slowly until the saw bites into the material. Once the blade has started working its way through the surface, gradually increase the drill’s speed until the hole saw cuts through to the other side of the material.
Top Tip
6. Tidy Up
Switch off the drill and grab a vacuum or dustpan and brush to clean up any sawdust that has been released by the hole saw. Leave your protective gear on at this stage as disturbing the dust means you will probably send some of it into the air.
7. Remove Your Safety Equipment
Once you have removed as much sawdust as possible, you can take off your goggles and face mask to check the quality of the hole you have made.
Hole Saw Safety Tips
Use a Side Handle
If you are cutting a large hole, a drill with a side handle will provide greater stability, which will help you work more accurately. It will also help if you are cutting through hard materials that require extra pressure to penetrate.
Hold the Drill Straight
Keeping the drill straight will reduce the risk of the hole saw binding as it cuts. It will also make result in a neater, more accurate hole.
Use Lubricating Oil
Lubricating oil is very useful when you need to make a hole in metal. It will help the hole saw spin more smoothly, resulting in a neater finish, and it makes it easier to remove debris from the cut.
Removing the Plug
Some hole saws have a plug removal feature, but they are relatively rare and have a limited range of sizes. The other simple way to remove a plug is with a flathead screwdriver. However, this could end up damaging the hole saw’s teeth and might cause an accident if you slip while trying to remove the material.
Another technique is to drill a second hole away from the pilot hole. If the plug becomes stuck in the hole saw, you can insert a screw and twist it a couple of times before using it to easily pull the piece of material out.
Hole Saw FAQs
How Do You Attach a Hole Saw to a Drill?
The pilot bit is detachable to enable you to quickly switch between various hole saw sizes. Check that the arbor of the center bit will fit into your drill’s chuck. Most hole saws are universal, so they will be suitable for the majority of modern power drills.
Insert the pilot bit and tighten the chuck to hold it in place. Then, choose the right size of hole saw and slide it onto the pilot bit, ensuring the threads are aligned. Twist the hole saw and tighten it. Some hole saws have a locking nut to ensure they stay in place when cutting tough materials.
Can You Use a Hole Saw Without a Pilot Bit?
It is possible to use a hole saw without a pilot bit, and it can be preferable when cutting brittle materials such as tiles. This is because the center bit can crack the tile, making it better to go without. However, it will be trickier to make the hole exactly where you need it.
The easiest way to do this without a pilot bit is to use an old-fashioned pencil or marker. Select the hole size you want, place the hole saw on the material in the correct position, then draw an outline around it. Then, you simply need to make sure the hole saw lines up with the outline before you start drilling.

How Do You Change a Bit on a Hole Saw?
The simplest way to change your hole saw bit is to insert a flathead screwdriver into the slots in the hole saw and grip the arbor with a wrench. Twist the screwdriver and wrench in opposite directions and the hole saw should start to spin free of the threads.
If you are having difficulty detaching it, you can place the hole saw in a vice for greater purchase.
How Do You Attach a Hole Saw to an Arbor?
Make sure the arbor is firmly attached to the drill chuck. Select the correct size hole saw for the job and slide it over the pilot bit fixed to the drill. Turn the hole saw so the threads are correctly aligned and tighten until the hole saw can no longer turn. Some hole saws have a locking nut to hold them in place securely. You are now ready to start cutting holes.
How Do You Remove the Wood From a Hole Saw?
The simplest way to remove the material you have cut, also known as a plug, from a hole saw is to use a flat-head screwdriver. Slide it along the edge of the plug and lever the material out of the hole saw. If this doesn’t work, you can also drill a second hole away from the pilot hole. Insert a screw into the hole for extra grip, then use it to pull the plug out of the hole saw.

What Attachment Do I Need for a Hole Saw?
Several attachments can make the job much easier when using a hole saw. The arbor is the most important attachment for the hole saw and attaches the drill bit.
A jig can help guide the saw through curves and narrow spaces more accurately. A pilot bit is also essential as it helps center the drill bit before drilling and prevents it from wandering while cutting.
Many hole saws come with lubrication, such as oil-based paste or wax, which should be used during drilling to keep heat levels down and reduce wear on the blade.

Why Does My Hole Saw Keep Coming Loose?
A hole saw keeps coming loose when the arbor that connects the drill bit to the saw is not tightened properly or has become worn out.
In addition, if insufficient lubricant is used on the blade of the hole saw, it can cause excessive heat and vibration, making it difficult to keep a secure connection.
Poor alignment between the hole saw and drill bit can also cause it to come loose over time. To ensure that your hole saw stays securely attached, ensure all parts are correctly installed and maintained and use a quality lubricant when cutting.
Can You Use a Hole Saw with a Hammer Drill?
Using a hole saw with a hammer drill is not recommended, as the two tools are not designed to work together.
Hole saws are typically used with a normal drill. They should never be used with a hammer drill as the constant pounding of the hammer can cause rapid and excessive wear on the hole saw blade, leading to it becoming dull or damaged.
The high force of a hammer drill can cause the arbor holding the drill bit to come loose or bend, which makes it difficult and dangerous to operate. For best results, it is best to use a standard power drill for all hole saw applications.

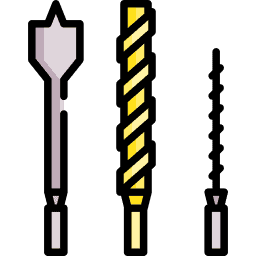
What is the Difference Between a Hole Saw and a Spade Bit?
Hole saws and spade bits are two tools that look similar but serve different purposes. Hole saws are circular blades with teeth on the outside edge, which are designed to cut perfect holes in surfaces such as wood or metal.
On the other hand, spade bits feature a pointy tip at the end, which is used to drill into materials such as plastic, masonry, or soft metals like aluminum.
Hole saws require more setup time than spade bits. However, they make cleaner, more precise cuts when compared to their counterpart.
Spade bits work best for drilling into softer materials but require a steady hand and can easily wander off course if not used properly. A spade drill bit is also faster compared to a hole saw.

What Is a Disadvantage of a Hole Saw?
One of the biggest disadvantages of using a hole saw is that it can be really slow and laborious. Hole saws can take much longer to cut through harder materials than traditional drill bits and need more effort from the user due to their larger size.
They also produce high amounts of dust or debris, which may need to be cleaned up afterward. Since hole saws are typically made of metal, they’re subject to rust over time if you don’t take care of them.
For best results, it’s recommended you make sure your hole saw is in proper working condition before each use.