Is your paint sprayer spitting and clogging instead of laying down a smooth coat? Latex paint is thick straight from the can, and while that suits a brush, it can choke a spray gun.
The fix is simpler than most people expect: a splash of water usually does the trick, and if you run an airless sprayer you may not need to thin at all.
When you want the paint to stay tough as well as thin, a conditioner like Floetrol cuts the viscosity without watering down the resin that makes the finish last.
Key Takeaways
- Start with water: Add 1/2 cup of water per gallon of latex paint as a baseline, then mix thoroughly.
- Aim for heavy cream: The consistency should flow smoothly off a stick without clumping or dripping like water.
- Use paint conditioner: Additives like Floetrol improve flow and leveling without weakening the paint’s durability.
- Always strain your paint: Pouring thinned paint through a mesh strainer prevents clogs in your sprayer tip.
How to Check Paint Viscosity
Before you start pouring water into your expensive paint, you need to test the current thickness. Most modern latex paints are thixotropic; they seem thick in the can but thin out when agitated.
- Open the can: Use a flat-head screwdriver or a dedicated paint key to pop the lid rim.
- Stir thoroughly: Latex separates over time. Use a wooden paint stick or a drill attachment to mix the paint for 5 to 10 minutes. Spiraling up and down ensures the solids at the bottom mix with the liquids at the top.
- Perform the drip test: Lift the stick about 6 inches above the can.
- Observe the flow: If the paint drips in globs or resembles heavy yogurt, it is too thick for a sprayer. If it runs off in a steady, smooth stream like heavy cream, it might be ready to go.
Top Tip
Invest in a viscosity cup. This small tool measures exactly how long it takes for liquid to flow through a hole, giving you a precise “runout time” to match your sprayer’s manual.
Calculating the Water-to-Paint Ratio
How much water you add depends on the quality of the paint and the type of sprayer you own. Premium paints contain more solids and binders, meaning they are thicker and often require more thinning than budget-friendly options.
A generally safe starting point is 1/2 cup of water for every gallon of paint (roughly a 10 percent dilution ratio). Never dump all the water in at once. You want to add it gradually to avoid over-thinning, which ruins the paint’s ability to stick and hide imperfections.
Take Note
Always use room temperature water. Cold water can stiffen the paint, while hot water can affect the drying time.
How to Thin Latex Paint for a Sprayer
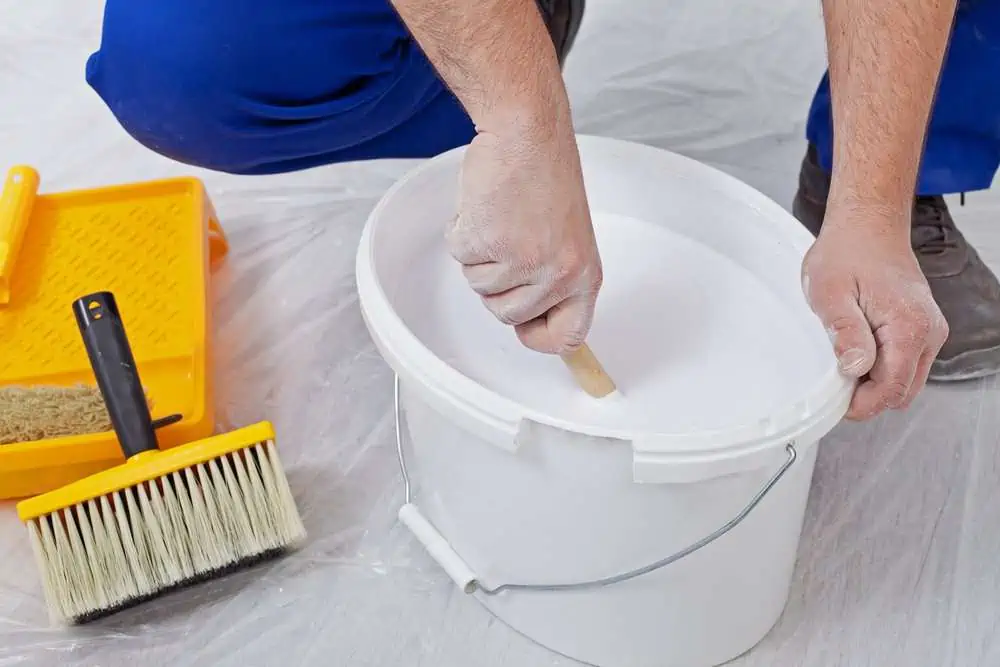
The process is straightforward, but patience is key. You can easily add more water, but you cannot remove it once it is mixed.
What You’ll Need
- 5-gallon bucket (for mixing).
- Fresh latex paint.
- Stirring stick or drill mixer.
- Water.
- Viscosity cup or funnel.
- Ladle.
- Mesh paint strainer.
- High-quality paint sprayer.
1. Prepare the Work Area
Transfer your paint from the original can into a clean 5-gallon bucket. This gives you plenty of room to stir vigorously without splashing over the sides.
2. Add Water Gradually
Pour in your initial 1/2 cup of water. Stir the mixture gently but thoroughly. Use a spiral motion to pull heavier paint from the bottom of the bucket.
3. Test the Consistency
Use a ladle to pour paint through a funnel or viscosity cup.
- The Funnel Test: If the paint flows freely through the funnel without backing up, it is likely thin enough for the nozzle.
- The Time Test: If using a viscosity cup, time how long it takes to empty. Compare this number to the manufacturer’s chart for your specific spray gun.
If the flow is still sluggish, add another few ounces of water, stir, and re-test. Repeat this until you reach the consistency of heavy cream.
4. Strain and Load
This step is non-negotiable. Place a mesh strainer or cheesecloth over the sprayer’s reservoir cup. Pour the thinned paint through it to catch any dried flakes or clumps. Even tiny debris can clog a spray tip instantly.
Screw the canister onto your sprayer and do a test pass on a piece of cardboard. Adjust the pressure and flow settings until you get an even oval pattern without spitting.
Important
If you are painting furniture, use a latex primer first. Primers provide a “tooth” for the topcoat to grip, ensuring your finish lasts longer.
Using Floetrol Instead of Water
Water is cheap and easy, but it has a downside; it dilutes the resin that makes paint durable. A professional alternative is a paint conditioner like Floetrol.
Floetrol reduces the viscosity of latex paint so it sprays like oil-based enamel. It improves flow, eliminates brush marks, and prevents the spray tip from drying out (tip dry). Most importantly, it maintains the paint’s structural integrity better than water.
Follow the instructions on the bottle, because the right dose depends on your gun. Flood, the maker of Floetrol, recommends 4 to 8 ounces per quart of paint for a cup gun, up to 32 ounces per gallon for an airless sprayer, and about 8 ounces per gallon for brush or roller work (1). Start on the low end, stir well, and add more only if the paint still drags. It works with almost any acrylic or latex brand.
HVLP vs. Airless Sprayers
The type of gun you use dictates how much you need to thin your material.
- Airless Sprayers: These machines use high pressure (up to 3,000 PSI) to atomize paint and are built to handle latex straight from the can, so they often need no thinning at all. If the paint still will not lay down flat, keep any added water under about 20 percent. Many airless guns hide a filter in the handle to catch debris, and a quality tip is good for about 40 to 50 gallons of latex paint before it wears down and distorts the spray pattern, so swap tips on that schedule rather than waiting for clogs (2).
- HVLP Sprayers: High Volume Low Pressure units use air volume to push paint. They require significantly thinner material. You will almost always need to thin latex paint for an HVLP system to avoid orange peel texture.
Pro Tips for Spray Painting with Latex
Now that your mixture is perfect, follow these tips to ensure a flawless application:
- Choose the right paint: Brands like Sherwin-Williams, Behr, and Benjamin Moore offer specific “enamel” lines that harden well for cabinets and trim.
- Get the right gear: A reliable sprayer like this model from Wagner makes a huge difference in finish quality.
- Watch the temperature: Paint thickens in the cold. Try to paint when the air and paint are between 70 and 80 degrees Fahrenheit.
- Test your pattern: Always spray a piece of cardboard before touching your wall. Adjust the air and fluid knobs until the spray fan is uniform.
- Overlap your passes: Overlap each spray pass by 50 percent to avoid striping.
- Safety first: Atomized paint gets everywhere. Wear a respirator mask, goggles, and cover your skin.
FAQs
Bottom Line
Thinning latex paint for a sprayer is less about guesswork and more about restraint. Start with a small pour of water, stir constantly, and aim for a heavy-cream consistency that flows off the stick without running like water. Reach for a conditioner like Floetrol when you want the paint to spray smoothly and still cure hard, and keep in mind that a high-pressure airless gun often sprays latex fine with little or no thinning at all. Strain every batch before it reaches the cup and mix only what you will use in one session, and your sprayer will lay down a clean, even coat.