Knowing how to apply popcorn ceiling spray is easier than you might think. It is excellent for covering cracked ceilings in poor condition, but it does suffer from a “love it or hate it” image.
Whether you’re attempting a DIY popcorn ceiling repair or covering the entire surface, we show you the best technique.
Key Takeaways
- Prep the area by covering walls and floor with plastic sheeting, and filling any large cracks or holes in the ceiling.
- Use a texture sprayer and popcorn ceiling texture to cover imperfections on the ceiling, working in sweeping motions to ensure an even layer.
- Practice spraying on a piece of cardboard first to perfect technique and thickness, and wear safety gear like goggles, earplugs, and a face mask.
- Clean up by washing out the spray applicator, removing plastic sheeting, and carefully taking off painter’s tape.
What Is Spray Texture?
Popcorn texture spray is a method of applying a thicker coating that hides ceiling imperfections like hairline cracks. It is sold in cans in popular hardware stores and online sites like Amazon.
This Homax Easy Patch is a great example of instant patch repair for popcorn ceilings. It is a liquid coating that expands onto the ceiling and dries rock hard. You can also buy it in ready-mixed tubs for use with a paint tray and roller.
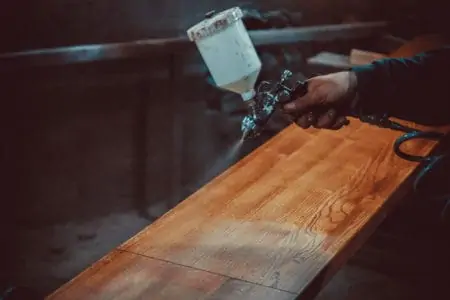
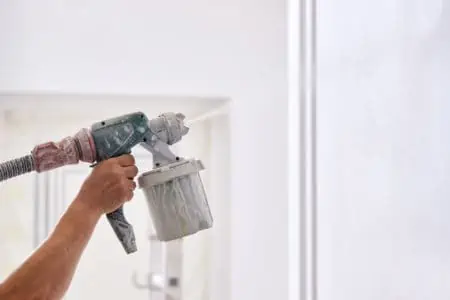
Another application method is to use a spray applicator, like this HILTEX Air Texture Spray Gun. Unfortunately, you will need an air compressor to operate the gun, which adds to your costs.
How to Spray Repair Popcorn Ceiling Texture
Spraying ceiling repair texture is pretty straightforward, but you will need the right tools and equipment. Thorough preparation is half the battle and ensures that you get the best finish possible.
Top Tip
Practice on a piece of cardboard first to learn how to get the technique and thickness right. It also gets you used to how the spray machine operates.
What You’ll Need
- Texture sprayer.
- Popcorn ceiling texture.
- Plastic sheeting.
- Painter’s tape.
- Step ladder.
- Primer.
- Five-gallon bucket.
- Power drill and mixer attachment.
- Air compressor.
- Goggles.
- Earplugs.
- Face mask.
1. Prep the Area
Popcorn ceiling texture is messy stuff, so remove all furniture and belongings before you begin. Cover the floors and walls in plastic sheeting, using the painter’s tape to secure it.
Frog Tape is one of the most trusted brands of painter’s tape. It adheres well and doesn’t allow the texture to bleed onto your walls. Tear it off in two-foot strips and press the top half of the tape against the wall, where it meets the ceiling.
Do this all the way around the room, including over windows and doors. Next, attach the plastic sheeting to the unstuck half of the Frog Tape and press it in place. This holds the sheeting and secures the walls from splatter.
Remove rugs and anything else that you think might get damaged, and set up a work area in the room so that you are prepared.
2. Cover the Floor
Lay the plastic sheeting on the floor and secure it to the top of your baseboards with the tape. Frog Tape adheres, but it doesn’t pull off your paintwork.
Top Tip
Remember to leave enough give in the plastic sheeting, or it will pull away from the wall and expose gaps.
3. Prep the Ceiling
While popcorn texture is better at covering hairline cracks, it won’t conceal significant imperfections. Sand and fill larger gaps and dents. Also, ensure that all of the old popcorn ceiling remnants are removed.
If you are covering water damage, prime the area with an oil-based primer to act as a stain blocker.
4. Prep the Spray Machine
You will need to prepare enough texture to cover the entire area you are about to patch. Stir the popcorn texture into a five-gallon bucket using a drill mixer attachment, like this Edward Tools Paint and Mud Mixer.
It takes the strain out of the process and gets the job done in double-quick time. You will need the popcorn mixture to be quite runny, so keep adding water to it. However, if it’s too runny, it won’t adhere to the ceiling, and if it’s too thick, it will clog the sprayer.
Take Note
If you are patching your ceiling, make sure the new popcorn texture matches the old one. You can get fine, medium, and coarse popcorn textures.
5. Spray the Ceiling
Safety First
Don your earplugs, face mask, and goggles to protect yourself from popcorn texture splatters.
Drop the hose attached to the spray gun into the bucket and switch on the air compressor. Wait while the compressor reaches optimum pressure and depress the gun’s trigger.
Work in sweeping motions, approximately 12 inches wide, ensuring the new texture overlaps the old. This helps smooth the patched area, blending it with the existing spackle.
The technique is similar to using spray paint. The key is not to apply the popcorn texture too thick or thin. When you have covered the affected area satisfactorily, switch off the machine and think about the cleanup.
6. Cleanup Time
Cleaning up should be a breeze if you did the prep work correctly. Wash out the spray applicator and your other tools and gather up the plastic sheeting. Remove the Frog Tape, taking care not to peel paint from your walls.
Popcorn Ceiling Spray Vs. Patch
Generally, you would use spray popcorn ceiling texture to cover larger areas. It is more challenging to control a spray applicator, so working in small spaces just isn’t feasible.
If you need to fix a small hole or crack, using a patching compound, like this Homax Ready-to-Use Patch Repair, is better because it is easier to apply. It is easier to blend and is ideal for repairing peeling stucco.
Another crucial difference between patch and popcorn texture is that patch compound is ready mixed. It comes in tubs to apply with a roller or a spray can, like spray paint.
Should You Repair or Remove a Popcorn Ceiling
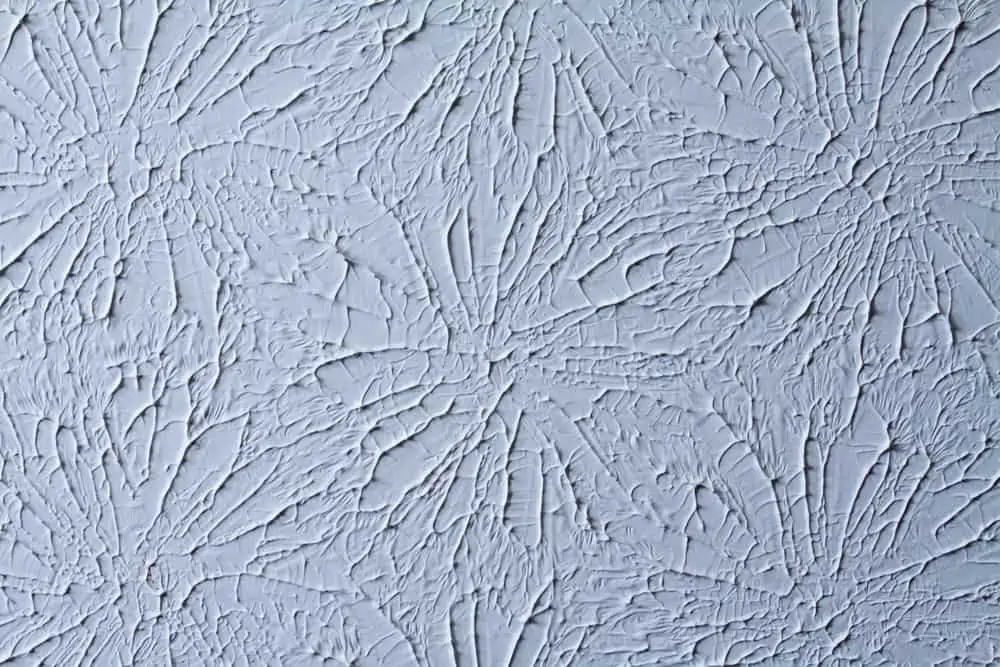
A lot depends on the extent of the repair. Popcorn ceilings are not to everyone’s taste, so it may deter some people from buying your home if you are selling.
If your popcorn ceiling was installed between 1945 and the early 1990s, you might want to consider removing it. Asbestos was a key ingredient until it was banned. While perfectly safe if the ceiling remains untouched, it still makes some people uncomfortable.
You may be looking for a particular home style, and popcorn just doesn’t cut it. If that’s the case, it would be worth removing it. If you are remodeling the entire home, take the opportunity to remove the popcorn ceilings throughout the house.
Another reason to remove rather than repair could be that some rooms have had the popcorn texture removed, but it remains in other rooms in the house. To make everything uniform, consider removing the few remaining textured ceilings.
FAQs

What is the Cheapest Way to Cover a Ceiling?
One of the cheapest ways to cover a ceiling is to use fabric. Tent ceilings were all the rage in the 90s, turning ordinary rooms into exotic spaces. The material is draped to resemble the inside of a tent.
Another cheap alternative is to use polystyrene foam tiles. They stick on and cover a multitude of ceiling imperfections.
Safety Warning
Polystyrene is highly flammable, so check out your local building code first before installation.

How Can I Cover My Popcorn Ceiling Without Removing It?
You would need to install a drop or acoustic ceiling. It creates a false layer of tiles but still gives you access to the light fittings and any electrical wires concealed beneath.

When Did They Stop Using Asbestos In Popcorn Ceilings?
The US government banned its use in ceiling products as early as 1977, but it was still widely used well into the early 90s. Luckily asbestos is no longer present as an ingredient.
The Last Word
Popcorn ceilings have declined in popularity since the 90s. They are gradually disappearing from American homes and being replaced with smooth, flat ceilings. However, the ones that remain still need repairing and maintenance.
Knowing how to repair a popcorn ceiling keeps them in perfect condition and preserves a declining tradition. If you are a fan of popcorn ceilings, that must be a good thing.