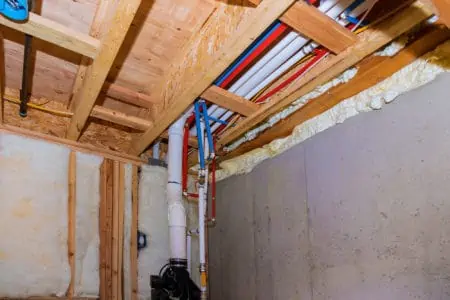
Do you loathe spending time in your basement rec room because the sounds from upstairs are just too loud? Or perhaps you’re thinking about setting up some music equipment?
Then maybe it’s time to learn how to soundproof a basement ceiling. Some methods are cheap; others are expensive. But one thing is for sure: sound deadening is something you need to be able to truly relax in your new room.
Key Takeaways
- Consider the purpose of your basement: Soundproofing is more beneficial for living spaces than storage areas.
- Four soundproofing elements: Decoupling, adding mass, absorbing, and damping help reduce noise transfer.
- Choose the right insulation: Blown-in cellulose and fiberglass insulation are effective for soundproofing ceilings.
- Explore different soundproofing methods: Mass-loaded vinyl, double drywall layers, acoustic panels, and acoustic tiles are some options to consider for various ceiling situations.
Should I Insulate My Basement for Sound?
The benefits of soundproofing a basement ceiling are proportionate with what exactly you use the basement for. Soundproofing a basement that you want to turn into an actual room has more benefits than insulating a basement where you just keep old furniture.
Advantages
Soundproofing your basement has a lot of advantages. The primary advantage is that your family members can socialize downstairs without bothering those upstairs.
Consider the following scenario. You have children of various ages in your home.
The teenagers want to stay in the basement and watch movies till late at night, but the younger children must go to bed. A dispute may arise if the beds are positioned above the basement television area.
Soundproofing will assist in alleviating the teenagers’ resentment about having to be so quiet and the smaller children’s sleep deprivation. It also helps to turn the basement into a music room.
If your basement is used as a children’s play area, soundproofing will lessen the noise generated by those happy children. While everyone enjoys hearing the sounds of happy children having fun, the noise can get extremely loud when there is more than one.
A small amount of soundproofing can prevent that basement play space from evolving into an annoying cauldron of noise.
Disadvantages
If you add too much insulation to your basement ceiling, you can lose a considerable amount of basement height.
Another potential drawback is the reduced airflow inside the basement. With proper insulation, it’s like you’re cutting the basement off from the rest of the house. That means that you have to sort out ventilation before insulating the ceiling.
There are also costs to consider. Aside from the actual insulation costs, you also have to consider maintenance.
Basics of Soundproofing Ceilings
The fundamentals of soundproofing a ceiling need the interruption of the channels through which sound can travel. If only one line of sound travel is disrupted, you may minimize some but not all sound moving from one floor to another.
Decoupling
Creating a space between joists or solid surfaces such as the ceiling and other solid surfaces is called “decoupling.” Separation interrupts the route of sound wave vibrations and is the most effective method of minimizing noise transfer.
Adding Mass
Vibrations are what make up sound waves. Increasing the bulk makes it more difficult for sound to travel. Regrettably, it takes a significant amount of mass to make a difference.
If you add a second layer of 5/8″ drywall, you can reduce sound transfer by approximately 3dB. That won’t help very much if you need more solid soundproofing.
Absorbing
The denser the material, the more effectively it absorbs sound. For example, MDF, heavy vinyl membrane, and even drywall have higher sound insulation ratings than standard fiberglass. However, sound absorption is improved when insulation is placed behind a heavier barrier.
Damping
Damping is a process that prevents or significantly reduces sound vibration in wall studs and ceiling joists. There have been advancements in developing new viscoelastic materials that reduce sound vibration transfer.
For example, acoustic drywall uses viscoelastic materials to absorb and reduce sound waves and vibrations. This makes it significantly more effective than standard gypsum drywall.
Best Insulation for Soundproofing Ceiling
The best solutions are blown-in cellulose and fiberglass insulation when it comes to soundproofing. Both materials perform admirably well. They insulate quite effectively while also possessing the noise-reducing features desired by many households.
These materials are very effective in soundproofing for a variety of reasons. They produce a tight barrier that prevents sound waves from traveling through. And they are also exceptionally absorbent of noise, preventing sound from escaping.
How to Soundproof a Basement Ceiling
There are different methods depending on your ceiling situation.
An Unfinished Ceiling
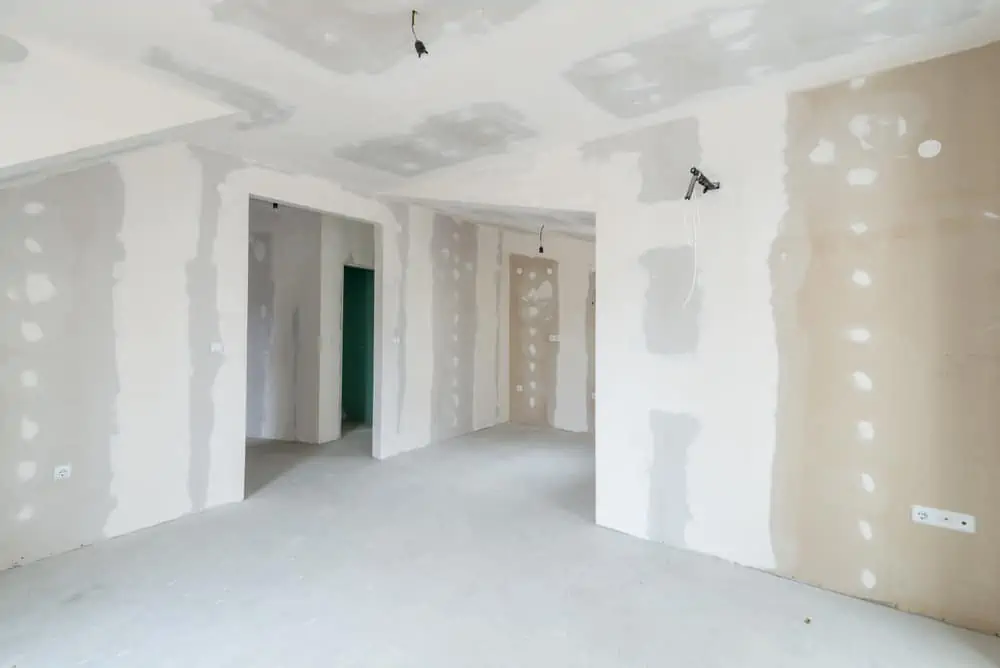
Any one of these methods would work great for an unfinished ceiling. But I personally love soundproofing tiles.
1. Mass-Loaded Vinyl
Mass-loaded vinyl is a sound-absorbing substance. It acts as a sound dampening agent and is a vinyl and barium sulfate compound.
It is non-toxic and has a high relative density, making it an efficient sound barrier. Vinyl with a high density can also be used as a carpet underlayment. It is robust and dense, and its primary function is to muffle primarily airborne sounds.
Additionally, it provides additional padding for floors and ceilings. It serves several purposes and is extremely effective.
Pros
- Gives extra padding.
- Is an efficient sound barrier.
Cons
- Is more expensive than Green Glue (soundproofing paint).
2. Double Drywall Layers
Adding a second layer of drywall increases the ceiling’s bulk and absorbs more sound vibration. If the ceiling is likewise insulated, the value of the second drywall layer increases. Mass and absorption both contribute to sound reduction.
Locate the joists using a stud finder. Attach the second layer at a 90-degree angle to the first and avoid screwing into the joists to minimize vibrational noise transfer.
Pros
- Pretty easy to install.
- Efficient in decreasing sound transfer.
Cons
- Requires double the labor.
3. Subfloor Above
If the noise from above the basement sounds like elephants trampling, you may want to invest in some significant soundproofing for the floor above.
The most effective way to reduce impact or footfall noise from the ceiling side of the barrier is to add mass and damping directly to the subfloor. Utilizing all four soundproofing elements results in a significantly quieter atmosphere.
Pros
- Adds extra thickness to the ceiling.
- Is one of the most efficient soundproofing methods.
Cons
- It’s a more complex process.
- Takes longer to implement.
- More expensive.
4. Sound-Engineered Drywall
Quietrock and Silent FX are two examples of sound-engineered drywall with a viscoelastic layer placed between two thin layers of gypsum. This is what absorbs and dampens noise.
It is heavier and denser than regular drywall sheets. It also reduces resonance and echo, and claims to deliver a Sound Transmission Class (STC) value similar to eight stacked gypsum sheets.
STC refers to the class or rating of sound isolation. Acoustic drywall can be fastened to joists, channels, existing drywall, or resilient clips.
Pros
- Highly efficient soundproofing method.
- Can be attached to multiple surfaces.
Cons
- Costs up to five times more than regular drywall sheets.
An Existing Ceiling
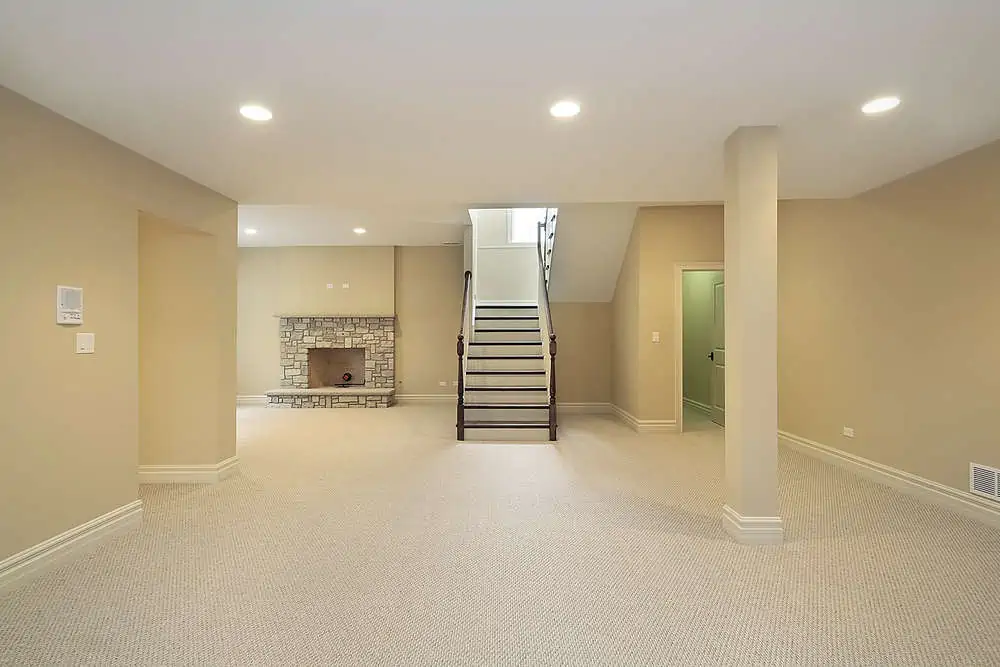
If your basement ceiling is already drywalled or has drop tiles, here are some things to consider.
5. Green Glue
Green Glue is an excellent solution if you require additional ceiling soundproofing. It is a sound-dampening solution that is affordable and highly effective at its job.
Green Glue works by establishing a dampening mechanism. When sound energy reaches the glue, it is rapidly converted to heat energy and dissipated. Green Glue can also be used as a sealer when applied to cracks and holes in the ceiling.
Pros
- Easy to work with.
- Cheap and efficient.
Cons
- You need to apply it between two drywalls.
6. Soundproof Paint
Soundproofing your ceiling with paint alone will not suffice. However, the effects can be astounding when combined with other soundproofing techniques, like the ones mentioned on this list.
Typically, soundproof paint is composed of dense materials such as latex. These materials return sound to the source, so limiting the amount transmitted.
Fun Fact
Due to its thickness, soundproof paint can absorb at least 30 percent of the sound waves that pass through your basement ceiling.
Pros
- Easy to apply.
- Made of thick materials.
Cons
- Not effective on its own.
7. Acoustic Panels
Most soundproofing professionals will claim that acoustic foam panels aren’t ideal for soundproofing a ceiling. They are absolutely correct.
When utilized on walls, acoustic foam panels will work. However, when utilized on ceilings, most of them fail to perform well as sound absorbers. That’s not to say some foam panels won’t get the job done but be ready to spend good money on these quality products.
Pros
- Easy to install as DIY.
- No messing with the ceiling structure.
Cons
- More efficient on walls than ceilings.
8. Acoustic Tiles
Another method of soundproofing a ceiling is to install acoustic ceiling tiles. Depending on the tile, they are installed directly on the existing ceiling, wood furring strips, or a steel T-grid.
They have a commercial-industrial appearance, which could complement contemporary house décor.
The support grid may be suspended, creating additional dead spaces to muffle sound further. Due to the panels’ washability and resistance to mold, they are frequently utilized in basements and bathrooms.
Pros
- Simple to install.
- Allow you to add more insulation.
- Multiple size and design options.
Cons
- They might not fit every decor type.
Without Drywall
Partially finished ceiling but with no drywall added yet? Here’s an idea to check out.
9. Acoustic Insulation
You should first consider insulating the joist cavities if you have an open ceiling without drywall. Regular ceiling insulation will suffice, particularly if you soundproof a basement ceiling on a shoestring budget.
When installing the acoustic insulation, leave an inch or two around the perimeter to create an air pocket.
Pros
- Cost-effective solution.
- Solid soundproofing and insulation method.
Cons
- Can be difficult to install.
An Exposed Joist Ceiling
Some people love the look of exposed joists or simply don’t want to finish their basement ceiling. If that’s you, these ideas might work.
10. Floating Ceiling Joists
Floating ceiling joists are an efficient decoupling technique for lessening the impact of noise. This method is most viable with drywall ceilings that are not suspended, as it does not require a ductwork-filled ceiling.
Pros
- Highly effective method.
- Feasible for drywall ceilings.
Cons
- Requires installing new joists between the existing ones.
11. Resilient Channels
These can help you reduce vibrations and are installed directly into the joists. Alternatively, you can also use hat clips. Some people recommend the latter for maximum vibration reduction.
Pros
- Efficient at reducing vibrations.
- Can also be used to hang drywall.
Cons
- More difficult to install than other methods.
Cheapest Soundproofing Method

Try this if you’re looking to save money or just need a temporary soundproof idea.
12. Move Furniture Around
One of the least expensive methods of soundproofing a basement ceiling is to rearrange your furniture upstairs.
Move your large furniture pieces directly over the basement. Ascertain that the furniture is positioned above the location. This will muffle the noise as much as possible.
Pros
- Zero-cost method.
- Allows you to try new decor looks.
Cons
- Some pieces might look out of place.
Additional Soundproofing Tips
If you really need to beef up the soundproofing in your home, then try some of these in addition to the methods above.
Seal the Gaps
If you are familiar with soundproofing, this is the fundamental rule. It makes no difference what space you are attempting to soundproof.
Always attempt to seal any gaps first. Basement ceilings are not an exception.
Gaps will be the primary source of sound entering your basement. Regrettably, the majority of basement ceilings have a few gaps and cracks. Use caulking seals, and you will see the difference immediately.
If you choose not to plug the holes, no amount of soundproofing will completely eliminate the sound. Closing down gaps and cracks should be your first concern for basement noise reduction.
Add Some Rugs
If you’re looking to soundproof a basement ceiling cheaply, you should probably try purchasing some rugs. Preferably large and fluffy for the rooms above your basement. Fluffy rugs will best mitigate the impact of footsteps and other noises.
FAQs
Still looking for more answers? Here are some common questions to consider.

Is Soundproofing a Ceiling Worth It?
Demolition and reconstruction of existing walls is more expensive, takes longer, and consumes more space. While soundproofing is unquestionably worthwhile, there is no reason to go overboard.

Can You Soundproof a Concrete Ceiling?
Yes, it is possible to soundproof a concrete ceiling. In fact, concrete, while solid, doesn’t do a very good job at soundproofing by itself.

Does QuietRock Really Work?
QuietRock can increase soundproofing by 15 to 20 STC points, whereas drywall requires up to four sheets to achieve the same effect.
The Final Say
Those who want to know how to soundproof a basement ceiling might feel overwhelmed with all these methods. However, once you understand what each method does, it’s easier to settle on the most suitable one.
Noise can leak through cracks, windows, doors, and even the ceiling. Remember that soundproofing your basement ceiling may be necessary if you plan to turn your basement into an extra room.