Knowing how to smooth out touch-up paint on a car is a valuable skill. It helps you blend the color into the original paintwork and hides nicks and scratches.
We explain how to smooth touch-up paint, including buffing out paint on a car, and how to remove touch-up paint.
Key Takeaways
- Scrape off excess paint: Remove loose paint from the affected area before smoothing touch-up paint.
- Use sandpaper: Smooth the touch-up paint using 600, 1000, and 1500-grit sandpaper in circular motions.
- Apply silicone-free polish: After sanding, use a silicone-free polish to restore the paintwork to a high-gloss finish.
- Remove touch-up paint carefully: Use tools like toothpicks, polishing compound, or lacquer thinner to remove touch-up paint without causing damage.
How to Smooth Out Touch-Up Paint
While touch-up paint is easy to apply, sometimes the results leave a lot to be desired. If you want to smooth it so it blends in, you’ll need a few things.
What You’ll Need
- 600, 1000, and 1500-grit wet and dry sandpaper.
- Silicone-free polish.
- Water.
How to Buff Out Paint On a Car
Rather than removing the paint and starting again, why not try and buff the auto paint work to fix the problem.
- Sand the affected area in circular motions using 600-grit sandpaper. Only buff the touch-up paint and not the paint on the door.
- Switch to 1000-grit sandpaper, rubbing the same area in circular motions. This 3M Auto Wet and Dry Sandpaper is a great choice.
- Swap to 1500-grit sandpaper and follow the same technique. Adding water at this stage helps get a smoother finish with wet sanding.
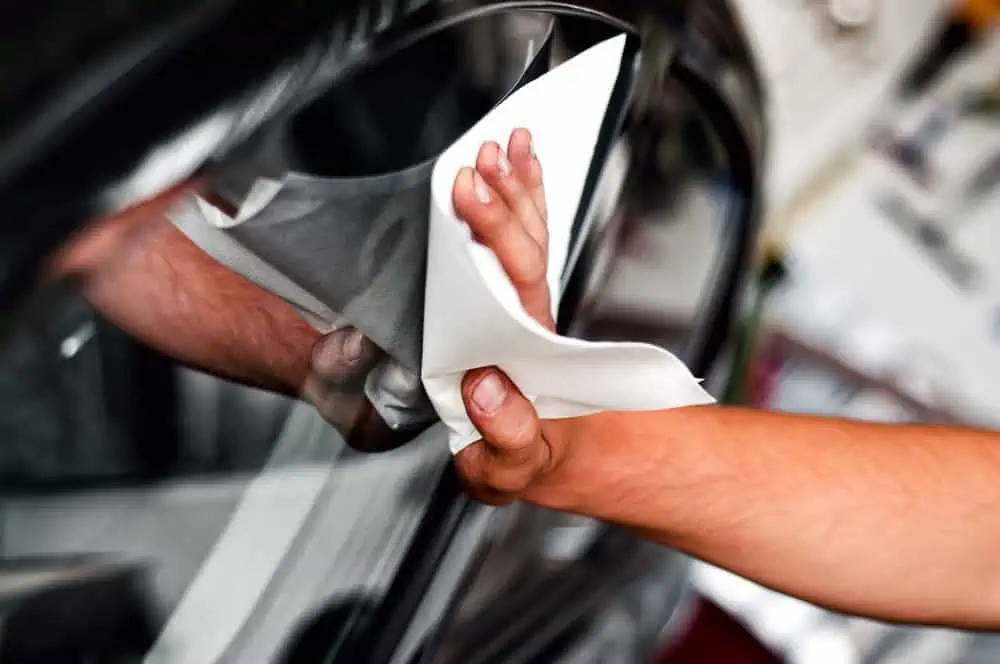
- Wipe the surface with a cloth to remove paint dust.
- Apply a silicone-free polish, like this Adam’s Correcting Compound. It removes 1500-grit sanding marks and restores the paintwork to a high-gloss finish. Apply the polish in circular motions with a cloth.
- Keep rubbing until the surface starts to blend.
Take Note
Don’t use a rubbing compound because it may cause the paint to lift, ruining the effect.
How to Reapply Paint
Sometimes you need to know when to admit defeat. No matter how hard you try, that touch-up paint will not blend. The time has come to reapply the paint and try again.
- Clean the area with soap and water to remove loose debris and chipped paint.
- Wax the area to prepare for painting with a grease-remover like this Prep-All Grease and Wax.
- Rewash the area with soapy water and dry with a clean cloth.
- If the scratch is only minor, you can skip this section, but deeper chips may require primer.
- Shake the paint can to mix the pigments. Using a fine-tip brush, test the paint to see if the colors match. It also confirms that your chosen paint reacts well to the existing car paintwork.
- Apply the paint, waiting an hour between the two or three coats.
- Wait 24 hours for the paint to dry.
- Sand using 1500-grit sandpaper and then clean the area with a damp cloth.
- Apply the clear coat, waiting an hour between the two or three coats.
- Wait 24 hours for the clear coat to dry, and you are ready to drive your car again.
How to Remove Touch-Up Paint
There are several ways to remove touch-up paint from damaged car panels. Here are a few of our favorite methods:
With a Toothpick
It is possible to remove uneven paint using a toothpick. If you can remove most of the excess flaking paint with your fingernail, there’s a strong chance that a toothpick will work.
It works best on recently dried touch-up paint. Spray the surface with a solvent product like this CMX Surface Prep. It loosens the paint so you can pick it off.
Word Of Caution
Scraping paint with your nail or a toothpick could remove more paint material than necessary. Take care not to apply too much pressure, or you could do more damage than good.
With Polishing Compound
Safety First
You should don a face mask, goggles, and safety gloves whenever you use chemical compounds that contain abrasives or solvents. These formulas emit strong odors and can burn your eyes and skin if they make contact.
Polishing compound, like this Turtle Wax Scratch Remover, is an abrasive wax that restores your car’s color. You can use it on small and large areas, and it is easy to apply with a cloth.
Rub it on in circular motions, working the leveling solvent into the affected area, and the color starts to look good as new. It is particularly effective at restoring sprayed lacquer and acrylic finishes.
Take Note
You cannot use polishing compound frequently. After each application, it strips a surface layer of old paint to reveal what’s beneath. Repeated use will only fade your color in the longer term.
With Lacquer Thinner
Lacquer thinner is much the same as paint thinner in that it thins the paintwork, causing it to become more translucent. Unlike paint thinner, lacquer thinner comprises multiple solvents to make it more effective.
Clean the area to be restored with a cloth, ensure it is dry and apply a small amount of thinner with a cotton ball. It should lift the paint to enable you to rub it away.
Take Care
Lacquer thinner will damage your plastic trim if it makes contact, so be careful not to splash it.
Will Rubbing Compound Remove Touch-Up Paint?
Rubbing compound will eventually fade touch-up paint because it strips the old paint layer to reveal the fresh paint beneath. If you use a rubbing compound frequently, it could eventually ruin your paintwork.
However, it is unlikely to strip the paint from your car entirely. For that, you’d need a thinner or paint stripper.
Tips for Touching Up Paint Like a Pro
Take a leaf out of the pros handbook for the most dramatic before and after results. Let’s look at some top tips.
Paint In a Cool Environment
UV rays are your sworn enemy when it comes to painting your car. It causes the paint to dry faster, which results in a patchy or uneven finish. Find a cool place like your garage, and don’t paint on hot days.
Wait until the weather cools, and you’ll get better results.
Don’t Paint In the Rain
Moisture is your second worst enemy when it comes to touch-up paint. If moisture gets into the paintwork, it stops it from adhering, and it will lift clean off eventually. You need a dry surface to create a proper bond between the paint and the metal.
Practice Makes Perfect
If you are unfamiliar with applying touch-up paint, practice on scrap wood or cardboard first to get the technique right. The more you do it, the better you get, and the smoother the end result.
It’s much better to ruin scrap material before letting loose on the real thing.
Use a Degreaser
Degreaser removes stubborn wax and dirt so that the paint bonds properly. Your paint will lift off without a clean surface to adhere to. This Oil Eater Degreaser is suitable for most surfaces, biodegradable, and solvent-free.
The cleaner the car’s surface, the better the paint adheres and the longer it stays looking good.
Use Primer
If you scrape your car on a wall and the scratch is deep enough, you may need to apply primer to prevent rust and seal the metal surface. If you are unsure whether to use primer after removing paint, it might be better to apply it anyway to be on the safe side.
Primer, like this Krylon ColorMaxx, creates a smooth surface for the paint to coat and increases the adherence of the topcoat.
FAQs
Smooth Operator
If you want your car to look like new for longer, dealing with minor scratches and chips is crucial. The longer you leave them, the more likely they are to rust, which adds to your financial and workload burdens.
Nip it in the bud and use your time more wisely.
