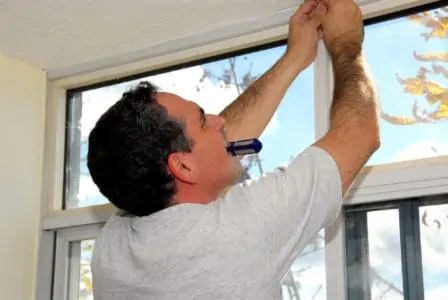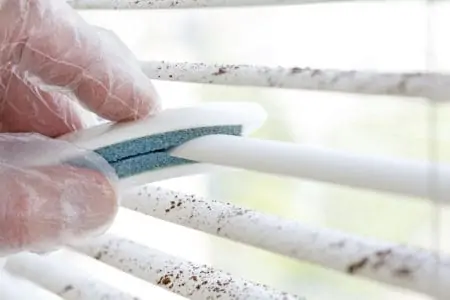
Sealing windows for winter is crucial if you want to avoid heat loss and higher energy bills. Plus, when water gets in, you risk damp and mold, which increases your risk of developing breathing difficulties.
We show you how to seal a window against the weather, and share tips and hints to keep the heat in and the rain out.
Key Takeaways
- Seal windows with caulk for interior gaps and silicone for exterior frames to prevent heat loss and water damage.
- Check for window leaks using an incense stick or by feeling for drafts with your palm on a cold or windy day.
- Seal exterior frames to walls with expanding spray foam and silicone, focusing on the gaps under the trim.
- For interior windows, clean the frame, remove old caulk, and apply new caulk along the edges where the frame meets the wall.
Do You Seal Windows from the Inside or Outside?
You do both, depending on the type of seal you are applying. Using silicone around exterior window frames stops the wind and rain from penetrating, while caulk helps seal interior gaps.
Some sealing methods, like shrink film and weatherstripping, can only be performed from the inside.
Should I Use Caulk or Silicone Around Windows?
You can use both, but caulk performs better on interior gaps. Caulk dries faster and harder than silicone and is easy to wash clean with soap and water. Silicone works better on exterior window frames because it is resistant to heat, water, and the cold.
Silicone stays flexible once cured and lasts for years, making it a great alternative to caulk. It can also be used as an alternative to window putty to bond glass to wood, metal, and vinyl window frames.
However, silicone is more challenging because it takes longer to dry and requires solvents to wash clean.
Caulk Vs. Silicone: The Pros and Cons
Here’s a handy at-a-glance guide for the different sealants and when you should use them.
Caulk
Pros
- Dries faster.
- Dries to a hard shell.
- Easier to remove.
- Washes clean with water.
- Ideal for filling seams and joints.
Cons
- Not so great on exterior surfaces.
- Doesn’t typically contain fungicide.
- Faster drying is not always an advantage.
Silicone
Pros
- Flexible when dry.
- Water, cold, and heat-resistant.
- Contains fungicide.
- Better for wetter areas.
Cons
- Long curing time.
- Requires solvents to clean up.
How to Check that Your Window is Sealed
Before you start your winter sealing program, you first need to know which windows leak. A straightforward method is to light an incense stick and hold it to the window joints. If you see the smoke flicker, the window is not sealed correctly.
You could pay someone for a full-blown energy audit, but if you want to save money, conduct one yourself. Work from room to room on a cold or windy day, checking for air gaps with your palm.
Make a floor plan of your home, noting the drafty windows so you can fix them first. You could also buy a temperature sensor like this Google Nest to tell you which windows are colder than the others.
The most likely place you’ll find a leak is where one section of the window joins another. You should also check where the window meets the frame and the frame meets the wall.
How to Seal a Window for Winter
It’s not just John Snow who fears winter coming (nailed that Game of Thrones reference); if you have leaky windows, you should too.
Checking your windows are sealed should be part of your home winterization routine. Letting cold air into your home costs you more in heating, which takes a toll on your bank balance. Before we begin, you’ll need to gather some tools and materials.
What You’ll Need
- Caulk.
- Mineral spirits.
- Silicone.
- A caulk gun.
- Soapy water.
- A clean rag.
- A sharp knife.
- A putty knife.
- Expanding spray foam.
- A hammer.
- A pry bar.
Sealing Exterior Frames to Walls
When sealing exterior frames from the outside, focus on where the frames meet the wall. Gaps are more likely here because the frames are not the same size as the rough openings. The side and top jambs and sills have to fit into the gap, leaving the possibility of air leakage.
When it comes to window trim, it’s all about what the eye can’t see. So, digging around under the trim could reveal a catalog of shoddy work.
Sealing with silicone is better for exterior surfaces because the silicone has water, heat, and cold resistance as well as antifungal ingredients. However, for gaps between the frame and wall, expanding spray foam is the best option.
- Run the sharp knife along the seam of silicone underneath the trim.
- Use the hammer and pry bar to remove the exterior trim. Be careful as the trim is easily damaged. Remove the old silicone and wipe the surface clean with mineral spirits. Make sure all the old sealant is removed and the surface entirely clean before applying new silicone.
- Locate the gaps under the trim.
- Grab the spray filler foam and fill the voids. Don’t panic if you think you’ve used too much because you can trim it to size when it sets hard.
- Wait for the foam to dry (this might take five or six hours) and use the sharp knife to cut away the excess foam.
- Replace the trim, ensuring you use the silicone sealant and gun to bond it to the frame and wall. Run a seam of sealant along the edges and top of the trim to seal against water and air ingress.
Sealing Interior Windows
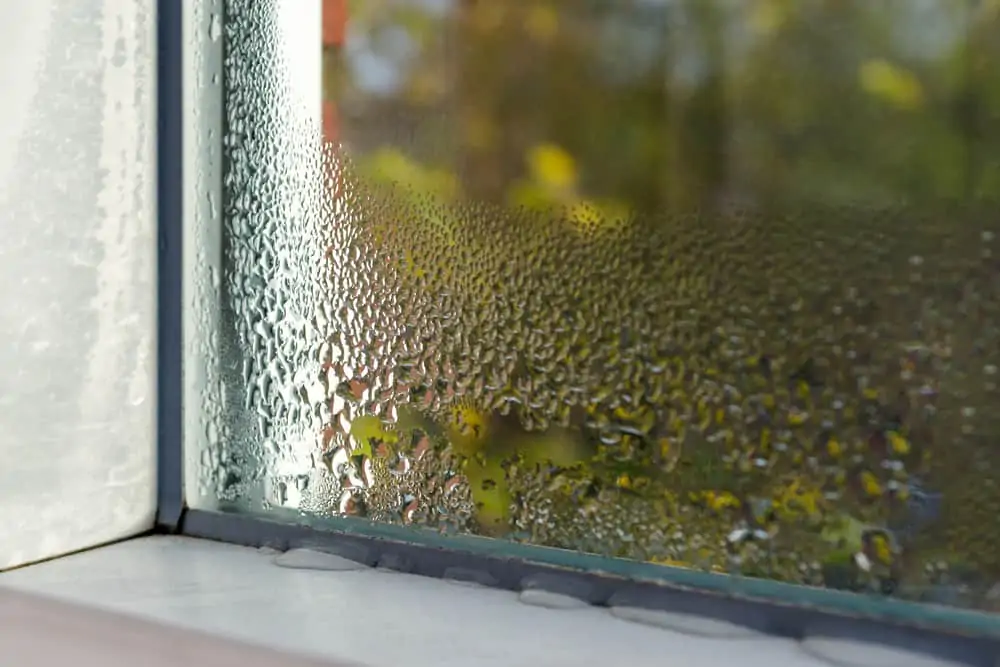
Sealing interior windows from leaks ensures the heat stays inside and water stays out. The good news is caulking is easy and inexpensive, so almost anyone can do it.
You could even temporarily seal the window shut for winter by running the caulk around the edges of the window where it opens. Use caulk for this rather than silicone because caulk is easier to remove.
- Clean the frame to remove cobwebs and dirt that stop the caulk from bonding.
- Remove the old caulk with a putty knife.
- Grab the caulk and caulk gun and run a seam along the edges of the window where the frame meets the wall.
- Smooth the caulk with your finger, and wipe away the excess with a wet rag. If you don’t want to use your finger, a putty knife will work.
- Wait a few hours until the caulk has set before painting.
Keep In Mind
Don’t run a line of new caulk on top of the old caulk. You have leaks because the old sealant is coming away, and it will continue to pull the new caulk with it.
Tips for Sealing Window Gaps
Stopping leaks may seem like an insignificant task, but the damage a leaky window can do is incredible. You might be a new homeowner and lack experience, but you deserve airtight windows as much as anyone else.
Here are some tips and techniques that will make your life much easier.
Fit Storm Windows
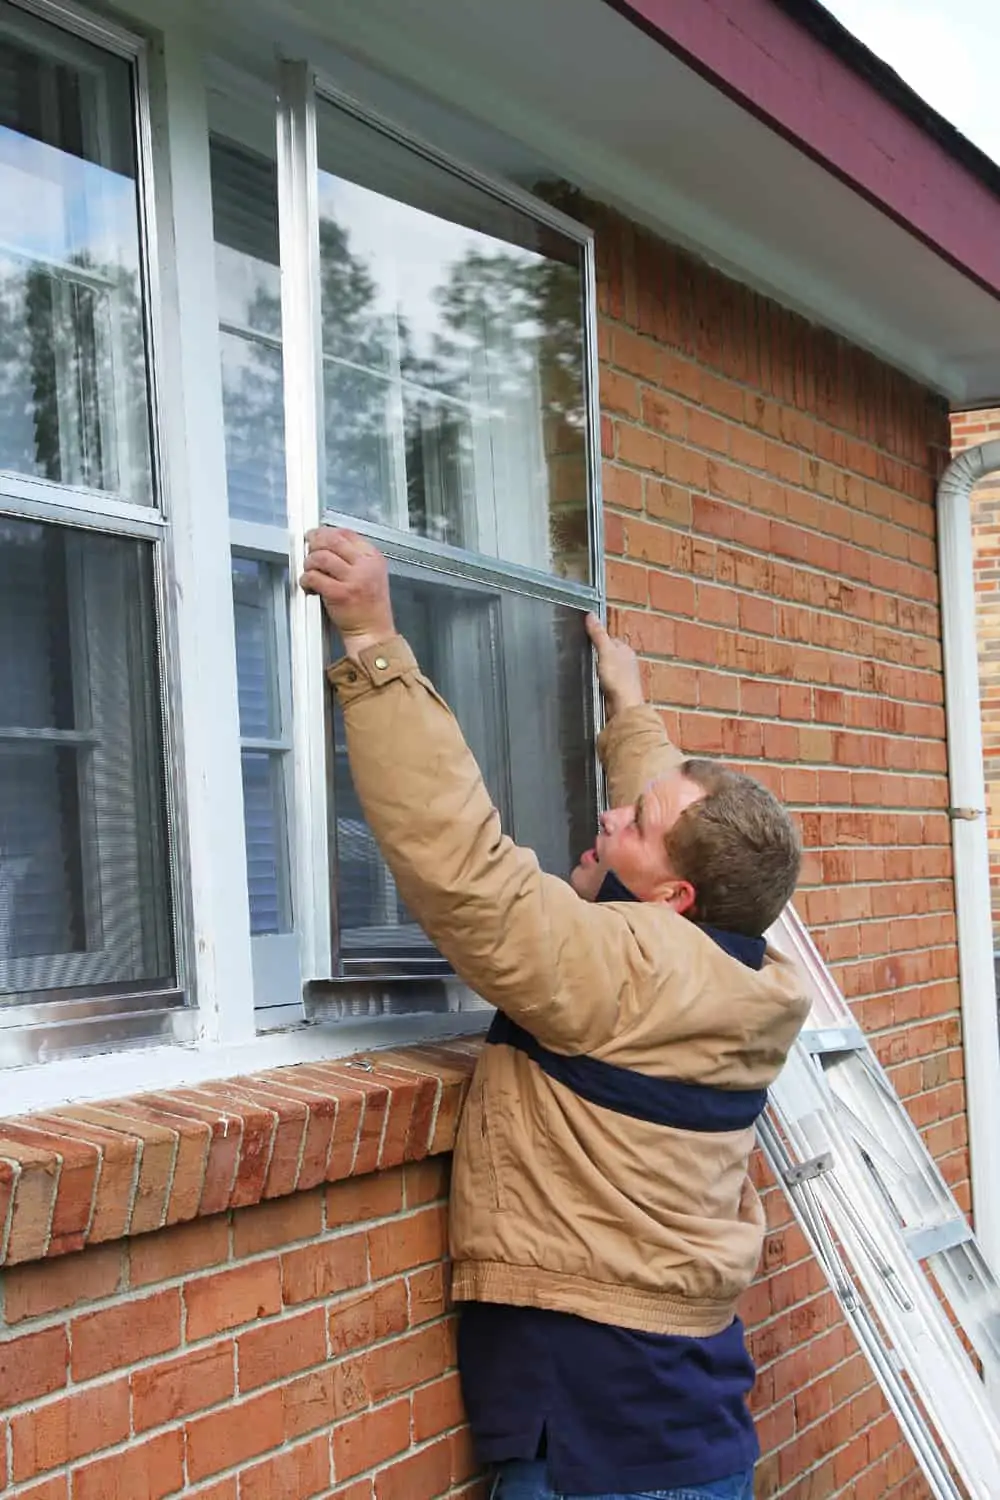
Storm windows are an excellent way of sealing your windows against the elements. They also help to reduce energy bills. However, you can’t fit storm windows to casement and awning windows because they open outward.
Use Shrink Film
Shrink window film is an easy and convenient way to seal your windows. It comes complete with double-sided tape to help you fix it to your window frames. To install shrink film, measure the window frames and cut the film to size.
Wipe the frames with mineral spirits to clean the surface and wait while it dries. Take the double-sided tape and run it along the length and width of your window frame and peel the backing off.
Extend the film up to the window, ensuring there are as few creases as possible. Start by attaching the top section, then move to the sides, finally securing the bottom. Don’t worry if you can see some creases because they will disappear when you heat the film.
Grab a hairdryer and select the hottest setting. Switch it on and run it over the shrink film, and watch it stretch tight. You now have a sealed window.
Replace the Weatherstripping
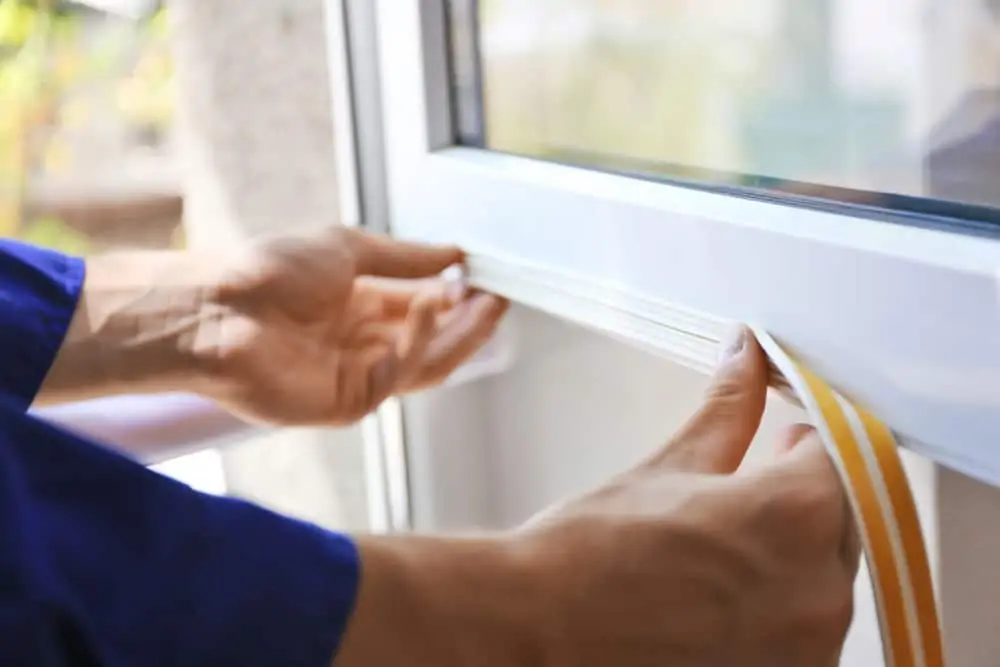
Over time, weatherstripping wears out, and leaks occur. Discovering you have this problem may require the removal of the window portion to replace the stripping.
For Sliding Windows
Open the window halfway and then lift the window out of the bottom track. Now pull the window towards you to release it from the bottom track first.
For Single-Hung Windows
Most single-hung windows have a release clip located on either side of the frame. Simply disengage the clips, and the window lifts out.
Use Heavy Drapes and Curtains

While this is not a long-term solution for drafty windows and doors, it is an instant way to solve the issue short-term. You can get round to a permanent solution later. Your curtains and drapes should be floor-length and made from heavy cotton or a velvet-like material.
FAQs

Does Caulking Windows Save Energy?
Every gap in your window frames is a drain on your finances. Your energy costs increase because of the constant battle with heat loss. If left unresolved, your leaky window could cause a bigger financial outlay when minor repairs become major ones.

Can You Temporarily Seal a Window?
You can use a temporary solution like shrink film to seal your window. Also, caulk and silicone are useful for both temporary and permanent fixes.

How Much Does it Cost to Seal a Window?
The cost varies depending on the solution. Window stripping will set you back between $30 to $80, while silicone and caulk typically cost under $10.
If you are looking to fix the problem permanently, you could get your windows replaced, but this will cost thousands.
Seal the Deal
Your house exterior is under constant attack and is the first line of defense against the elements. Whichever method you choose to seal your windows, don’t put it off.
Small leaks now will lead to more significant problems down the line. Mother Nature doesn’t need any help from you to cause damage to your home. Seal the gaps, make your home airtight, and turn down that thermostat.