Removing ceramic tiles from a concrete floor is messy, physical, and tiring work. You will need safety equipment and some heavy-duty tools. But with the correct technique, you can get the job done efficiently.
We show you how to remove tiles from a concrete floor and share hints to help you save money.
Key Takeaways
- Gather the right tools like a masonry chisel, hammer, pry bar, and safety equipment.
- Prepare the room by removing furniture, covering appliances, and taping plastic sheeting to doors and windows.
- Use a chisel and hammer to remove tiles, or a pry bar for tiles near walls and corners.
- Once tiles are removed, use a grinder to remove tile adhesive and apply a thin-set mortar to smooth the floor.
- Best Tool for Removing Tiles from a Concrete Floor
- Preparation Before Tile Removal
- How to Remove Ceramic Floor Tiles from Concrete
- How to Remove Ceramic Tile Adhesive from Concrete Floors
- How to Remove Ceramic Tiles from Concrete Without Breaking Them
- How to Remove Stubborn Floor Tiles
- Don’t Tolerate that Ceramic Tiled Floor a Minute Longer
Best Tool for Removing Tiles from a Concrete Floor
Knowing the correct techniques for removing ceramic tiles from concrete requires the proper tools for the job. But which is the best DIY tile remover to use? Let’s find out.
Safety Equipment
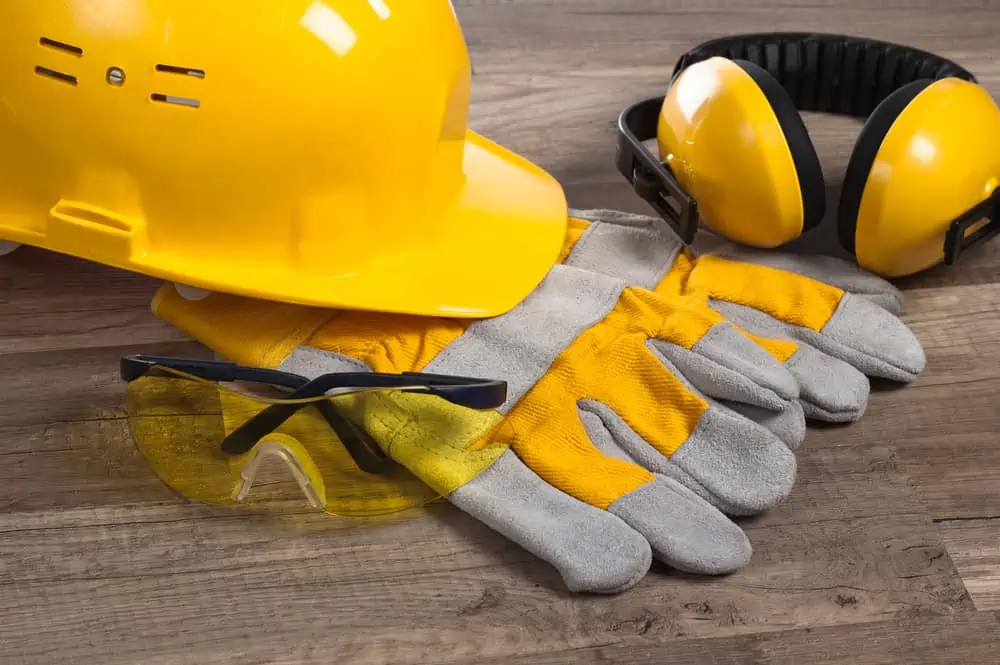
Do not attempt to remove tiles from a concrete floor without taking safety precautions. It’s why we placed it at the top of the list. A face mask will not smash a tile, but it will stop you from inhaling poisonous dust.
You will need safety goggles to protect your eyes from slithers of tile and fragments of concrete. Safety gloves keep your hands safe, and knee pads ease the stress on your knees. Finally, earplugs save your hearing, especially when using a jackhammer.
Masonry Chisel
Choose a masonry chisel with a three or four-inch spade end. You will want a thick rubber grip and a handguard to keep your fingers safe. This Mayhew Select chisel will make light work of your tiled floor.
Hammer
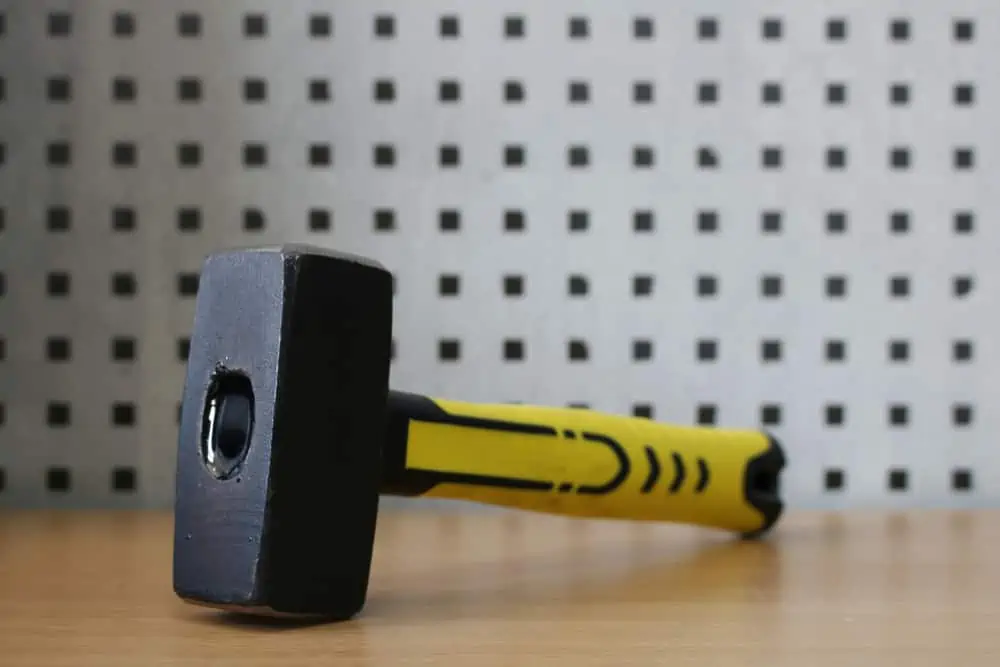
We’re not talking about a clawhammer here. You will need something with a bit of weight. This Estwing Sure Strike weighs three pounds and has a flat head, making it easier to strike the chisel.
Given the weight of the tools so far, you can see why we said removing tiles is a tiring job. These hammers are also effective at smashing stubborn tiles should you need the smash-it and trash-it method.
Hand Maul
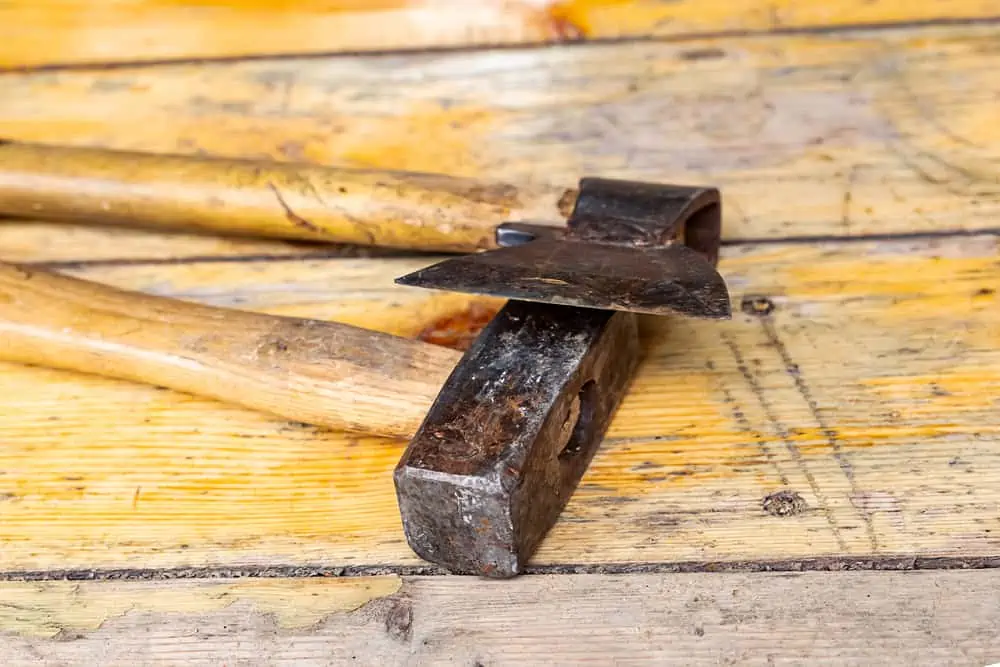
You may not be familiar with a hand maul, but they look like a fat ax. This Truper Three-pound Splitting Maul is a great example. It has a hickory handle and a drop-forged striking face.
Pry Bar
Pry bars are useful in so many walks of life. You can use them to remove baseboards, trim, window and door frames, and tiles.
They are simple to use, just slide the flat edge under the tile and push down, and the tile lifts free. This Crescent model has a v-shaped nail puller, making it even more versatile.
Jackhammer
Jackhammers are the tool of last resort. If you have tiles that refuse to budge, a jackhammer, like this Mophorn electric model, is a perfect choice. It comes with flat and pointed chisel attachments and has a brushless motor, so it lasts longer and needs less maintenance.
Safety Note
These big boys make a lot of noise, so be sure to wear earplugs when using one.
Electric Tile Stripper
Okay, so maybe the jackhammer is not the ultimate tile removal tool (although it comes close). You can hire a tile stripper from most tool hire outlets. The pros use them to strip industrial-size floors, and boy do they perform.
It strips out the tile and even collects it in a storage compartment to make it easier to dump later. You would only really hire one if you had a lot of tiles to rip out, but you can buy them too. This eight-inch model is a perfect example of what they look like, but check out the price!
Preparation Before Tile Removal
Before you start ripping up that old porcelain floor, you need to remove the furniture and rugs. If you demo tiles from a kitchen or bathroom, you will need to cover appliances and sanitary ware.
Finally, to prevent silica dust from seeping throughout your home, tape plastic sheeting to doors and windows.
Safety Notice
Now would be the ideal time to don your safety equipment before moving on to the next phase.
How to Remove Ceramic Floor Tiles from Concrete
So, you’ve prepared the room and donned your safety gear, now is the time to get started, but you are missing one vital ingredient: the tools needed.
What You’ll Need
- Masonry chisel
- Hammer.
- Pry bar.
- Hand maul.
- Jackhammer.
- Electric tile stripper.
- Shop-vac.
- Putty knife.
- Scoop shovel.
- Wheelbarrow.
- Heavy-duty trash bags.
- Masking tape.
- Plastic sheeting.
- Dust covers.
- Knee pads.
- Safety glasses.
- Face mask.
- Safety gloves.
- Earplugs.
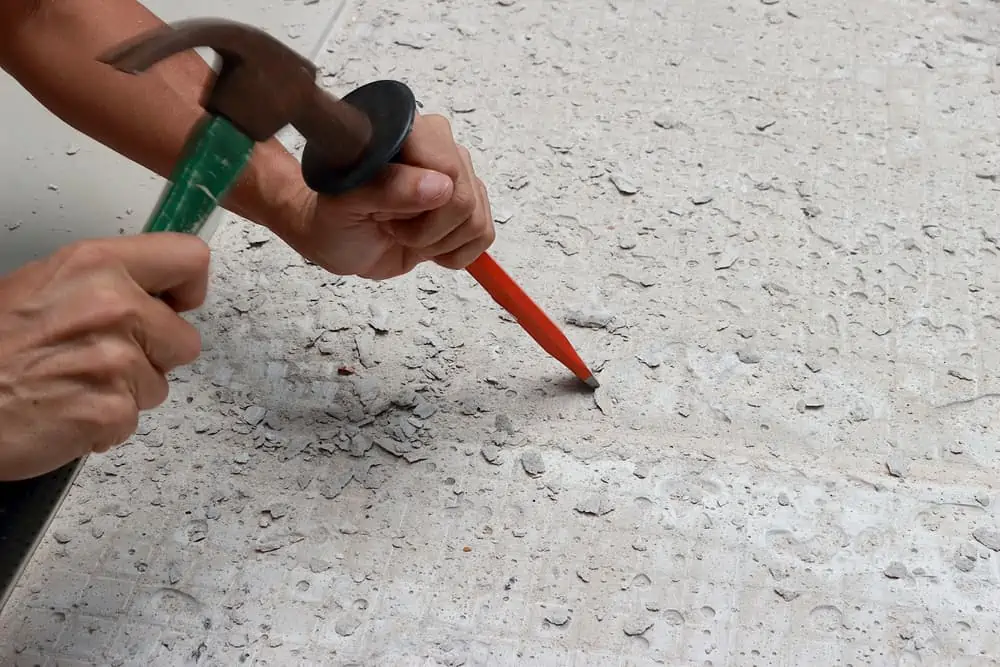
1. Use the Chisel
Start by inserting the chisel into the seam between the tiles, preferably where grout is missing. Alternatively, start in the doorway where the edges of the tiles are exposed. Hold the chisel at 45 degrees and tap the end with the hammer.
As the chisel pushes under the tile, it will start to lift. If you are lucky, it will come up without breaking; however, this is unlikely. If you find a stubborn tile, simply smashing it with the maul or hammer should solve the problem.
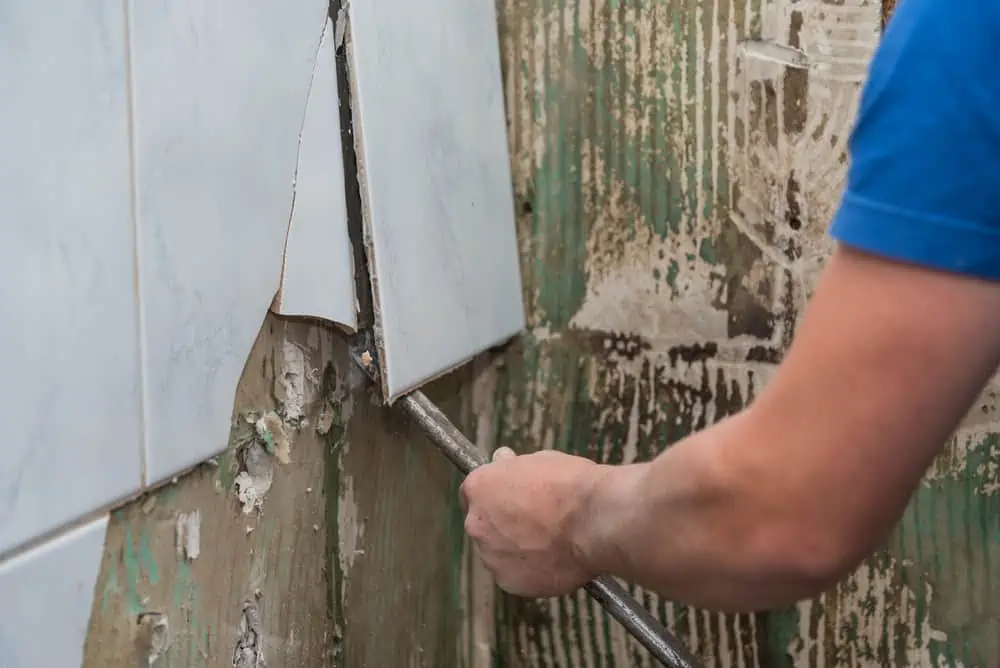
2. Use the Pry Bar
By tapping the flat edge of the pry bar under the first row of tiles, you can push down on the handle, and the tile should come free. A pry bar is also handy for removing tiles in restrictive areas like near walls and corners.
Top Tip
Clean up as you go rather than leaving the tile collecting until the end. It gives you a clear path and is better for safety. If you slip on the loose tiles, you could seriously hurt yourself.
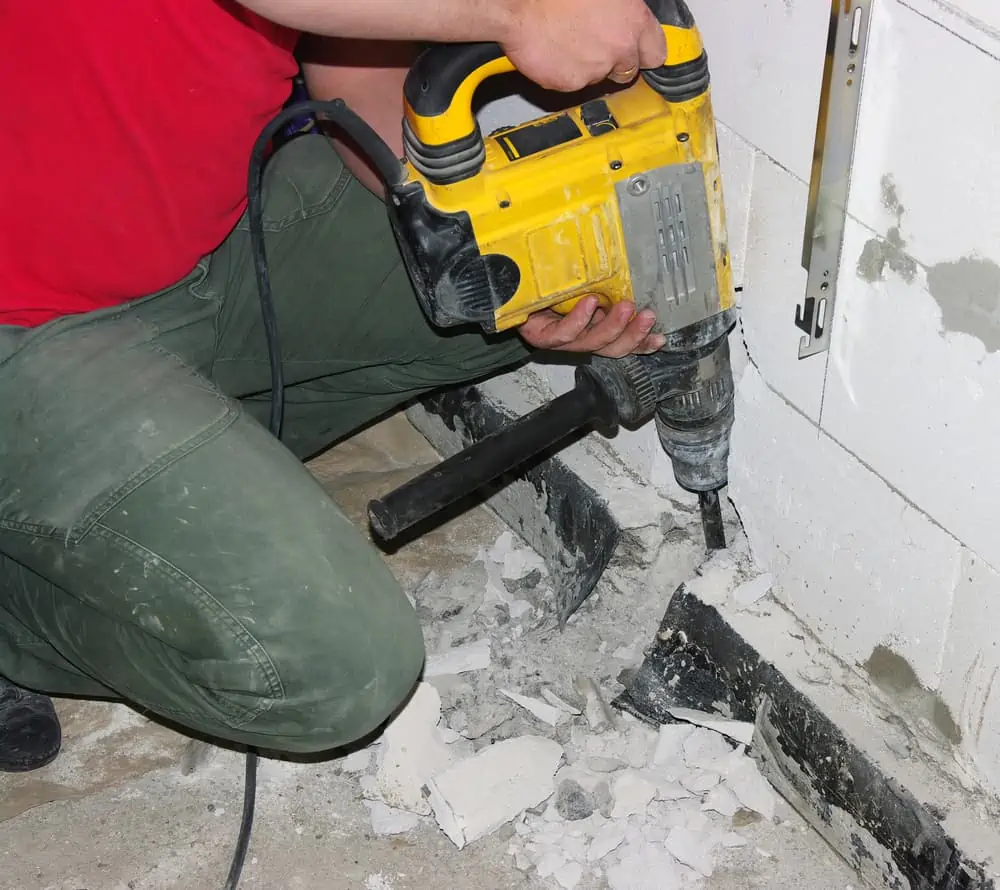
3. Jackhammer Time
Before you start, pop in your earplugs. Jackhammers are noisy, so unless you want to damage your hearing, it’s a safety precaution worth taking. You use the jackhammer in the same way as using the chisel.
Hold the jackhammer at 45 degrees and switch it on. You can use the pointed chisel attachment to smash through the tiles or the flat attachment and lift them. The chisel pummels and breaks the bond between the thin-set mortar and the tile.
4. Tile Stripper
Tile strippers make light work of the largest floors. They are expensive to buy but affordable to hire. The blade protrudes from the front of the machine and slides under the tile. It then chisels them free and scoops them into a waste chamber.
You will need to remove the first row of tiles with the chisel and hammer, but the tile stripper takes care of the rest.
5. Tidy Up
It is important to remove as much dust as possible because tile adhesive contains silica, which is an irritant. It’s the reason why you cover the doorways with plastic. Use the scoop shovel to lift the cracked tiles and the shop-vac for the smaller debris.
Load the waste material into the wheelbarrow and transfer it into heavy-duty trash bags outside. Clearing as you go creates less mess because it gives the dust time to settle.
How to Remove Ceramic Tile Adhesive from Concrete Floors
Once the tiles are up, the old tile adhesive needs to be removed. Depending on the age of your tiles, some are harder to remove than others. Thin-set mortar is among the hardest because it dries rock hard.
Mastic adhesive is easier to remove from subfloor concrete because it is more watery than grout.
What You’ll Need
- Trowel.
- Masonry chisel.
- Hammer.
- Latex thin-set mortar.
- Grinding tool.
1. Remove the Stubborn Adhesive
You don’t need to be too fussy with this process. Look for the largest chunks of adhesive to remove. The more you get off, the better and the less filling you will need.
A chisel is ideal for removing thin-set mortar because it breaks the mortar away in small chunks. The sheer shock of the hammering action crumbles the hardest of materials. The only downside is it can be extremely tiring.
2. Use the Grinder
This DeWalt Concrete Surface Grinder is perfect for removing tile adhesive and thin-set mortar. It is one of the easiest ways to get the adhesive off. It uses a special grinding disc that sands the surface, eliminating lumps and bumps.
However, it is incredibly messy and noisy, so pop your earplugs in. When done, wait while the dust settles before using the shop-vac.

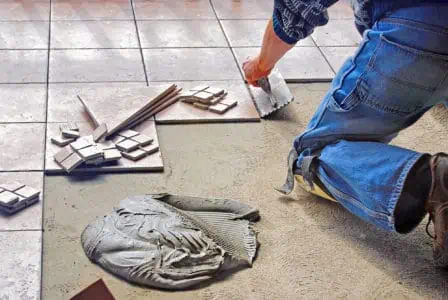
3. Thin-Set Mortar
Most thin-set mortar comes ready-mixed, like this SimpleSet Mortar Tile Adhesive. It is more convenient and speeds up the process. Also, when you are done, just pop the lid back on, and it’s ready to reuse later.
Load the trowel with the mortar and spread it over the floor, paying attention to the cracks and dips in the surface. It’s better to work in small squares to get the smoothest finish possible. Check the floor is flat using the spirit level, and add more mortar as needed.
Wait while the cement dries. Consult the instructions on the packaging to get the correct timings. Once set, you are ready for your new flooring.
How to Remove Ceramic Tiles from Concrete Without Breaking Them
While it is possible to get the tiles up without breaking them, it is far from simple. A lot depends on the adhesive used on the old tiles. Mastic is easier because it is more watery, making it possible to pry the tiles free with a putty knife.
However, thin-set mortar grips the tile tighter than Fay Wray clinging to the Empire State building at the end of King Kong. You could try soaking the tiles to loosen the adhesive and then slide the putty knife under.
Another method is to use a Dremel with a diamond-coated cutting disc. Removing the grout around the perimeter of the tile might give you a better chance of getting it up in one piece.
How to Remove Stubborn Floor Tiles
If the bond between your tile and the concrete slab can’t be separated, you have a few options. Take a leaf out of Olivia Newton-John’s book and “Get Physical.”
Grab the hammer or maul and start smashing the tiles. Unless you have a burning desire to keep the tiles in one piece, why worry about the mess you make? Failing that, use the jackhammer.
And who needs therapy when you can take out your aggression on your old tiles? The final solution involves hiring a tile stripper. If you want an effective removal tool for stubborn tiles, it ticks every box.
It’s the reason why the professionals swear by them. And if it’s good enough for the pros, it should be for you too.
Don’t Tolerate that Ceramic Tiled Floor a Minute Longer
You can’t make an omelet without cracking eggs, and the same is true for removing tiled floors. The aim is not to complete the task as neatly as possible but to get it done efficiently. The faster you get it up, the sooner you can get on with the new floor.
Go on. Have some fun. Release your inner Thor and wield that hammer!