Rivets have been used for thousands of years and remain among the most popular ways to hold pieces of metal together. If rivets are made of high-quality metal and placed properly, they can stay in place for hundreds of years.
The durability and strength of rivets are the reasons we continue to use them, but these qualities can also become a problem. Removing a rivet can be very challenging, especially if you don’t have much experience, but there are some reliable ways to do it.
In this article, we will explain how to remove rivets with a drill bit. This includes why rivets might break, which tools you will need, and a walkthrough of the removal process.
Key Takeaways
- Find the center of the rivet and use a slightly larger drill bit than the rivet’s shank.
- Drill slowly, applying pressure to remove the rivet without damaging surrounding materials.
- Use a punch and hammer if the rivet is stubborn and doesn’t detach easily.
- When all rivets are removed, reattach materials using gutter screws or new rivets.
Why Do Rivets Break?
Although they are intended as a permanent fixing solution, rivets can break for several reasons. In most cases, this happens because the rivet is made of low-quality metal or it has not been installed properly.
Improper installation can include simply applying too much pressure when inserting the rivet. Driving the rivet too hard will increase the stress on the metal and could lead to it shearing off. This can be caused by overcompensating, as applying too little pressure to a rivet can lead to it coming loose.
There are various reasons why a rivet might break. If it does, you will need to remove it and replace it.
What You Need
If you want to remove a rivet without damaging the surrounding material, you are going to need some tools. Here is a quick list:
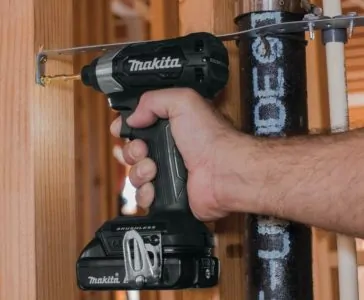
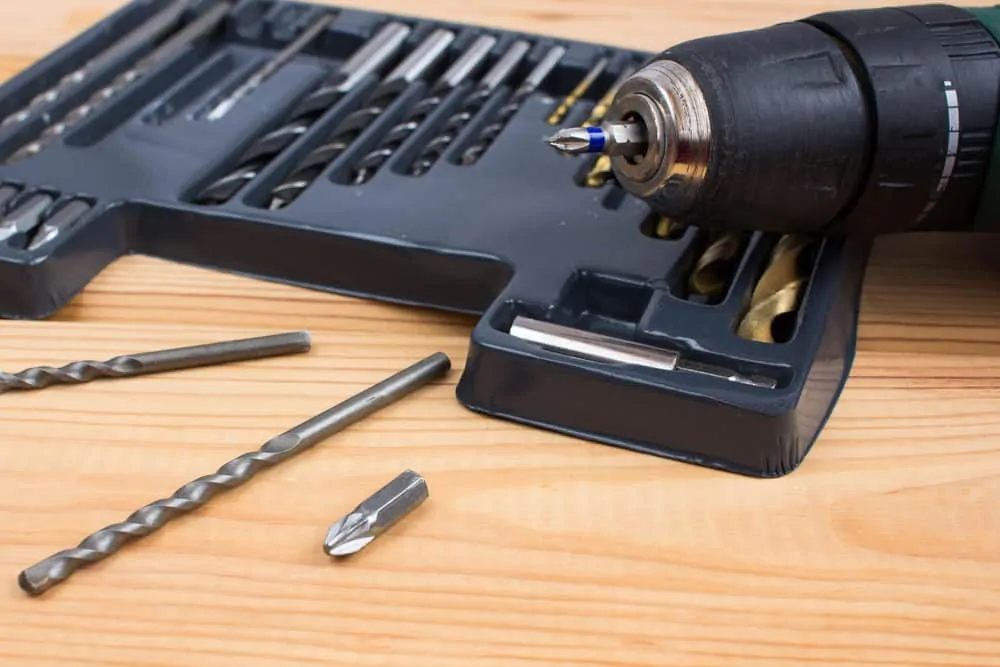
- Drill: Preferably a cordless drill as you might need the extra maneuverability.
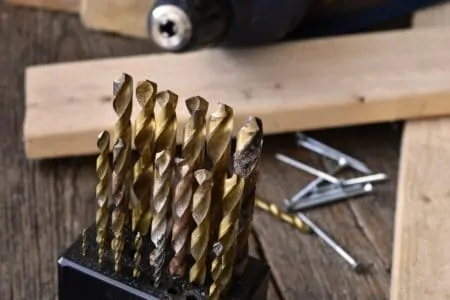
- Titanium Drill Bits: Titanium is extremely durable and has high heat resistance.
- Screwdriver: In case you need to reattach any parts with gutter screws.
- A Hammer: You might need to knock the rivet loose if it is stubborn.
- A Punch: You might need to insert this into the hole if the rivet won’t move.
- Safety Goggles: Drilling into metals can be dangerous due to flying debris.
- A Ladder: If you are working on a drain, you will probably need a tall ladder to reach it.
How To Remove Rivets with a Drill Bit
1. Locate the Rivets
If a couple of rivets have already failed, there is a good chance that any nearby rivets will also break soon. Before you start drilling, it is worth taking the time to locate any rivets that might need to be removed.
Pop rivets can be found in gutters, gutter straps, and any other thin sheet metal used in home construction. If you want to remove a gutter or downpipe, you will need to remove every rivet.
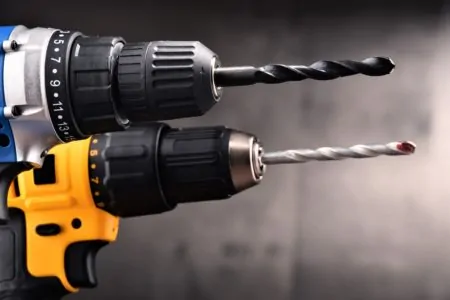
2. Choose a Drill Bit
Most rivets have a small hole in the center. Take a drill bit from your set and compare it to the rivet. If the bit fits into the hole, it is too small. A drill bit of 0.125 inches should be suitable for drilling out average-sized rivets.
The bit needs to be slightly wider than the hole or it won’t be effective. When you are satisfied that you have found a suitable bit, place it in your drill’s chuck and secure it.
3. Drill Out the Rivet
If you are working high above the ground, lean the ladder against the wall of the building. Make sure you wedge the feet in the ground to secure the ladder and prevent it from slipping. Place your weight on the bottom rung to test that it is safe before you climb higher. You should only ever place a ladder on even ground.
Once the rivet is within reach, hold the drill so the point of the bit is in the center hole of the rivet. Keep the drill straight and gently press the trigger. Start slowly as drilling out a rivet is more about pressure than speed.
Listen carefully and you should hear the drill bit change pitch as it bites through the shank of the rivet. Ease off the pressure as soon as you do, or the drill bit could punch through the rivet and damage whatever is behind it.
When the head comes loose, the rivet should detach from the hole. Remove the drill. If the rivet is stubborn, place a punch into the hole and give it a sharp tap with a hammer to dislodge it.
4. Repeat
If you need to remove multiple rivets, which will probably be the case, repeat the same process for any others. Just remember that they are there for a reason and something might fall loose if you remove too many. Take it slowly to ensure everything stays where it is meant to be.
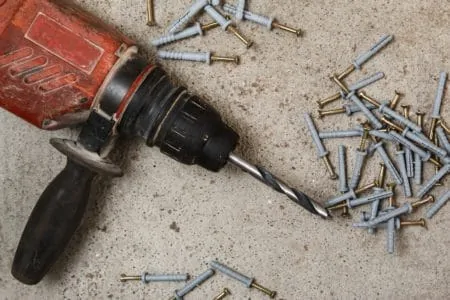
5. Insert the Screws
You will need to resecure the material that the rivets were holding in place, so grab your gutter screws and screwdriver. Alternatively, you can replace the rivets with new ones if you have the necessary tools, but most people are likelier to have a screwdriver than a riveter. Screws are also easier to remove, which means you won’t need to go through the process of drilling out rivets again later.
If the existing holes no longer line up, you can use the same drill bit to make new holes to insert the screws into.
Top Tips for Removing Rivets
Use Hand Tools
If you don’t have a power drill, a chisel, a hammer, and a punch will do. Place the sharp edge of the chisel under the lip of the rivet head and strike it firmly with a hammer. Repeat until the head of the rivet breaks off.
Place the punch in the center of the hole where the head was and tap it with the hammer. The rivet should fall away.
Remember
Use a Grinder
If you own a grinder, you can use it to slice off the head of the rivet instead of using a chisel. Once the head is removed, place a punch in the hole and tap it with a hammer to remove the rivet entirely.
Hand-Turn the Bit
If you hand-turn the drill bit on the surface of the rivet head, it will make a neater pilot hole and give you more precise control of the drill.
File the Rivet Head
Some rivets have curved heads, which makes them challenging to drill into. The 470 rivet is a popular example of a rivet with a curved head. Grab a file and work a small area of the head until it has flattened. Doing this means it will be much easier to make your pilot mark and start drilling the rivet out.
Remove Paint
If there is any paint around the head of the rivet, it is worth sanding it off before you try to remove the rivet itself. This will unbind the rivet head and make it easier to find the lip to remove it. When the rivet detaches, this will also prevent it from tearing away the surrounding paint, so it will be easier to make your new screw or rivet blend in.
FAQs

What Is the Best Drill Bit for Drilling Out Rivets?
The best drill bit to use is a cobalt or titanium-coated high-speed steel bit. These are designed for the job and have excellent durability and resistance to heat.
Also, due to their hardened surface, they can easily drill through rivets with little effort. When you’re done, clean any debris off the drill bit before storing it away for later use.

Is There a Tool for Removing Rivets?
Yes, there is a tool specifically designed for removing rivets. It is known as a rivet gun or pop rivet removal tool. This relatively simple device can easily dislodge and remove rivets from most materials due to its powerful mechanical leverage.
Additionally, these types of tools come in various sizes, making it easy to select one that best meets the requirements of a particular project. With the right tool in hand, removing stubborn rivets no longer has to be a challenge!

What Is the Easiest Way to Remove Rivets?
One of the easiest and most popular ways to remove rivets is by using a pneumatic or electric drill. Drilling out each rivet with a high-speed steel bit allows quick and easy removal of the fastener without causing any damage to the surrounding material.
An adjustable speed setting can also provide additional control when dislodging those particularly stubborn rivets. You can always use rivet gun, which should make them easier to remove.