Knowing how to remove drywall cleanly will make your remodel more efficient and create less mess. Drywall contains harmful plaster particles that, when inhaled, could irritate your lungs. Keeping your drywall removal constrained also reduces air pollution.
We demonstrate the best methods for removing drywall and even show you how you can reuse old drywall sheets.
Key Takeaways
- Prepare the room by switching off the circuit breaker, removing furniture, and noting the locations of utilities.
- Use a utility knife, pry bar, and stud finder to remove obstacles like baseboards and door frames.
- Score the seams of the drywall with a utility knife and remove drywall anchors (screws or nails) with appropriate tools.
- Remove the drywall sheets carefully and stack them for reuse or disposal; always wear protective gear during the process.
What Is the Best Way to Remove Drywall?
You might think that wielding a hammer is the easiest way of taking out drywall, but it isn’t. Smashing drywall with a sledgehammer is a great way to relieve stress. It helps you discover the primeval side of your character, but it sure makes a lot of mess.
So, if you want to know how to remove sheetrock efficiently, you need to take it down without damaging it. Taking down old drywall in one piece minimizes plaster particles in the air, which is safer for all concerned.
It also means you have an easier cleanup job at the end. Removing the screws first means you can take the sheets down section by section and stack them neatly for either reuse or the trash.
Top Tip
Plasterboard is expensive, so why smash good drywall when you can save money by reusing old sheets?
How to Prepare for Removing Drywall
Failing to prepare is preparing to fail. We’re sure that a wise person once said that, and it’s true. Jumping in with both feet without due care and attention could lead to more significant problems.
Start by switching off the room’s circuit breaker. Live wires are not ideal when removing drywall, especially when concealed behind the plasterboard.
Make a Note of Utilities
Make a note of sockets, switches, plumbing, and HVAC vents. If your wires are concealed behind sheetrock, use a stud finder. You can pick them up cheaply online. This Tavool Stud Finder has four functions, including finding AC wires.
Remove as much furniture from the room as possible, and cover any remaining items with dropcloths. You will need to move the remaining furniture to the center of the room to give you clear access to the walls.
Take Note
Even empty rooms benefit from plastic sheeting to minimize dust contamination during the cleanup.
Remove Obstacles
Before starting on the drywall, you will need to remove obstacles like baseboards and door frames that sit over the plasterboard. This includes vent covers, window frames, and moldings.
Use a utility knife like this Retractable Box Cutter Set because the blade retracts, making it safer. Score along the edge of the molding to break the caulk. Then use a pry bar, like this Tekton set of three.
Pro Tip
Ensure that you remove the nails and screws as well as the moldings.
How to Remove Drywall Without Damaging It
Once you prepare your space for the safe and clean removal of the sheetrock, it’s time to get down to business. Let’s start by gathering the tools you’ll need.
What You’ll Need
- Utility knife.
- Screwdriver.
- Drill/driver.
- Stud finder.
- Prybar.
1. Score the Seams
Using the utility knife, run the blade along the drywall tape that is sealing the joints between each board. This makes it easier to remove the panels without making a mess and stops the tape from tearing the surface paper on the plasterboard.
2. Remove Drywall Anchors
Whether you’ve used screws or nails as your plasterboard anchor of choice, they will need to be removed. You can locate the screws using a stud finder with a metal setting. You will need a drill/driver or Phillips screwdriver to dig into the drywall mud concealing the screws.
Top Tip
Try using a Phillips tip slightly smaller than the screw head. It helps to anchor the screwdriver into the drywall mud screw head.
Removing nailed drywall is more challenging if you want to reuse the sheetrock afterward. You will need a nail puller, like these Bates Nail Removing Pliers. The blades grip the nailhead without damaging the plasterboard.
3. Remove the Drywall Sheets
Now that the screws and nails are out, you can remove the drywall sheet from the studs. While the sheetrock is technically unsecured, the compression of the anchors may have caused the drywall to stick.
Insert the pry bar (this Sunex set is a great example) under the edge of the boards and gently lift them free.
4. Stack the Sheetrock
Create a space in the room to stack the drywall sheets. This is crucial if you want to reuse the drywall for another project.
How to Remove a Section of Drywall
It’s not always possible to get the drywall down in complete sheets. Sometimes, you need to concede that the cleanest way is to cut out sections. It’s still better than taking a sledgehammer to the sheetrock but less precise than removing entire sheets.
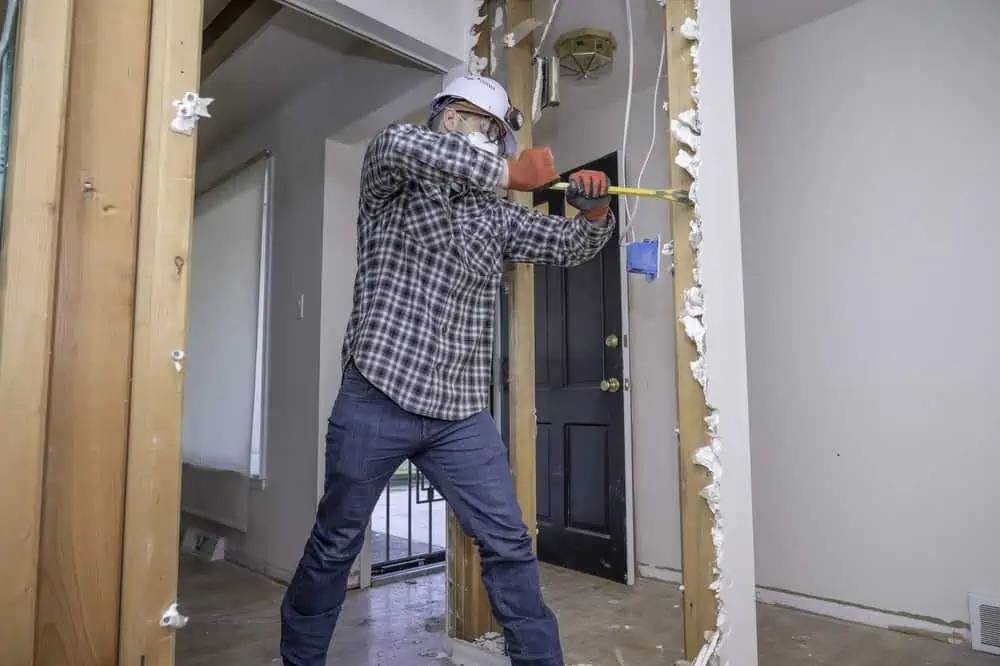
Safety Note
When removing sections of drywall, always take safety seriously. Wear a face mask to avoid inhaling plaster dust particles. Also, wear safety goggles to stop drywall dust from getting in your eyes.
What You’ll Need
- Drywall saw.
- Utility knife.
- Prybar.
- Screwdriver.
- Drill/driver.
- Dustpan and brush.
- Vacuum cleaner.
- Face mask.
- Safety glasses.
1. Cut the Drywall Tape
Grab the utility knife and score around the seams between each drywall sheet. This makes it easier to remove the pieces without tearing out the neighboring sheet. It’s also better when removing sheetrock from a ceiling.
Scoring between plasterboard means that the sheets tear down individually. If you leave them attached by drywall tape, you risk the entire ceiling falling onto you.
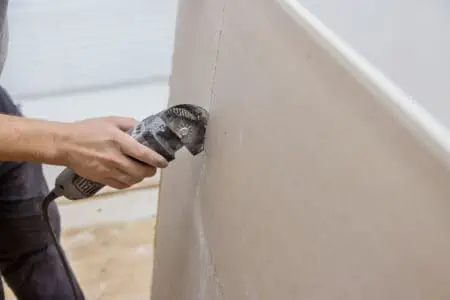
2. Cut the Drywall
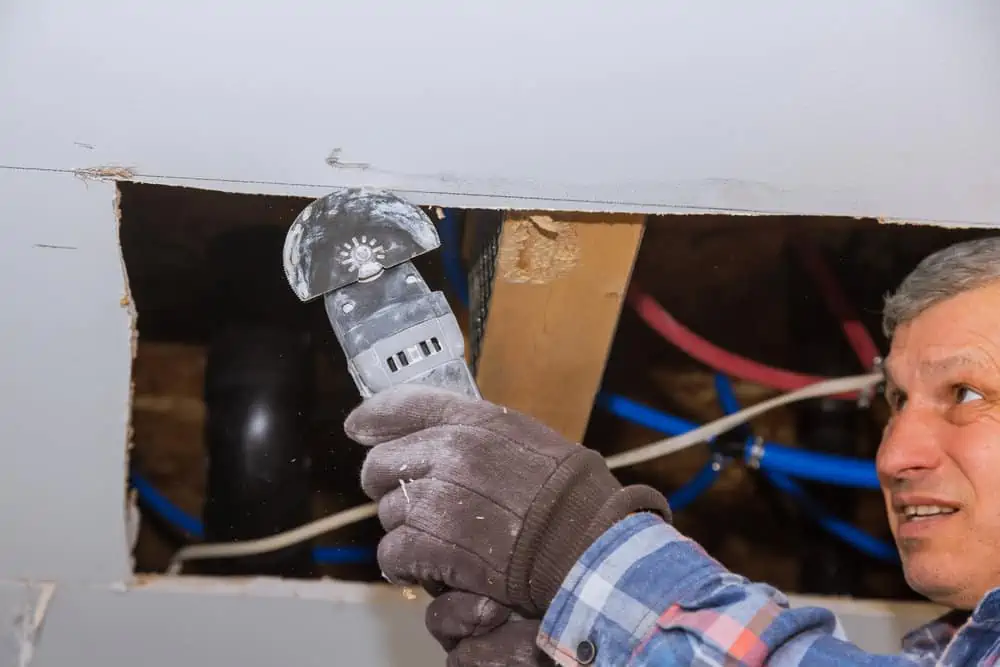
This Irwin Tools Saw is ideal because it has a pointed end that easily slices into the plaster core. Find the rough center of the panel and insert your drywall saw. Start at the top of the board and work downward.
Take care not to push the saw in too deep to avoid cutting wires or damaging plumbing. This is especially true when removing drywall in bathrooms. Hold the blade at a 40-degree angle as you pass over the stud work.
Level out the blade as you work down the panel for a more efficient cut. When the section is cut into two pieces, pull it free from the studs.
3. Remove Screws and Nails
Once the drywall is removed, the screws and nails are still attached to the studs. You will need to remove them with a claw hammer before hanging the new plasterboard. This Craftsman Fiberglass hammer is a good choice for lifting nails.
If your drywall is anchored with screws, a cordless drill/driver, like this DEWALT model, speeds up your work rate.
4. Clean Up
Use a dustpan and brush to get the larger debris and a vacuum cleaner for the microscopic dust particles. Place the cut sections in a black garbage sack and dispose of them safely and lawfully.
How to Remove Drywall With a Hammer
If you’re looking for a messy way to remove drywall, this is for you. It’s a great way to relieve stress and work up a sweat.
What You’ll Need
- Sledgehammer.
- Long-handled broom.
- Dustpan and brush.
- Nail remover.
- Screwdriver.
- Drill/driver.
- Vacuum cleaner.
- Safety gloves.
- Face mask.
- Goggles.
1. Break Up the Drywall
Before starting your drywall demolition, don your face mask, gloves, and goggles. Plaster dust contains nasty pollutants that irritate your eyes and lungs.
Grip the sledgehammer with both hands and swing at the target drywall. This Fiskars Pro hammer is a great tool to use. Pull it free once you’ve punched a hole through the first panel.
Take Note
This method may not be the best for removing drywall from concrete. You may end up damaging the surface beneath.
2. Pull Out Nails and Screws
With the larger sections of drywall down, you will need to remove the anchors. Grab the screwdriver or drill/driver and remove the screws. Use a nail remover, like this Crescent Nail Puller, for nails embedded in the studs.
3. Clean-Up Time
Once you tear down the drywall and the nails or screws are removed, it’s time to clean the room. Grab the long-handled broom and sweep up the most significant pieces. Scoop them up with the dustpan and brush, and deposit them into a trash bag.
Use the vacuum cleaner to suck up the smaller particles. Keep your face mask and goggles on for this bit because it causes a lot of dust disruption.
Can You Reuse Drywall?
You can reuse drywall as long as you remove it carefully. It will never look as good as new plasterboard, but it can be reused in concealed areas behind cabinets. You can also use old drywall sections for your walls and ceilings when you need off-cuts for awkward shapes.
Take Note
Drywall covered with mold is not reusable because the dampness has penetrated the paper top layer to the plaster core. This causes the drywall to crumble.
FAQs

How Much Does It Cost to Remove Drywall?
The average price depends on the thickness of the drywall and the size of the task. It costs between $0.40 to $1.00 per square foot doing it yourself and $1.25 to $2.10 for a handyman.
Calling in the pros will set you back $2.00 to $3.25 per square foot.

What is the Difference Between Sheetrock and Drywall?
There is no difference between the two. Sheetrock is the same as drywall, except sheetrock is a brand name, while drywall is a generic name. Think of it like Kleenex and tissues.

Can You Remove a Wall Yourself?
You can remove a wall yourself, as long as it isn’t load-bearing. Most internal walls are removable, but if you are unsure, get advice.
Removing Drywall the Easy Way
Most DIY tasks seem daunting at first, but actually, they are relatively simple to execute. All you need are the right tools and a little confidence. Luckily, removing drywall is one of the more straightforward construction projects.
So, rather than spending a fortune on contractors, do the work yourself.