Removing a toilet is not something that you’ll do that often. Toilets last 20 to 30 years, but styles and tastes change. So, when the time comes to remodel your bathroom, knowing how to remove a toilet will come in very handy.
We show you the best toilet removal techniques and offer tips for choosing a new replacement toilet
Key Takeaways
- Drain the toilet: Turn off the water supply, flush the toilet, and use a sponge and bucket to remove any remaining water.
- Remove the mounting bolts: Unscrew the bolts securing the toilet to the floor, found on each side of the toilet.
- Remove the toilet: Wiggle the toilet from side to side to loosen the wax ring, then lift it off the floor and place it on old newspaper.
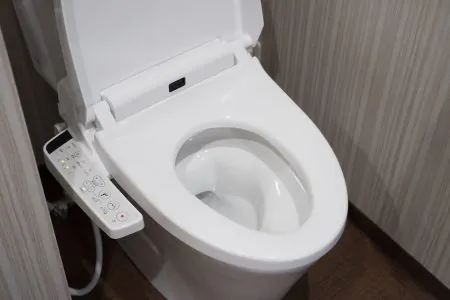
- Choose a new toilet: Consider factors like one-piece vs. two-piece, comfort height, and water efficiency when selecting a replacement toilet.
Can I Remove a Toilet Myself?
You can remove a toilet yourself. All it takes is a little knowledge and patience. Follow the preparation steps to complete the task in under 30 minutes.
Sometimes it’s crucial that you remove the toilet, especially to install flooring, for tiling, and for painting.
You should only consider calling a plumber if you have zero confidence in your abilities or you suspect there will be problems like stuck bolts or rusted threads.
How to Drain a Toilet
So, the time has come to remove that old avocado toilet, but before diving in with both feet, you need to drain the water. Here’s how to do it:
What You’ll Need
- Adjustable wrench.
- Pliers.
- Old towels.
- Sponge.
- Bucket.
- Plunger.
- WD-40.
- Rubber gloves.
1. Isolate the Water Supply
As you look at the toilet, the water supply line should be visible at the base on the lower left-hand side of the toilet tank. It connects to the isolation valve in the wall or floor located just behind the tank.
Some valves have a round knob that twists clockwise several times to shut the water off. Others have a lever that takes a quarter turn to disconnect the water. The third option involves a bolt with a slotted end that rotates with a screwdriver to cut off the water.
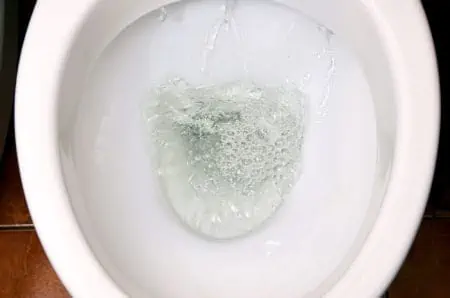
2. Drain the Tank
Once the water is isolated, it’s time to remove water from the toilet tank and bowl. Flush the toilet and wait while the water drains out. Use the sponge and bucket to mop up the last remnants of water from the tank’s base.
Top Tip
Lay the old towels around the toilet’s base to catch any drips or leaks.
3. Drain the Bowl
While the water in the tank is gone, there may still be some present in the bowl. Use the plunger to force the water down the drain. If some remains, mop it out using the sponge and bucket.
A plunger is also a great way to unclog a toilet if the water fails to drain away. It also saves you from immersing your hand in toilet water.
Safety Note
If you don’t have a plunger, use the sponge and bucket but remember to don rubber gloves first. Toilet water contains contaminants like fecal matter.
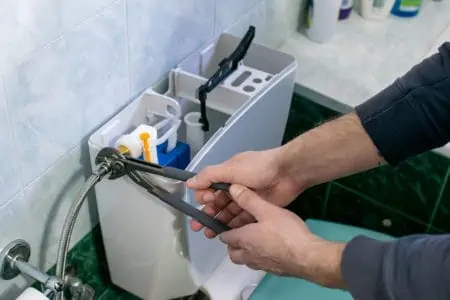
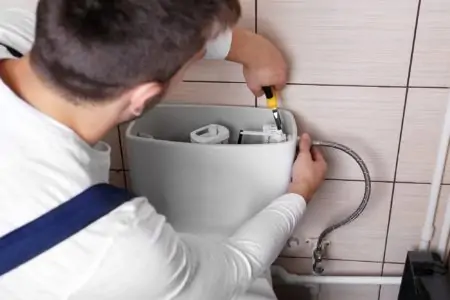
4. Disconnect the Supply Line
Once the tank and bowl are drained, you will need to uninstall the water supply line. One end screws onto the supply valve, while the other threads onto the base of the toilet tank. Use the adjustable wrench and pliers to remove the nuts that hold it in place.
You may need some WD-40 because the threads get clogged with grime and rust, making them stick.
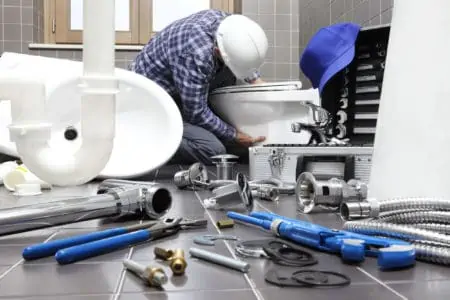
How to Remove a Toilet
With the tank drained and disconnected, it’s time to remove the old toilet. Before you begin, here are the tools and supplies you’ll need:
What You’ll Need
- Utility knife.
- Putty knife.
- Old rag.
- Adjustable wrench.
- Old newspaper.
1. Remove the Mounting Bolts
Your toilet is permanently secured to the floor via bolts that protrude from the toilet flange. The flange covers the sewer pipe and holds the toilet and wax ring in position.
Raise the plastic protective caps and unscrew the bolts. The bolts are secured on each side of the toilet. Place them to one side for safekeeping.
2. Cut the Caulk
You will need a utility or putty knife to remove the caulk. Cut along the seam, ensuring the blade cuts all the way through. Retractable knives, like this box cutter set, are safer and stronger than snap-off blade knives.
You can also use a putty knife to do this.
3. Remove the Toilet
Wiggle the toilet from side to side to loosen the grip of the wax ring. Eventually, it will work free, and you can lift it to one side. Lay down some old newspaper to stand the old toilet on to prevent the floor from becoming contaminated.
It is almost impossible to remove a toilet without spilling some water on the floor, but at least the newspaper can mop up whatever moisture there is.
Use the putty knife to remove the old wax ring and the remnants inside the sewer pipe entrance.
Top Tip
You might want to consider removing the toilet seat. It has a habit of slamming down onto your fingers when you lift it free.
4. Block the Sewer Pipe
Stuff an old rag into the sewer drain entrance to prevent sewer gasses and odors from seeping into your home. You will need to remove it again when you install the new toilet.
How to Remove Rusty Toilet Bolts
Toilet bolts are subjected to moisture and splashes that can rust and corrode. Removing bolts that are stuck fast on a toilet can be challenging. Here are a few techniques to try:
1. Tap the Bolts With a Hammer
Rust grips the metal components of the bolt and nut and holds them fast. One way to loosen the nut is to tap the top of the bolt with a hammer. Don’t overdo it, as you could crack the porcelain.
2. Twist the Nut Left and Then Right
Sometimes twisting the nut in the wrong direction (tightening it) acts as a break for the rust seal. It then makes it easier to unscrew the bolts.
3. Use an Adjustable Wrench and Hammer
Lock the adjustable wrench onto the bolt and gently tape the handle with a hammer. The added impact could loosen the rusted bolt and allow it to turn.
4. Use Lubricant Spray
Lubricant spray, like Super Lube, is an excellent product to use to unstick rusted bolts. Spray it on and wait 10 minutes while the lubricant penetrates the gaps. Use the adjustable wrench to loosen the bolt.
Tips for Choosing a New Toilet
What should you focus on when it comes to swapping your old toilet for a new model? Let’s look at some of the hints and tips to help you select the right model.
Choose a One-Piece Over a Two-Piece
One-piece toilets are easier to install and less prone to leaking. The toilet bowl and tank are formed from one solid porcelain piece, so there is no tank to install. This removes a potential weak spot for leaks further down the line.
They are also better for novices to install. You only need to connect the base to the sewer pipe and the water supply line, and your toilet is up and running.
Try and Buy Like-for-Like
If you are swapping an American Standard toilet, like this Champion model, try and get the same model to make the replacement fit easier. It saves a world of headaches, and you still achieve a fresh new look.
Go for Comfort Height
If you have elderly relatives or taller people in your family, it might be an idea to consider a comfort height toilet. Standard toilets are 13 to 15 inches high, but comfort height commodes measure 17 to 19 from the floor.
This means they conform to the Americans with Disabilities Act because they are more accessible for the less mobile to sit and stand to go to the toilet.
Consider Water Efficiency
Water is a precious resource, and water frugality is essential. Most modern toilets use a fraction of the water that older models use. Some, like this Swiss Madison, have a dual flush so that you can choose between flush strengths.
At the very least, your toilet should use 1.6 gallons per flush to qualify for the Environment Protection Agency’s WaterSense program. The code is even stricter in California, limiting toilets to just 1.28 gallons per flush.
FAQs

How Long Does It Take to Remove a Toilet?
It takes about thirty minutes to an hour to drain and remove a toilet from start to finish. It depends on whether you have a two-piece or a one-piece model because removing the tank takes longer.

Do You Have to Replace the Wax Ring When You Remove a Toilet?
You should always replace your wax ring every time you remove the toilet. The wax ring molds to the shape of your waste pipe, so if you leave it in place, you will likely spring a leak.

How Do You Remove a Toilet That is Cemented to the Floor?
The only way to remove a cemented toilet is to chisel it out. This takes some brute force and potentially risks cracking the toilet. However, if it is cemented in, it is the only way to remove the toilet.
How to Remove a Toilet
Toilet removal is pretty straightforward. Follow the steps above, and you should have your toilet free in no time. And think of all that money you saved on plumber’s fees.
So, the next time you are looking to upgrade your toilet, install it yourself and use the money you saved to upgrade the bathroom.