With so many different toilet paper holders on the market, figuring out how to remove one can get confusing. But, knowing how to remove a toilet paper holder and what it takes to install a new one is as easy as pie.
We’ll take you through the steps of a toilet paper holder replacement so that you don’t have to get a pro in for something so simple.
Key Takeaways
- Locate hidden screws or adhesive: Check the underside of the toilet paper holder for concealed screws or adhesive that hold it in place.
- Use appropriate tools: Use a screwdriver or Allen wrench for removing screws, or an oscillating multitool for cutting adhesive.
- Remove the bracket: After removing the holder, take off the wall bracket if you plan to install a new toilet paper holder.
- Install the new holder: Measure the appropriate height and distance from the toilet, and follow the installation instructions for the new toilet paper holder.
How to Remove a Toilet Paper Holder with No Screws
Although it may look like there aren’t any screws, they are actually just concealed for aesthetic purposes. So the first step in figuring out how to remove a toilet paper holder from the wall is locating them.
What You’ll Need
- Allen wrench or screwdriver.
1. Inspect the Holder
To get a good view of the underside of the holder (where the screws are likely hidden), remove the toilet paper roll first.
If possible, remove the rod as well. Look underneath the holder for screw heads or holes. If the lighting is poor, use your phone’s flashlight.
2. Remove the Screw
Choose a screwdriver that’s appropriate for the screws you have to remove. In some cases, you may need to use an Allen wrench (also known as a hex wrench). When you remove the screws, you can tilt the holder to remove it from the wall bracket.
3. Remove the Bracket
If you want to swap the old toilet paper holder with a new one, you also want to remove the wall bracket. The screws for the bracket should be visible and easy to remove. If you don’t see any screws, your holder is likely glued to the wall.
How to Remove Other Types of Toilet Paper Holders
Removing a toilet paper holder requires knowing what type of holder you’re dealing with first. This goes for holders attached to the wall or on a cabinet.
What You’ll Need
- Screwdriver or electric drill.
- Flashlight.
- Oscillating multitool.
- Hammer.
- Putty knife.
Wall Mount with Brackets
1. Find the Screws
Set aside the toilet paper roll and the spring-loaded rod that keeps the roll in place. Identify the set screw that is located under each bracket. First, get a close look at the head with the flashlight to identify which tool will be necessary to loosen it.
In most situations, you will require an Allen wrench with a head size of 1/8 inch. However, in some circumstances, you may require a Phillips screwdriver with a number 1 tip or a flathead screwdriver.
2. Remove the Bracket
Loosen the set screw on each arm of the holder.
One at a time, press down on each post of the holder while angling the end closest to you upward to remove it from the bracket. Remove the screws that connect the brackets to the wall with a No. 2 Phillips screwdriver.
Recessed Holder
Remove the toilet paper and the rod to get a better view of the holder. Look at the back of the holder, which is typically not visible because of the toilet paper roll.
If you notice the screw heads, remove them using a screwdriver or an electric drill. When you remove the screws, it should be easy to remove the holder.
Ceramic Toilet Paper Holder
1. Inspect the Holder
Before looking inside the holder for screws, take off the roll of toilet paper and the rod first. If the holder does not have any screw holes, it is most likely adhered to the wall using glue. To protect the wall from damage, apply painter’s tape around the holder’s base.
2. Cut the Adhesive
Grab an oscillating multitool and cut the adhesive located between the wall and the holder. In most cases, this glue is located at the edges of the holder, so you will only have to make the cuts here.
You can also try to remove the holder by heating the adhesive. Use a heat gun or a hairdryer for this. When the adhesive is hot, tap the handle using a hammer or slide a putty knife between the holder and the wall to make it come loose.
If the holder doesn’t come off after cutting the adhesive, you might need to use a putty knife and a hammer. Gently use them to move the holder away from the wall.
Safety First
If you have to resort to using a hammer and putty knife, wear protective safety goggles in case the ceramic holder chips.
Wall Mount with Mastic
In most cases, screwless ceramic toilet paper holders are secured to a tiled bathroom wall with mastic. Once the surrounding tiles have been installed, the grout is spread around the nubs located at the bottom of the holder posts.
To get rid of the posts, you’ll need to use a tool designed specifically for removing grout. When the grout is removed, you will have access to the nub. To get rid of the posts, pry them out from behind using a chisel and hammer.
Safety First
When removing these posts, it is important to safeguard your hands and eyes by wearing protective gloves and eyewear.
How to Tighten a Loose Toilet Paper Holder
Sometimes it just needs a little tightening instead of a full replacement.
What You’ll Need
- Allen wrench.
- Flathead screwdriver.
1. Identify the Design
The number of variants available is mind-boggling when considering how straightforward a toilet paper holder is.
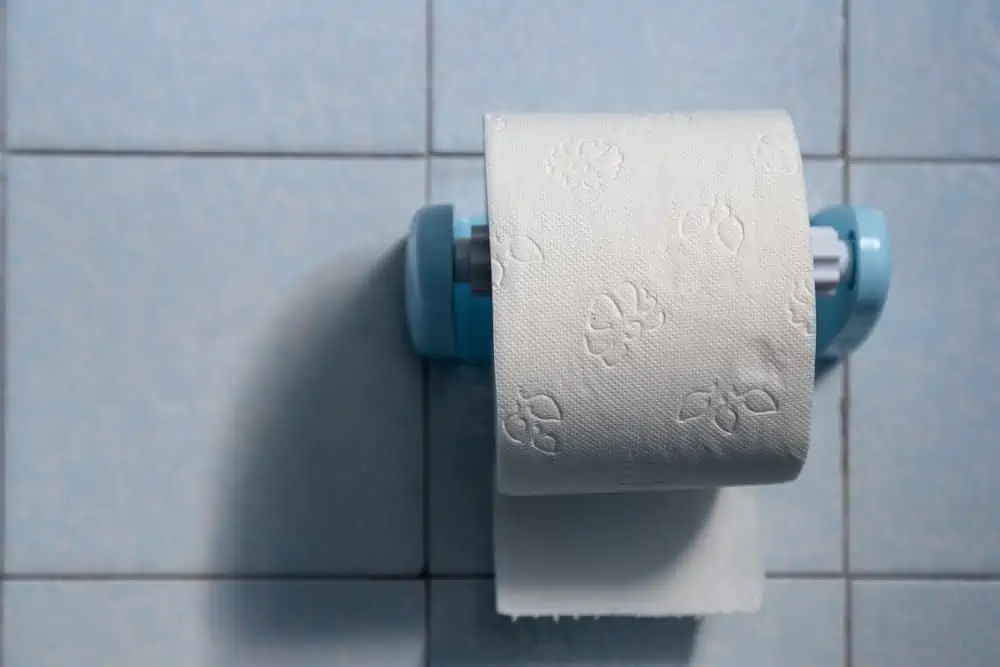
A typical configuration features two arms that hold a spring-loaded rod inserted in the space between them. The arms can be attached to the wall or connected to a plate that goes on the wall. The holders can be made from metal, ceramic, and plastic.
Sometimes, the support arms are connected to the holder’s base using spring-loaded hinges or screws.
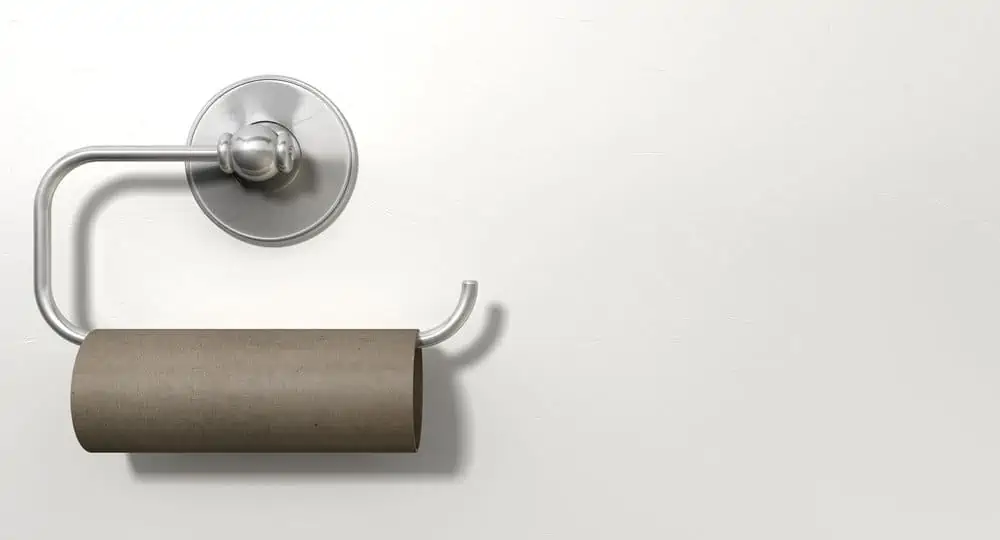
You could also have a holder attached to the wall that has one arm (like a massive hook) bent upwards or to the side that holds the toilet roll on it. This is called a single post holder.
2. Tighten the Set Screws
If you think your support is mounted directly on the wall, it’s likely mounted on plates that are screwed to the wall studs or drywall. Once you locate the screws that connect the arm to the plate and tighten them, the problem is solved.
Can’t find the screws? They are probably on the underside rim of the support arm. You can use an Allen wrench or a small flathead screwdriver to tighten it.
3. Tighten the Mounting Plate
If you’ve tightened the set screw, but the toilet paper holder arm is still jiggling, then tighten the mounting plate as well.
Take out the screws that hold it, and you should reveal a loose wall anchor. Remove it and then replace it with a new one. Tap it to make sure the front flange is flush with the wall.
Can’t find an anchor? Then tap the one that fits into the hole. Put the plate back using a screw with a larger gauge than the one that was there before.
How to Install a New Toilet Paper Holder
Now that the old toilet paper holder removal is complete, it’s time to install its replacement.
- Measure up. The best height for the holder is 26 inches from the floor. Ensure that it is within comfortable reach of the toilet, usually between eight to 12 inches from the front of the toilet bowl.
- Look inside the toilet paper holder box for a template on where to install the brackets.
- If there is no such template, use a level to make sure the marks for the brackets are straight.
- Mark where the holes need to go using a pencil.
- Using a level, draw a straight line that’s the same length as the holder.
- Drill pilot holes where you’ve previously made the marks.
- Use anchors to mount the holders in drywall (to make sure the brackets hold).
- Screw the brackets for the holder in the wall.
- Attach the arm of the toilet paper holder, and you’re good to go.
FAQs

How Do You Take a Towel Rack Off the Wall?
To remove a towel rack, you want to locate the screws that keep the end posts in place. If you can’t see them, look for metal tabs that hold the posts to a bracket. Take your screwdriver to depress these tabs.

What Way Should a Toilet Paper Holder Face?
Some holders or dispensers are open on one side, so you can just slip the toilet paper roll on and off. These should be mounted on the wall with the open side facing away from the toilet.
This is because when you’re on the toilet, you typically pull the toilet paper towards yourself to tear a piece off. If the open-ended side were facing the toilet, the toilet paper roll would come off the holder when pulling it.

How Far from the Wall Should a Toilet Paper Holder Be?
A toilet paper holder should ideally be eight to 12 inches in front of the toilet bowl, so that you’re reaching slightly forward for the paper. It should be 24 to 30 inches from the floor.
Final Words
We’ve shown you how to remove a toilet paper holder. Now it’s time to find a suitable replacement. For the most part, just remember that holders are attached to the wall either using set screws or adhesive, so removing them shouldn’t be too complicated.