Kitchen renovations are among the most expensive DIY projects you can do. Knowing how to prep cabinets for painting is crucial if you want to remodel your kitchen but have a tight budget.
Read on if you want the best methods for prepping cabinets for paint and the smartest tips for the smoothest finish.
Key Takeaways
- Remove and clean cabinet doors: Take off cabinet doors, number them for easy reassembly, and clean them with a degreasing solution or trisodium phosphate (TSP) to remove dirt and grease.
- Prep the room and cabinets: Cover countertops, appliances, and walls with plastic sheeting or drop cloths. Sand the cabinet surfaces to create a better bonding surface for the primer.
- Apply primer: Use a high-quality primer on the cabinets and doors, allowing it to dry before sanding between coats. This helps the paint bond better and creates a smoother finish.
- Sand, caulk, and paint: Sand the cabinets after priming, fill any gaps with caulk, and apply the final paint coats for a professional and smooth appearance.
How to Prep Cabinets for Painting
Before we get into the details of how to prep your cabinets for painting, we must first gather the right materials and tools. It is essential to plan, and that includes preparing before you prep your cabinets (now that’s as clear as mud).
What You’ll Need
- Two step-ladders.
- Two strips of 2×4.
- Paintbrush.
- Roller and paint tray.
- Rosin paper.
- Primer.
- Fast-drying spray primer.
- Caulk and caulk gun.
- Utility knife.
- Drill/driver.
- Screwdriver.
- Pen and paper.
- Dropcloths.
- 180 or 220-grit sandpaper.
- Sanding block.
- Shop-vac.
- Microfiber cloth.
- Face mask.
- Goggles.
- Frog tape.
- Decorator’s tape.
- Plastic sheeting.
- TSP (trisodium phosphate).
- Degreasing solution.
Prep the Room
Painting kitchen cabinets can be messy, especially if you use a roller. You can’t remove all the objects in the kitchen because they are permanent fixtures. So, what is the best way to prep the room?
- Remove all loose objects and store them safely in another room.
- Empty the kitchen cabinets, placing all items in boxes. Store them in another room.
- Remove tables, chairs, and other furniture (get help if items are heavy).
- Cover the kitchen countertops and floor with rosin paper. Tape it down using decorator’s tape.
- Cover appliances like cookers and washing machines with drop cloths. You can use plastic sheeting if you don’t have drop cloths.
- Tape plastic sheeting to cover doorways and windows. This prevents dust from escaping into the rest of the house.
- Cover the walls around the cabinets with plastic sheeting and decorator’s tape.
- Set up the step-ladders to make a workstation.
- Lay two strips of 2×4 across the span between the ladders.
- Screw eye hooks into the 2×4 at various stages to hang the doors.
- Screw corresponding eye hooks into the bottom edge of each cabinet door. Don’t worry because the base of the door is concealed.
- Draw a plan of your kitchen and number the cabinet doors.
- Remove each door and place a corresponding number in the recess where the hinge goes. This conceals it when you return the door to its correct position.
Remove Hardware
If you want the smoothest and most professional finish, the door hardware will need to come off. Grab the screwdriver, or use the drill/driver for a faster result.
- Remove the hinges from the door. Always start with the bottom hinges first to prevent the door from moving and damaging the hinge.
- Write the corresponding number on your plan in the hinge location. Again, it is concealed when the door goes back on. If you don’t want to write directly onto the cabinet, tear a strip of tape and write the number on that instead.
- Use the drill/driver or screwdriver to remove the handles. Place the screws and hardware in a box for safekeeping.
Cleaning the Cabinets
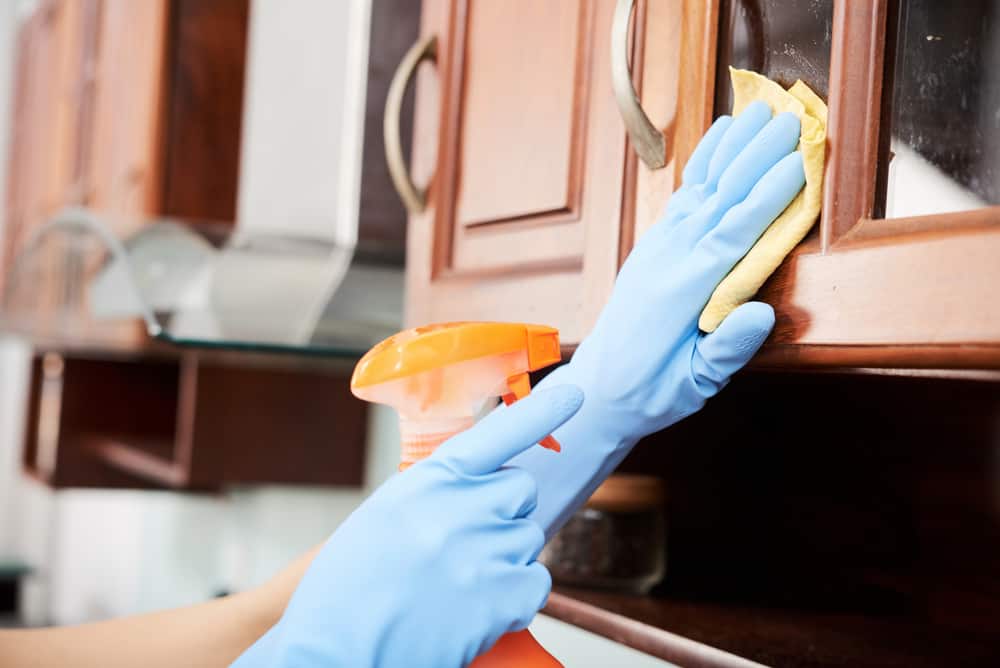
Cleaning the kitchen cabinets is a vital part of the process. It determines how well the primer adheres. Kitchen cabinets get covered in food splatters and grease, so take extra care at this stage to get it right.
- Spray the cabinets with a degreasing spray, like this Easy-Off Cleaner Spray. It cuts through all manner of grease to leave surfaces stain-free. You can clean your cabinets with vinegar if you don’t want to use chemicals.
- Wipe down the cabinets with the microfiber cloth.
- If the stains don’t shift, step it up with TSP. Trisodium phosphate is sold online and in hardware stores across the country.
- Wipe the cabinets down with soap and water.
- Dry with a cloth.
Take Note
TSP is highly toxic and gives off strong odors, so always wear a face mask when using it. It also burns your skin and can irritate lungs, eyes, noses, and throats. Always wear safety gloves and goggles when handling TSP.
Apply Primer
The easiest way to achieve a factory finish is to add a primer layer. White primer neutralizes the old cabinet colors and gives the paint a better bonding surface. If the cabinets are heavily stained, use a stain-blocking primer, like this KILZ Interior and Exterior Primer.
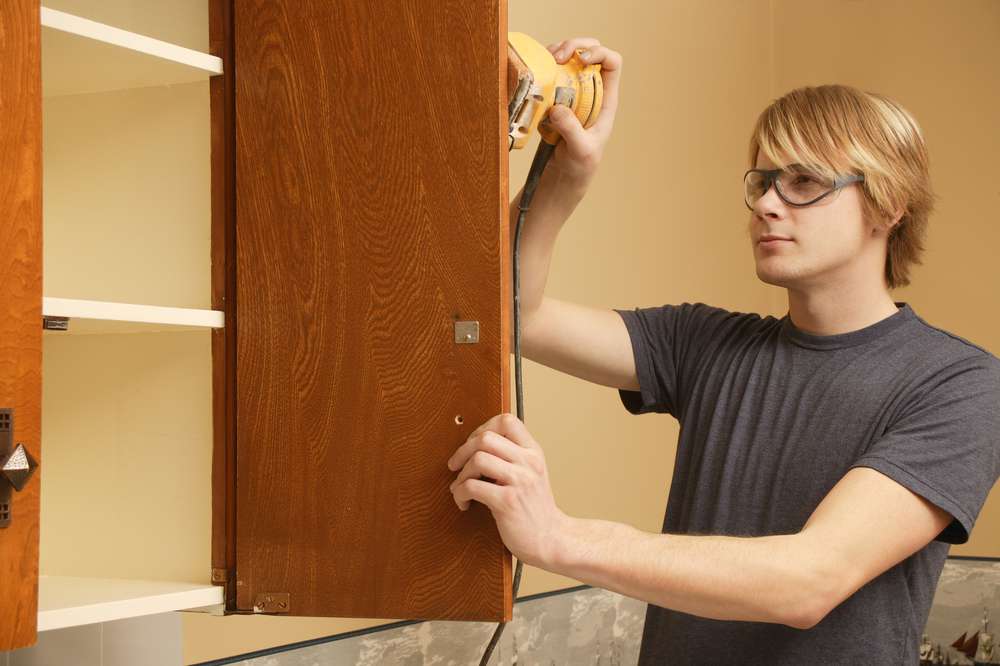
- Sand the cabinets to give the primer a better surface to bond with.
- Wipe the sawdust away with the microfiber cloth. Use the shop-vac for heavier deposits.
- Pour the primer into a paint tray and load the roller and brush.
- Brush the primer along the edges of the cabinet and use the roller for the center panels.
- Keep a dry brush handy to run along the paintwork after rolling. This removes air bubbles and spreads the paint more evenly.
- If you decide to use a brush to apply the primer, start at the top of the cabinet. Run the brush down the length and tip-off at the base. Tipping off is a technique of removing the brush without marking the paintwork.
- Always work with the grain.
- Where a rail butts against a stile (upright and cross-sections of the door), paint the rail first and then the stile before the paint cures.
- When you’ve painted every cabinet door and drawer, wash the brushes in soap and water if the primer is water-based. If oil-based, use mineral spirits to clean the brushes.
- Pour the excess primer back into the tin and close the lid. Now wash out the tray.
Top Tip
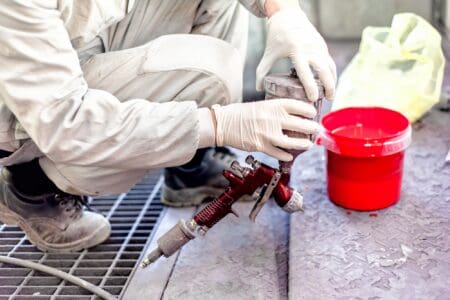
For the smoothest results, consider spray painting the primer onto the cabinets. It helps you paint like a pro and removes brush marks.
Sand and Caulk Cabinets
You cannot achieve that super smooth finish without sanding between coats of primer. It doesn’t matter that the primer looks patchy because it will be covered in a layer of paint.
- Grab the 220-grit sandpaper and gently rub the cabinet’s surface. Only remove the thinnest primer layer.
- Sand profiled surfaces with a foam-filled sanding block. This helps you get into the nooks and crannies.
- Stop sanding when the wood reaches a glass-like surface.
- Cut off the end of the caulk tube, ensuring the hole is no wider than a pencil tip. Insert it into the caulk gun and squeeze the trigger until the pressure pad touches the base of the tube.
- Hold the tube at 45 degrees and run a caulk line over the open seams. Smooth it with your wetted finger.
- Wait an hour and check the caulk is dry. Sand with the 220-grit sandpaper and use the shop-vac to remove the dust. Wipe the surface clean with a damp cloth.
- Use a fast-drying spray primer, like this Rust-Oleum Professional range, on the caulked sections and any other spots that were filled.
- Wait another hour while the primer dries and sand the primer with 220-grit sandpaper.
- Vacuum the surfaces and remove the last of the dust with a damp cloth.
Top Tip
Hang the cabinet doors from the eye hooks inserted into the two strips of 2×4 spanning the two step-ladders. This helps them dry faster and stops you from putting fingerprints onto the wet primer.
Do You Have to Sand Before Painting?
If you want the smoothest outcome, sand between each coat of primer. It leaves the surface blemish-free and allows the topcoat to bond better with the primer.
This is important because kitchen cabinets get more punishment than other painted surfaces. They are subject to food splatter, grease, steam, heat, scuffs, and dirt hand marks. Is it any wonder that the paint has to be robust?
What Grit Sandpaper Is Best for Cabinets
The best sandpaper to use is 220-grit. It has enough abrasion to remove surface material without gouging or leaving marks. There is no law to say you can’t use a finer grade, but 220-grit covers all the bases for general cabinet painting.
Spray Paint Vs. Brush for Cabinets
Whether you paint with a brush or use spray paint is down to personal choice. Most people will be more familiar with the brush technique, but using spray paint could speed up the process.
Spray Paint
Using spray paint gives a smoother finish and eliminates brush marks. It also speeds up the process. However, it is also messier, meaning you will need an outside area to work.
You also use more paint because of overspray. Spraying on the paint is also trickier to master. However, storing a spray can is a lot easier than a tin of paint.
Pros
- Smoother finish.
- No brush marks.
- Speeds up the painting process.
- Easier to store.
Cons
- Messier.
- Lots of overspray.
- Harder to master the technique.
- Need an outside area.
Paintbrush
Everyone can handle a paintbrush. The technique is not a challenge to master, and it gives you more control than spray painting. You get more precision, no overspray, and better economy with the paint.
You can also work inside, which is more convenient. However, using a paintbrush leaves brush marks and the occasional stray bristle. It also means you need to sand between layers, which takes longer.
Pros
- Easy to master.
- Greater control.
- More precise way to paint.
- No overspray.
- More economical with the paint.
- Can work indoors and out.
Cons
- Takes longer.
- Leaves brush marks.
- You must sand between layers.
How to get a Smooth Finish When Painting Kitchen Cabinets
We all want cabinets that look like they have been painted professionally. Nobody wants to go to the trouble of revamping old oak cabinets only to have them look amateurish. So, let’s open the pro manual for some hints and tips.
Use the Best Brush
The brush you use makes a massive difference. Buy the best brush you can because it could be the difference between success and failure. The best quality brushes have no-drop bristles, and spread the paint more evenly.
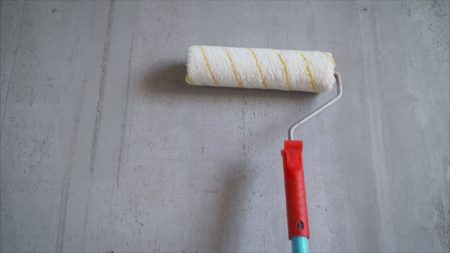
Use a Mini Roller
Mini rollers have a smaller nap (the bit that takes the paint and transfers it to the wall), which means you get fewer splatters and air bubbles. It also makes it easier to get into the edges and tight corners of the cabinets.
A roller speeds up the painting process, especially for flat surfaces. This Bates Roller and Tray Set is an excellent example of a mini roller.
Wipe the Edges
Avoid paint build-up on the edges of your cabinet doors by wiping the excess paint away with a foam brush. It stops dripping and creates a professional finish. This Bates Set is ideal for several applications.
Strain the Paint
Even the best quality paints contain lumps. Straining the paint removes them and leaves you with super-smooth colors.
Paint With the Grain
Always start at the top of the cabinet and work downward following the wood grain. If you work against the grain, you risk using more paint and getting a patchy finish.
Sand Between Coats
To get the smoothest finish, sand between each coat of primer and paint. Sanding removes brush marks, grain marks and gives the paint a stronger bonding surface. Use 220-grit sandpaper for the best results.
Sand the Grain
Wood grain can sometimes show through the layer of paint. For those serious about the finish, sand the grain so that the patternation vanishes when you lay down the primer.
FAQs

Do You Paint the Inside of Cabinets?
You don’t have to paint the inside of your kitchen cabinets, but it is a fun thing to do to create incredible designs. You can get some great effects by contrasting different shades of the same color.

How Many Coats of Primer Do You Need?
You will need a minimum of two coats of primer on your cabinets. Primer helps to seal the surface and allows the paint to bond better.

How Early Can I Prep Cabinets Before Painting?
You can prep your cabinets as early as you want. Just remember that the longer you leave it to apply the paint, the dirtier the cabinets get. You may end up prepping them again, which means doing the work twice, defeating the point.

Do You Have to Remove Cabinets to Paint Them?
You should remove the cabinets if you want a professional quality finish. You can paint them while they are in situ, but you need to make preparations to mask the walls and surrounding areas.
Simple Steps to The Best Prep
So, now you know how to clean cabinets before painting, and that preparation is vital if you want to get the best results. The more time and effort you invest sanding, filling, cleaning, and priming your cabinets, the more visually stunning they will look.
We know the prep work is always the least exciting part of the process, but it is the backbone of any good DIY project. Roll up your sleeves, bite the bullet, and get to work.