Wondering what to do with that outdated wallpaper in your home? You could attempt to remove it, or you could try painting it! The before and after effect will surprise you.
Most people think you should never paint over wallpaper, but that’s not always the case. Some wallpapers are paintable. I’ll teach you how to paint over wallpaper so you can give any space a fresh look.
Key Takeaways
- Painting over wallpaper is possible, but it’s usually a temporary solution.
- Remove wallpaper if it’s peeling, old, or textured, but consider painting over it if removal may cause wall damage.
- To paint over wallpaper, clean the walls, prep the wallpaper, prime the walls with an oil-based primer, and then paint as usual.
- Hide wallpaper seams before painting by using clear caulk, joint compound, or flattening the seams with a wooden seam roller.
Can You Paint Over Wallpaper?
Yes, painting over wallpaper is possible. In some situations, it’s even recommended. Like if it’s protecting the surface beneath or if it’s impossible to remove.
Also, removing wallpaper before painting the wall is more time-consuming, especially if there are wall repairs to be done.
It’s a great idea and can prolong the life of your wallpaper. But it’s often just a temporary solution as wallpaper glue deteriorates over time. You will get peeling and curling eventually.
Take Note
If the wallpaper is old, dirty, and peeling, then painting the wallpaper isn’t recommended. You should also avoid painting some types of wallpaper, such as fabric-backed vinyl, because the paint will damage them.
Should You Paint Over Wallpaper or Remove It?
If this is your forever home, it may be worthwhile to consider peeling the wallpaper before painting the walls.
However, there are disadvantages to peeling wallpaper. You could discover things like revealing old nail holes, damaged plaster or drywall, and the possibility that the top layer is just one of several.
When to Remove Wallpaper
If you’re unsure whether to stick with the existing wallpaper or discard it, consider the following:
- If you plan to stay in the house for a long time, remove the wallpaper. It saves you the trouble of removing it later when it’s painted.
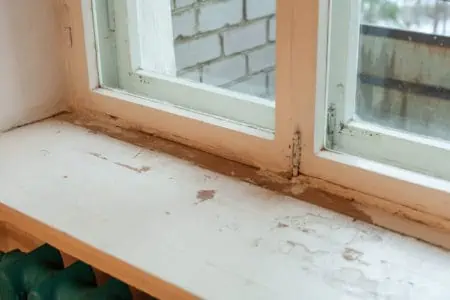
- Peeling, ripped, or old wallpaper is best removed rather than painted over.
- Textured wallpaper is more difficult to paint over because textures and patterns will likely be visible through the paint. Unless you prefer the textured look, it’s better to remove it.
When to Paint Over Wallpaper
It is always preferable to remove wallpaper before painting the walls. But there are several instances in which painting over wallpaper may be advantageous.
Removing old wallpaper or multiple layers of wallpaper can result in wall damage. By keeping the wallpaper in place, you can maintain the current condition of your walls. The drywall or plaster walls beneath the wallpaper will retain their integrity.
Leaving the wallpaper in place makes painting your walls much easier and faster. Wallpaper removal is a tough and time-consuming process, so many people choose to avoid it.
Keep In Mind
Assess whether it’s even possible to remove wallpaper. For example, it’s more difficult to remove wallpaper in a bathroom with limited space and fixtures in the way.
How to Paint Over Wallpaper
It’s pretty much like painting walls but with a bit more prep work. Here are the simple steps to follow.
What You’ll Need
- Roller.
- Paintbrush.
- Mask.
- Gloves.
- Goggles.
- Painter’s tape.
- Plastic sheets or drop cloth.
- TSP.
- Oil-based primer.
- Spackle.
- Putty knife.
- 150 or 180-grit sandpaper
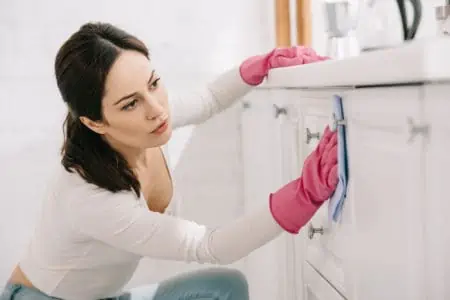
1. Cleaning the Walls
Make sure to get rid of any dirt or dust on the walls using a slightly damp cloth. For walls with grime and grease on them, make a cleaning solution using diluted TSP. Then let the walls dry to the touch.
Be Careful
Avoid soaking the walls with the cleaning solution. This can damage the wallpaper due to adhesive softening, leading to wallpaper bubbles.
2. Prep the Wallpaper
Part of learning how to paint over wallpaper is repairing any damage before proceeding. Work on areas that have peeled seams or edges. Some experts advocate applying a small layer of wallpaper seam adhesive to the loose parts to rejoin them.
Use a putty knife to lift these areas, removing loose bits and filling them with spackle. This helps level out the surface. Sand it when the spackle is dry.
3. Priming the Walls
You can start priming when the surrounding edges and areas are covered with drop cloth/plastic sheets and painter’s tape. For this project, you want to use an oil-based primer-sealer like the Zinsser oil-based primer by Rust-Oleum. This is to avoid loosening the wallpaper’s adhesive.
Take an angled paint brush and cut in the edges and corners. Cutting in means using the angled brush to first paint around trims and edges.
Grab your roller and prime the entire surface you wish to paint. Allow it to dry and open all doors and windows while doing so.
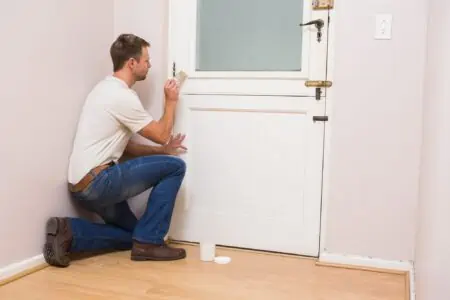
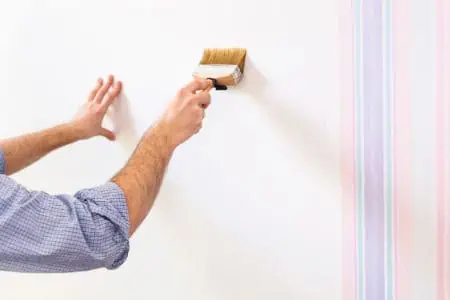
4. Painting the Walls
Paint on top of the wallpaper just as you would paint a normal wall. Load up your roller and start rolling the surface in a vertical motion.
You’ll likely have to use two coats of paint. Allow plenty of time for the first coat to dry before applying the second one.
How to Hide Wallpaper Seams Before Painting
Open seams can occur because of deviations such as incorrect soaking times or soaking separate wallpaper strips for different durations.
Due to excessive heat or a draft, the wallpaper will dry faster than adhesive. This results in an unbalanced dry tension and seams prone to splitting open during installation.
Use Clear Caulk
Although the paint would generally cover the wallpaper seams, it is good to smooth them down before painting begins.
Simply run a thin line of clear paintable caulk along the perimeter of the walls. Stop at the seam (where the ceiling/floor and wallpaper meet).
Use Joint Compound
Apply joint compound to severely textured paper before pressing it down. A skim or thin coat is all you need.
This material helps smooth out the surface so that the texture does not show through the paint when it is painted. A light sanding will make the wallpaper seams less visible.
Flatten the Seams
Wipe under the seam to remove any dirt or dust with a cloth. Apply a thin, even glue application to the underside of the exposed seam. Then, using a wooden seam roller, flatten the seam out completely.
Using a moist sponge, remove any excess glue from the surface.
How to Remove Wallpaper
Note that the following DIY tutorial applies to removing traditional wallpaper. If you have peelable wallpaper, just loosen the corners with a putty knife and slowly peel it away from the wall.
What You’ll Need
- Ladder.
- Wallpaper stripper.
- Putty knife/scraper.
- Rags.
- Water.
- Soap.
- Paint roller/spray bottle.
1. Mix the Solution
Follow the manufacturer’s instructions to combine the wallpaper stripper with hot water. Fill a spray bottle with the mixture.
2. Apply the Solution
Take the spray bottle and your roller and apply a small amount of solution to a wallpaper section. Allow the wallpaper to absorb it for a few minutes.
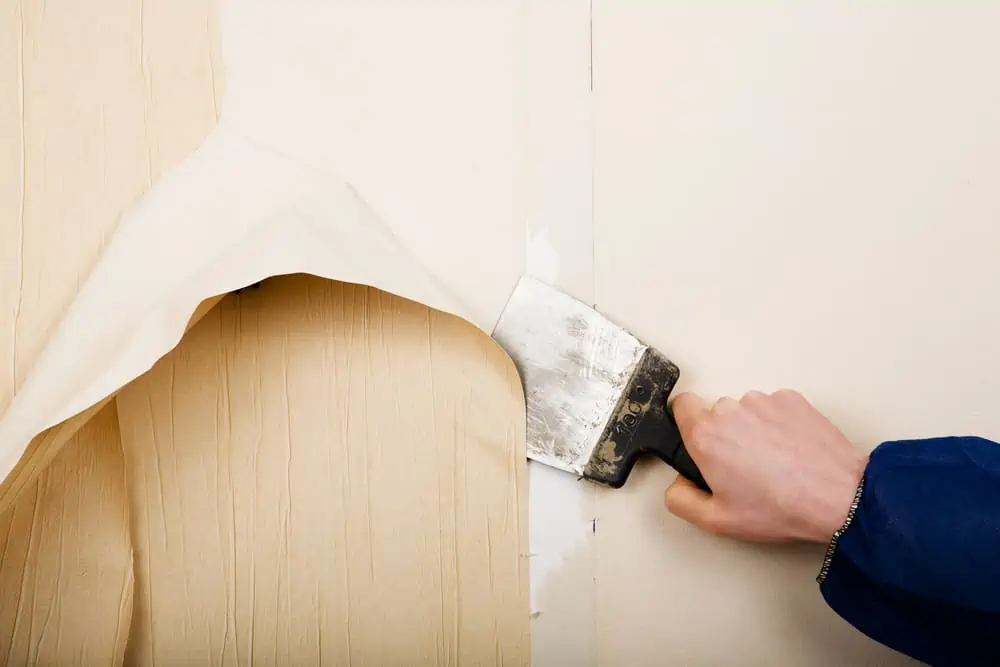
3. Scrape the Wallpaper
Use a scraper or a putty knife to remove the wallpaper. It’s easier to start from the bottom and work your way up. Work in small sections (around 3 x 3 feet).
4. Clean the Walls
Make a mixture of soap and water. Use it to scrub and clean the walls. This will help remove any leftover residue.
If the process exposes any holes or dents in the wall, you can fill them using spackle paste. Once dry, give the wall a light sand.
Bottom Line
Knowing how to paint over wallpaper is one thing, but understanding if it should even be done is a different story.
In my opinion, painting over wallpaper is a temporary fix, and you should consider removing it altogether. The only exception I’d make is if the wallpaper is in excellent condition.