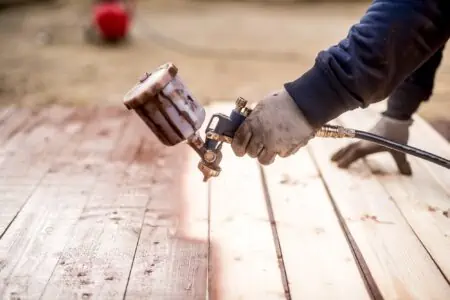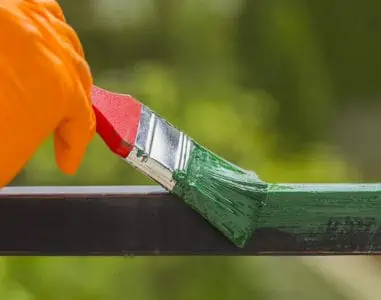
Painting outdoor metal furniture is one way to bring it back to its former glory. Unless you store your metal patio furniture indoors, it is open to abuse from the weather. Rain, wind, and UV rays can dull, crack, and peel your paintwork.
We show you how to paint metal patio furniture, including color ideas and pro tips.
Key Takeaways
- Choose a suitable paint like Rust-Oleum for metal furniture to resist elements and prevent rust.
- Prepare the metal furniture by cleaning it with trisodium phosphate (TSP) and sanding the surface.
- Apply thin layers of paint with a spray can or brush, allowing each layer to dry before adding the next one.
- Consider using a primer or a paint with a built-in primer to improve paint durability and prevent rusting.
Best Paint for Metal Furniture
Spray paint for metal outdoor furniture is the best paint type to use, and this Rust-Oleum is a standout product. It outsells the competition, has the trusted Rust-Oleum brand name (an American institution), and has several uses.
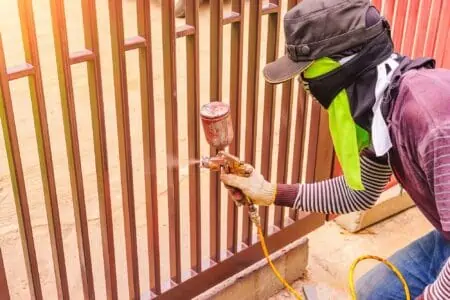
One of the reasons why spray paint is the best paint to use is because patio furniture is awkward in shape, with many angles and lines. Spray applicators get into the tight spots and give an even coating that a brush can’t match.
We chose Rust-Oleum for quality reasons. It is oil-based enamel, which resists the elements better than acrylic-based paints. It dries to a hard shell, protecting the metal beneath, and is long-lasting.
It is also rust-resistant and dries to the touch in just 15 minutes.
How to Prepare Metal Outdoor Furniture for Painting
Before we learn how to paint metal outdoor furniture, we must first do the basics. Any DIY repainting project lives or dies by the prep work, and it is no different for patio furniture.
What You’ll Need
- Trisodium phosphate (TSP).
- Bucket of warm water.
- Clean rags.
- Scrubbing brush.
- 3M metal finishing pad.
- 180-grit sandpaper.
- 300+ fine-grit sandpaper.
- Paint tray.
- Foam brushes.
- Rust-Oleum spray paint.
- Cardboard or drop cloths.
- Parasol or pop-up gazebo.
- Plastic patio table.
- Rubber gloves.
- Face mask.
1. Prepare Your Workspace
When using spray paint, do it in a well-ventilated area. The best place is outdoors on your lawn, so you will need to set up a workstation in the garden. Set up the gazebo or parasol to protect the patio furniture from the rain.
Also, set up the patio table to stand the chairs on. It raises them off the ground to avoid pet hairs and curious children’s hands. It also makes it easier on your back because it is at a comfortable height.
Top Tip
Don’t forget to lay down the cardboard or drop cloths on the patio table and the lawn to deal with overspray.
2. Clean the Furniture
Before attempting to restore rusty and tired garden furniture, you must give it a thorough clean. If any dirt is present, it stops the Rust-Oleum from adhering.
This Sunnyside All-Purpose Cleaner is a great choice. It is affordable and cleans surfaces ready for painting. Follow the guidelines on the TSP packaging and add it to the required amount of water.
Soak the rag in the solution and wipe it over the patio furniture. Next, use the scrubbing brush to remove stubborn grime, working it into the hard-to-reach places. When you are done, leave the TSP to dry in the sun.
Safety Notice
TSP is highly toxic and can cause skin and lung irritations. Wear rubber gloves and a face mask to give you protection.
3. Sand the Surface
If you paint onto peeling wrought iron or aluminum without sanding, your new layer of paint will peel more rapidly than you would like. Removing flakes and scuffing the surface of the old enamel paint is vital if you want the spray paint to bond.
This 3M Metal Finishing Padis ideal for roughing the paint’s surface. They are better for awkward shapes like patio furniture and great for reaching tight corners and recesses. You can use 300-grit sandpaper if you don’t have a finishing pad.
Use 180-grit sandpaper for heavily chipped and damaged surfaces, and then switch to a fine-grade finishing pad for the smoothest results. It also helps to reduce any gouges made by the medium-grit sanding pads.
4. Wipe Clean
Use a clean and dry rag to clean the furniture or use a vacuum cleaner for hard-to-reach places. Ensure all the dust is removed because it will block the spray paint from adhering to the metal. When all the dust is gone, it is time to refurbish your patio furniture.
How to Paint Metal Patio Furniture
Now comes the fun bit. This is where you get to see the transformation from dull furniture to colorful works of art. By the time you’ve finished, people will be amazed at the before and after results.
Stay Safe
Spray paint particles float in the atmosphere and carry on the wind. That means the chances of inhalation are high. Wear a face mask and goggles to protect your eyes.
What You’ll Need
- Rust-Oleum spray paint.
- Primer (optional).
- Face mask.
- Goggles.
1. Apply the First Paint Layer
Oil-based spray paint is better for novices because it coats easier and gives a neater finish. Hold the spray paint about 12 inches from the surface and use sweeping motions. Apply the paint in thin layers to avoid runs and drips.
Top Tip
You can add a primer layer before applying the paint. Rust-Oleum has a primer built-in, but some paints require a separate primer layer first.
2. Let the First Layer Dry
Follow the instructions on the can for the drying times. In general, you should apply a second coat about two to four hours after the first layer. Then use 300-grit sandpaper for sanding the first layer to remove drips and air bubbles.
Remove the dust with a vacuum cleaner. Using the same technique for the first coat, apply the second coat in sweeping motions from side to side. Ensure that the second layer is the same thickness as the first.
3. Drying Time
Allow a minimum of 24 hours for the paint to cure before using the furniture. Check the guidelines on the can for specific drying times because some take longer.
How Do You Paint Metal Furniture Without Spray Paint?
If you don’t feel comfortable applying the paint with a spray can, it may be better to use more traditional methods. Let’s look at the alternatives:
Using a Paint-On Enamel
Applying paint to metal furniture without spray paint means laying it on with a brush. You can buy Rust-Oleum Brush-On Paint, which comes in 32 fluid-ounce cans. It stops rust, is an oil-based formula and paints directly onto rusty patio furniture.
It is an enamel paint, so it dries hard and is resistant to UV and rain. Pour the can’s contents into a paint tray and load the brush, then work in long strokes, pushing the bristles into tight spots. The secret is to not lay the paint on too thick, or you will get runs and drips.
Using a Foam Brush
If brush marks are a significant concern, using a foam brush, like this Bates 20-Piece Set, is the ideal alternative. The foam moves the paint in the same way as a standard brush minus the visible marks when it dries.
Using a Paint Brush
Don’t confuse a paintbrush with a foam brush. Paintbrushes spread the paint load evenly via bristles. The bristles open to release the paint as you press down on the brush.
The downside with bristles is that they shed, leading to bristles drying on the painted surface. This Pro-Grade Set comes with five brushes ranging from one-inch flat to two and a half inches angled.
Mini Roller
Mini rollers are much faster to use than brushes, and they cover hard-to-reach areas. You also get a more even spread of paint. This foam paint roller kit is a great example.
It comes with five foam naps suitable for applying water and oil-based paints, as well as the tray.
Tips for Painting Metal Outdoor Furniture
Getting the best results when painting your metal patio furniture is by no means guaranteed. That’s why we’ve delved deep into the pros book of hints and tips to help you along.
Use a Wire Brush
A wire brush can make the sanding process so much easier. A wire brush is also very effective at removing ground-in dirt and stubborn spots of rust. It even scrapes away loose paint.
Use a Power Sander
Power sanders help you get down to the bare metal. They are also great at cleaning badly rusted garden furniture. Orbital and oscillating sanders are the most effective because they rotate.
Use Acetone
Solvents like acetone are also effective at cleaning your patio furniture before a refinish. Paste it on, wait the allotted time and rinse it clean. Just remember that acetone and other solvents are harmful to the environment.
Use Primer
Even if you are using self-priming paint, using a layer of separate primer can only help the topcoat adhere and seal better. Remember that you want your new paint job to last for at least five years, so anything you can do to prolong its longevity is helpful.
This KILZ Interior and Exterior Primer comes highly recommended.
Color Ideas for Metal Furniture
When choosing the right colors for your patio furniture, the sky’s the limit. Do you go traditional and stick to whites, or do you let your imagination fly?
Here are some ideas to get you started:
Mix it Up
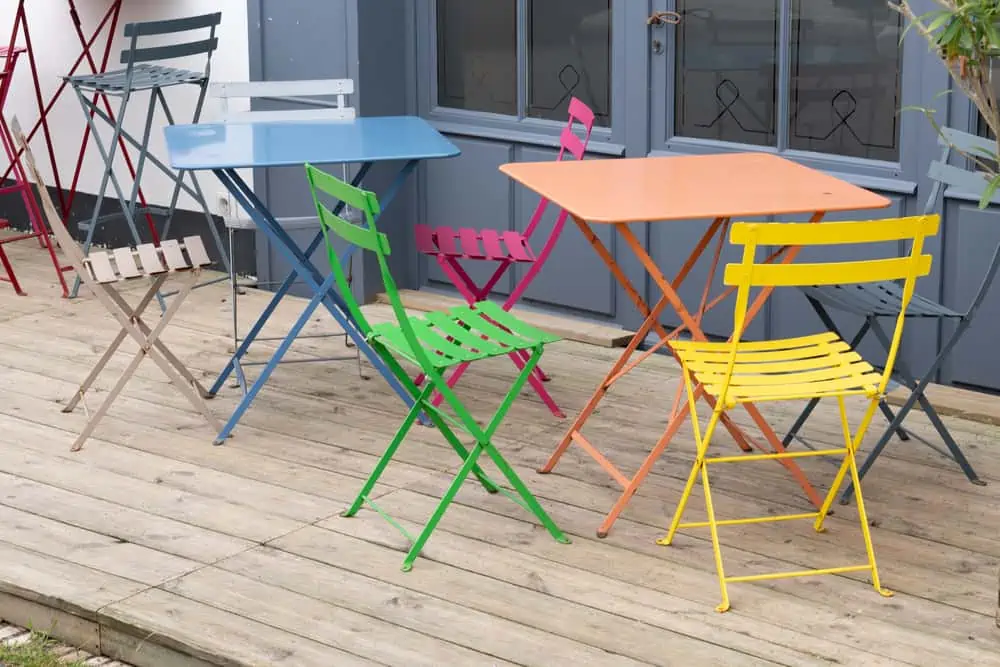
Some people like color coordination, while others love quirky mix and match colors. Painting your patio furniture multiple colors screams fun, young, vibrant, and that you don’t take life too seriously.
And when you are mixing it up, don’t consult your color wheel. Let the colors clash. Mix blues with greens, reds, and yellows. The rule is there are no rules.
Plain White
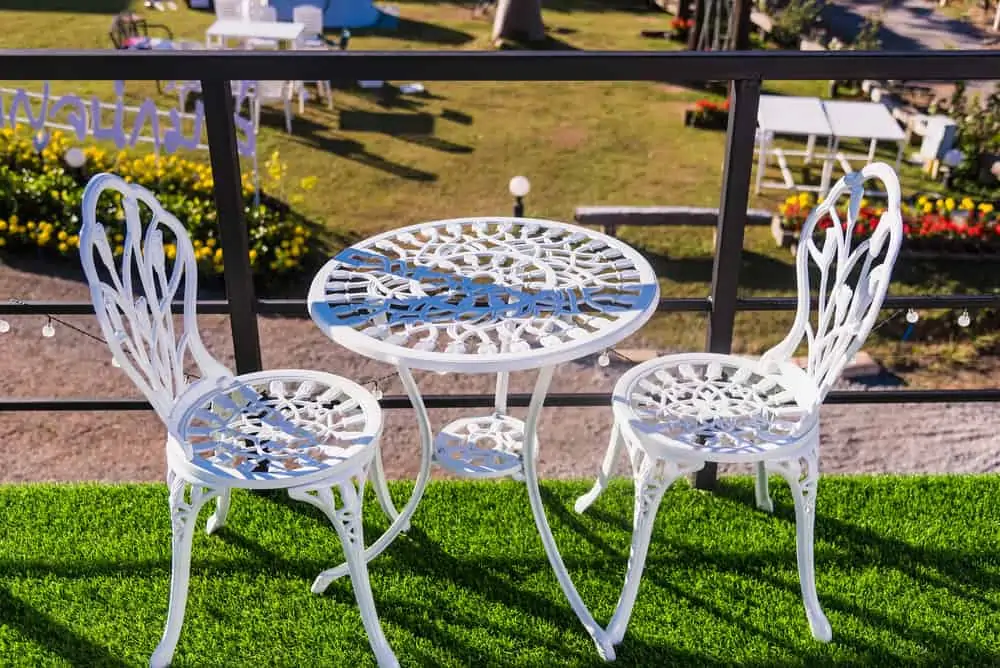
White is the go-to color of most patio furniture. It looks classy, is easy to touch up, and reflects the heat from the sun’s rays. Darker colors soak up heat and release it when you sit down (ouch!).
White is also one of the easiest colors to keep clean because, bizarrely, it conceals dirt. Just ask anyone with a white car!
Cool Shades
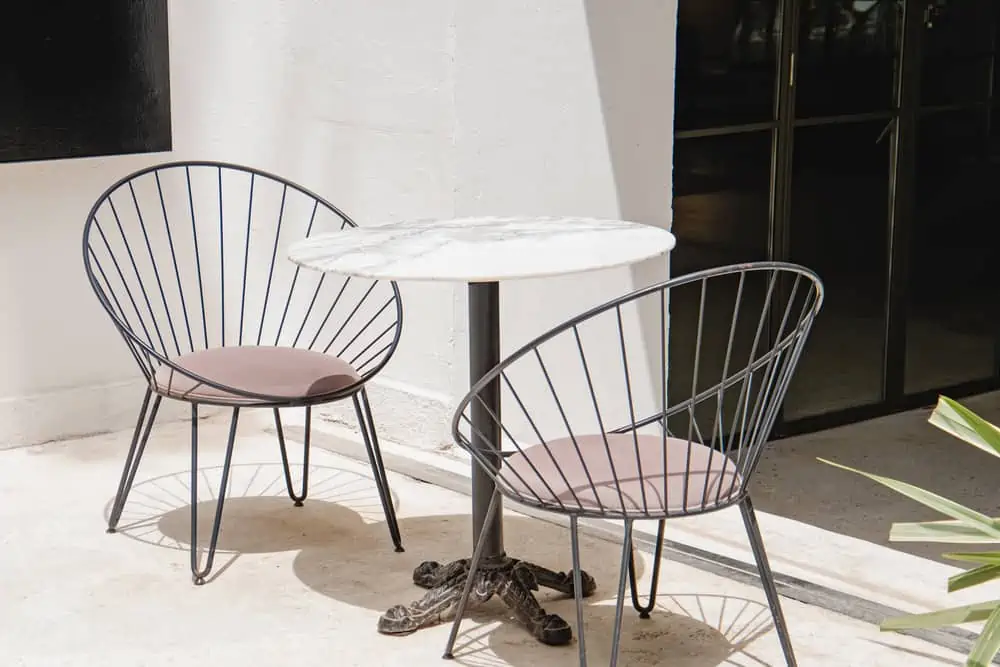
Browns and beiges are all the rage among those looking for stylish garden furniture. Many of the shades are close to the natural colors already present in your garden. This makes your patio furniture complement the overall design rather stand out.
Accessorize
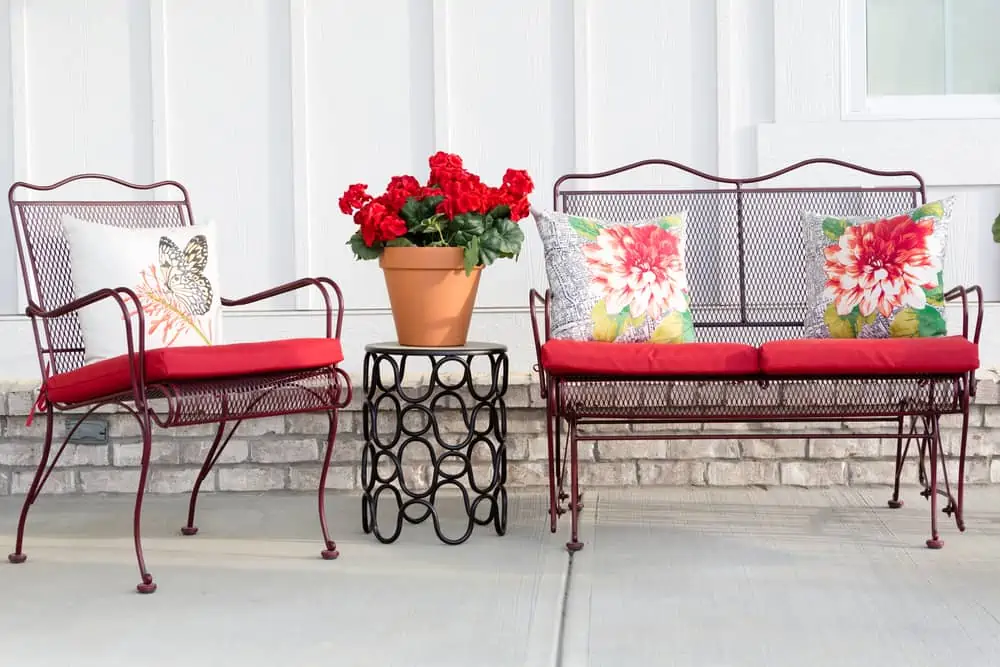
It’s not always about the paint colors, but sometimes the accessories matter more. Cushions and table coverings can dramatically transform dull or faded metal furniture, breathing a new lease of life to your patio set.
French Chic
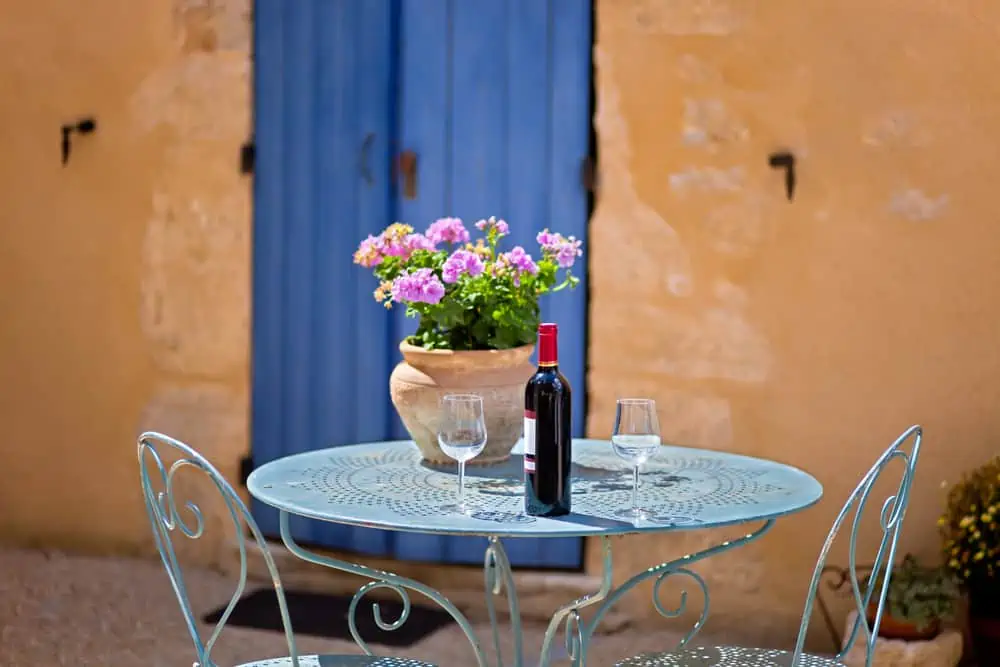
Go for that French farmhouse look with light grays and shabby chic designs. Using chalk paint and sandpaper, you can distress your metal garden furniture and then seal it with wax or lacquer.
FAQs

What Happens If You Paint Metal Without Primer?
You can paint your metal furniture without a primer as long as you use this Rust-Oleum Enamel Spray Paint. It has a built-in primer that fights rust and seals the metal surface.
If you try to paint without a primer, the rust will come back, causing the paint to peel and crack.

How Many Cans Of Paint Do You Need For Metal Furniture?
A lot depends on the size of your patio set, but on average, you will need between four and six cans of spray paint.

How Long Should Paint Last on Metal Patio Furniture?
You should expect to get five to ten years of use out of your patio furniture before it needs a new coat of paint.

How Do You Avoid Spray Paint Dripping?
The best way to avoid the paint from dripping is to apply many thinner layers rather than one thick coat. When it goes on thinner, it dries harder and faster, with fewer instances of dripping.

How Do You Prevent Metal Furniture From Rusting?
The best way to prevent metal furniture from rusting is to apply a primer layer under the paint. Failing that, a primer and paint in one will do the same thing. It also dries faster, speeding up the process.
Patio Furniture Perfection
The weather plays havoc with your metal patio furniture paintwork. Rain, wind, and UV rays fade and peel the layers of paint. Don’t leave it exposed if you want to preserve the metal beneath.
It’s like sunbathing without sunscreen. You’d crack and peel too! Give your metal patio furniture some TLC and keep it looking good for another five years.