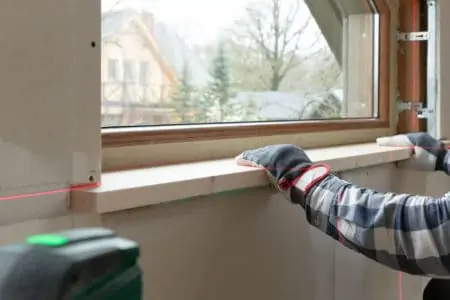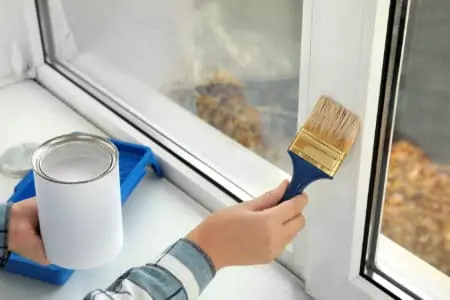
Not everyone knows how to paint a window because it’s not as easy as it may look. And many things can go wrong when painting windows, such as your windows being painted shut. But, if done right, you can achieve a professional look yourself.
In this guide, we’re focused on the tools, materials, and prep work needed for painting window frames, so keep reading!
Key Takeaways
- Proper prep work is crucial for a professional look. This includes cleaning the surface, removing old paint, and sanding the frame.
- Use painter’s tape to mask the area around the window frame, including the glass and the wall, to protect them from paint.
- Apply primer before painting, especially on bare wood or when painting a light color over a dark one.
- Allow paint to dry completely before closing the window to avoid sticking. This may take up to 24 hours.
What is the Easiest Way to Paint Windows?
This subject is up for debate, and it’s really a matter of preference. Here is what you need to know about the two common methods:
- Painting with a brush grants more control over the strokes and where the paint will land.
- Painting with spray paint is said to adhere better and leave no marks, and it can give you a smooth finish.
What You’ll Need
- Towel.
- Painter’s tape.
- Scraper or painter’s tool.
- Spackling putty.
- 230-grit sandpaper.
- Primer.
- Paint.
- Brush or vacuum cleaner.
How to Prepare Windows for Painting
Prep work is the most crucial factor because it creates the correct foundation. Don’t skip proper preparations with painting projects.
1. Prepare the Room
Before painting window frames, affix a towel or cloth to the window sill. You can secure the drop cloth by taping the material to the wall’s edge. This is merely a preventative measure to catch any scraped-off paint that falls to the ground.
2. Remove Old Paint
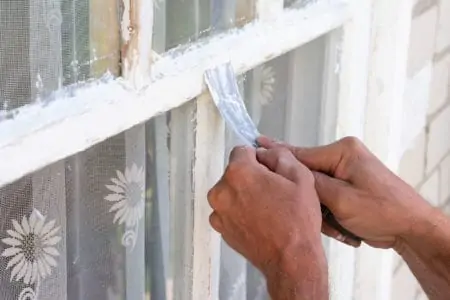
Scrape away any remaining paint with a scraper, taking care not to scratch the windowpane as you approach it. The surface doesn’t have to be completely clear of paint traces, only the bulk of them.
3. Patch Potential Holes
Fill any nail holes or defects with standard spackling putty. Apply it with a scraper and spread it on similarly to butter. It solidifies to form a neutral, flat surface suitable for painting over.
4. Sand the Surface
Using 240-grit sandpaper, sand the frame down. This aids in the paint’s adhesion and produces an even surface to work on, preventing a roughly finished product.
5. Clean the Frame
Clean the frame of debris. After scraping and sanding the surface, there are likely to be numerous little pieces of debris clinging to the frame. Eliminating them is critical to ensuring that they do not interfere with the new paint job.
6. Mask the Area
Use painter’s tape to tape the frame’s perimeter (on the glass and the wall). Also, ensure you cover any hinges if you don’t want them painted. Painter’s tape is definitely the first choice and is available at any hardware store, but masking tape will suffice if you don’t have any.
How to Paint a Window Frame
This is one of the easiest methods you can try yourself. And it produces a professional finished look.
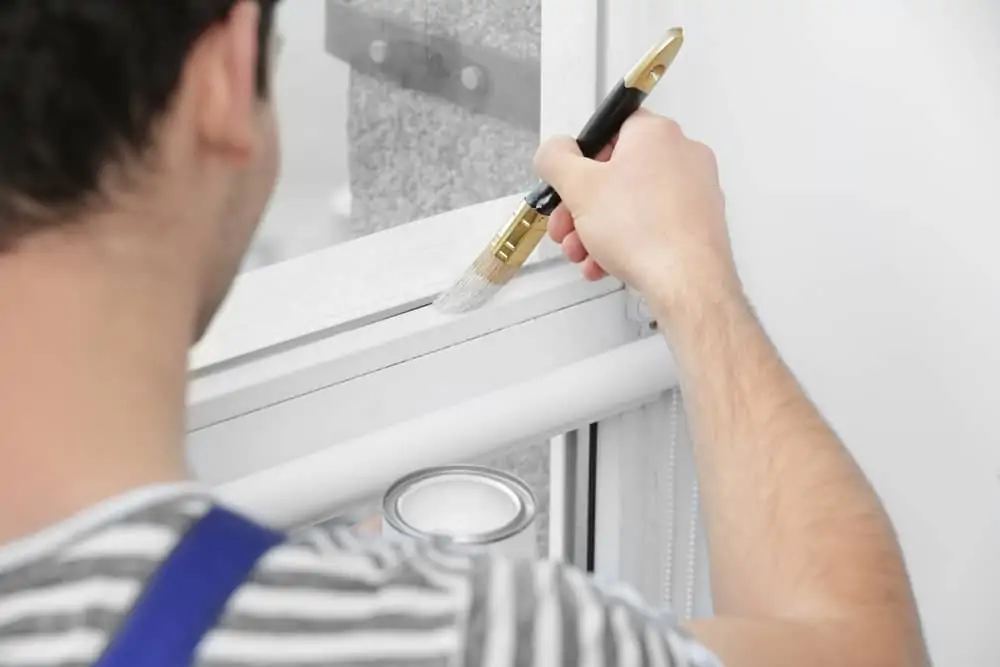
Whether small, large, or even bay windows, this method works for all.
1. Priming the Frame
Take your brush and apply some oil-based primer to the window frame. Oil-based primers improve the adhesion of the paint to the wood better than latex or acrylic paints. Latex paints are best for projects like new wall paint or interior trims.
When painting window frames a different color, it is acceptable to use a spray-on primer. But ensure that you also work the spray into the wood with the brush. This will seal the pores and create a nice even surface to paint.
Apply the primer with a brush in sweeping, flowing strokes over the region you’re trying to conceal.
Allow approximately three hours for the primer to dry. You must wait for the primer to dry completely before painting over it. If the day is especially humid, the primer may take a little longer than three hours.
Quick Tip
Priming is only necessary on scraped and raw surfaces, or if you’re painting light over dark. If you are applying a new coat of the same color paint to the window trim or surrounding parts, you do not need to use a primer.
2. Apply the Paint
Take your brush and start applying your paint to the frame. If you’re painting a casement window, begin with the frame and work your way down to the sill. For sash windows, start with the bottom frame.
3. Remove the Masking Tape
Wait until the paint is dry to the touch. Then proceed to remove it. Letting the paint dry prevents it from bleeding and smearing.
Remove the masking tape gently and at a 45-degree angle to avoid leaving scratches on the surface.
4. Let the Paint Dry
Paint can take up to 24 hours to dry, so try not to fiddle with the windows before that.
If you’re painting a casement window, avoid allowing the paint to dry with the window closed. This will cause the frame’s numerous components to cling together.
Tips for Painting Windows So They Don’t Stick
A common error of DIYers when painting windows is that they accidentally seal them shut. But it’s simple to avoid if you take the time to paint them properly.
- Always apply primer on bare wood, especially if you scraped or sanded down the window frames.
- Open and close the window every half hour to prevent sealing it shut. Better yet, keep them open until they are fully dried.
- Be careful when painting the sash. This is when most people paint their windows shut by accident.
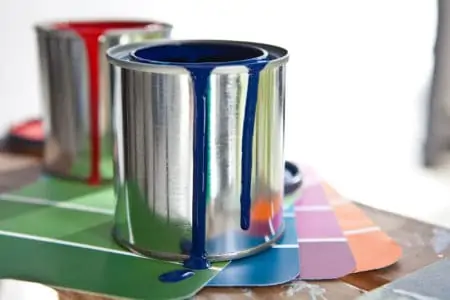
Color Ideas for Old Windows
Give your old windows some new vibes with these paint ideas that work for both interior and exterior windows:
- Brick Red – This pairs well with nature, especially for windows and door frames facing backyards or gardens.
- Bright Orange – A coat of bright orange can conceal old wood defects while giving your home a pop of color.
- Blue – If you’re decorating in a coastal, beach, or Mediterranean theme, beachy blue hues will give worn windows a fresh and romantic vibe.
- Purple – It may seem like a bold choice, but a purple window can give your garden a whimsical feel.
FAQs
I’ve got even more helpful tips and answers for you on how to paint a window.

How Do You Paint a Casement Window?
To paint a casement window, you’ll have to remove the old paint. Choose new paint, apply primer, and use an undercoat. Then start painting the opening sections, the glazing bars, the rails, and the window frame.

Do You Paint Inside Window Sills?
If applied properly, paint can work wonders in reviving this beautiful detail in your home for years to come. Keep in mind that if your sill is a different material to the window frame, it may require a different paint.

How Do I Peel Off Tape Without the Paint Coming Off?
If the paint has completely dried with the tape in place, you can warm the tape using a blow-dryer. After about four minutes, raise a corner of the tape strip using a Stanley knife. Continue applying heat while gently removing the remainder of the tape strip.
To avoid removing paint, avoid lifting the tape directly from the wall and remove it at a 45-degree angle instead.

How Long After Painting a Window Can You Close It?
Always check the specific drying time of the paint or primer you’re using. It typically takes two to three days for the window paint to completely cure without painting it shut.

How Do I Clean Paint Off a Window?
The best way to clean a painted window is to use a damp cloth to remove the paint while it is still wet. If the paint has already dried, you can use acetone to remove it.
Failing that, use a damp cloth with dishwashing liquid and water to moisten it as much as possible. Then use a razor blade or a knife to gently scrape it off the pane (blade must be held at a 45-degree angle).
The Bottom Line
With all this knowledge, the only thing left to determine is the color you want your windows to have. Knowing how to paint a window, what colors do you feel would fit best in your home?