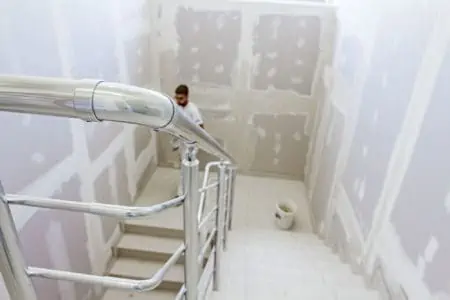
Do your hallways and wall above your stairs need a paint job, but you can’t afford to hire a professional? Just thinking about painting tall spaces is intimidating, especially for safety reasons. Most stairwells have extremely tall ceilings that are hard to reach, even with an extension pole.
But I’ll show you how to paint a stairwell with or without a ladder. This way, you can get the job done properly and safely.
Key Takeaways
- Prep the area: Remove items from walls, vacuum, and lay down drop cloths to protect floors and furniture.
- Repair walls: Use spackle paste to fix imperfections and sand the wall for a smooth finish before painting.
- Use proper equipment: An extension ladder and angled paint brush help with hard-to-reach areas and cutting in (painting edges).
- Paint safely: Work from top to bottom, avoid overreaching, and ask someone to hold the ladder for extra safety.
How to Paint a Stairwell
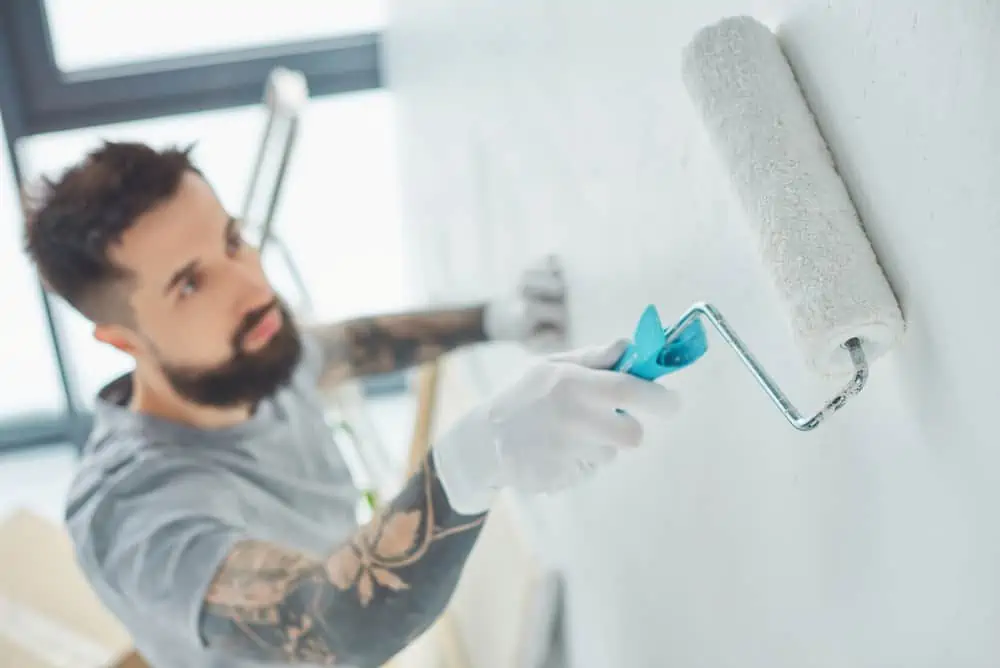
I’ll show you how to paint a staircase wall with a ladder and all the tools you need.
What You’ll Need
- Angled paint brush.
- Drop cloths.
- Extension ladder.
- Sanding disc.
- Extension pole.
- Roller frame.
- Spackle paste.
- Roller pad.
- Painter’s tape.
- Vacuum or shop vac.
Prepping the Walls
Don’t just dive in and start blindly painting. As with any DIY project, prep work must be done first for the best results.
1. Prep the Area
If there is anything hung on the walls above the stairs, make sure to take it down. Vacuum the area as well.
Lay down the drop cloths to protect the floor and any furniture at risk of being stained. If you’re painting on stairwells with carpet installed, cover every inch of it.
Secure the plastic sheets and drop cloths with painter’s tape. Also, seal the baseboard, power outlets, and light switches with painter’s tape.
2. Repair the Walls
You’ll need spackle paste to fix any potential imperfections in the walls, including holes. If necessary, sand the wall once the paste is dry.
The walls have to be perfect before you start painting if you want to benefit from a smooth finish.
Cutting In
Cutting in is time-consuming, yes. But it’s necessary. It’s the process of using an angled brush to apply paint all along edges where a roller just won’t go.
3. Setup the Ladder
The first step of cutting in is finding a way to reach the highest wall point, right where the wall meets the ceiling.
A multi-use telescopic ladder is one of the best choices for such a project. They have adjustable leg height on each side, making them suitable for working on the stairs.
4. Cutting In
This step requires a lot of patience. Grab your angled brush and paint. You want to have a steady hand to avoid paint smudges on the ceiling.
Painting the Walls
Now comes the fun part!
5. Apply the Paint
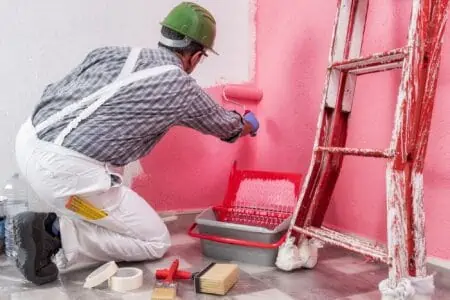
When you’re done cutting in, it’s time to grab the roller. It’s best to attach a ½ nap roller pad to an extension pole of two to four feet. This makes it easier for you to paint without smudging the ceiling and results in a better texture.
Dip the roller in paint and start from the top, working your way down. If you can, invest in a shield attachment. This can be really useful for proper paint jobs and help prevent staining the ceiling.
How to Paint a High Stairwell Without a Ladder
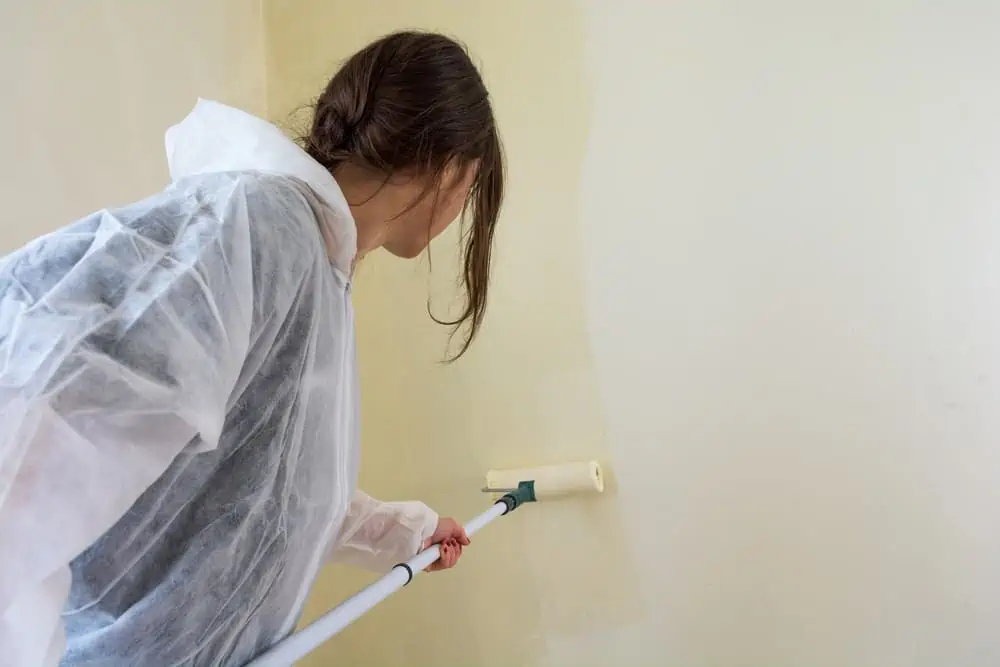
Using an extension pole is the easiest way to paint a high stairwell without scaffolding or a ladder.
However, it’s important to understand that there are limitations when painting without a ladder. You are less likely to get a smooth finish and a perfect paint job. It also takes longer than it would if you were using a ladder.
You’ll need a brush with an attachment that can be screwed at the end of the extension pole. Simply remove the brush holder and attach the paint roller when you’re done cutting in. Proceed as you normally would with rolling the walls entirely.
Top Tip
You can also make your own DIY extension pole if you don’t want to purchase one already made. I just use the handle from my broom.
Tips For Painting Stairwells
Even if you know how to paint high walls on stairs, experienced professionals will likely produce better results. So let’s take a few tips and ideas on painting a stairwell from them.
- Be really careful with overreaching when you’re up on the ladder. Accidents can happen.
- For extra safety and peace of mind, ask someone to hold the ladder while you’re on it.
- Paint one wall at a time. This prevents uneven coloring caused by edges drying out ahead of time.
- Consider painting the walls in the same colors as the ceiling. This will make it easy to mask any potential mistakes when cutting in.
When to Hire a Professional to Paint Staircase Walls
Whenever it’s time for a new paint job, a lot of people wonder if they should do it themselves or hire a professional.
Specialty Finish
Leave the lacquer and high glosses to the professionals unless you have prior expertise working with specialty paints yourself. Even specialists should exercise caution while applying this type of paint due to the possibility of leaving markings on the surface.
High Ceilings
Painting a stairwell requires working at a greater height, so one must be extra cautious. Safety is something that most people don’t think about. Don’t put yourself in danger of straining or, worse, falling just to get a coat of paint on the wall.
If you’re having trouble reaching the area that needs to be painted, there’s a good possibility you’ll make a mess of things.
Old Paint Removal
If your home is more than a few decades old, there is a possibility that your walls are painted with lead-based paint. You shouldn’t paint over this. Instead, have a professional come in and properly remove the paint or use products that will block it.
Get The Pros In
If the old paint is lead-based, it’s time to call in the professionals. If the body absorbs lead, it can result in serious health issues.
Water Damage or Major Stains
If you have serious water damage or the presence of water stains, a professional is needed to fix the damage.
Cost Factor
Hiring a professional is something that could end up costing you a lot. Most professionals will run you $20 to $50 per hour. It’s difficult for me to give you an exact price because it depends on several factors.
- How much paint is needed?
- The complexity of the project.
- The area you live in.
I can tell you that painting a stairwell yourself will save you money. You’ll have to buy paint, invest in a ladder if you want more stability and a proper paint job, and get rollers and paintbrushes.
FAQs
Decorating, renting equipment, and more. Consider these extra tidbits of info before starting.

How Do Painters Paint Vaulted Ceilings?
Professional painters typically use quality ladders or scaffolding to reach vaulted ceilings. They generally have access to equipment that most homeowners don’t have. Since they’re also comfortable with working at heights, it’s best to hire a professional to paint a vaulted ceiling.

Can You Rent a Ladder or Scaffolding?
Yes. Just do a Google search and find companies that rent ladders and scaffolding in your area. It’s definitely cheaper to rent one for a one-time job than to purchase one.
Buying your own scaffolding is only cost-effective if you frequently engage in paint jobs.

How Long Does It Take to Paint a Stairwell?
There are different factors to consider when estimating the time needed to paint a stairwell.
- The size of the space.
- The height of the walls.
- The relative humidity in your home.
- Painting new drywall vs. painting over existing paint.
It shouldn’t take more than a day and a half in most cases. But I’ve seen projects that took less than a day or even three days.

How Do You Decorate a Stairwell?
You can decorate a stairwell in so many ways. Some people choose to put up wallpaper or hang artwork on the walls because it makes the tall space feel less empty.
If you have enough room on the stairs, you can even place plant pots at the stair edges or showcase a display with collectibles. I love a good vertical mirror to open up the narrow space.
In the End
Learning how to paint a stairwell isn’t that complicated and can save you a lot of money.
Safety comes first though, so only use a ladder if you’re comfortable with this method of painting. Consider asking a friend or family member to hold the ladder while painting for extra peace of mind.