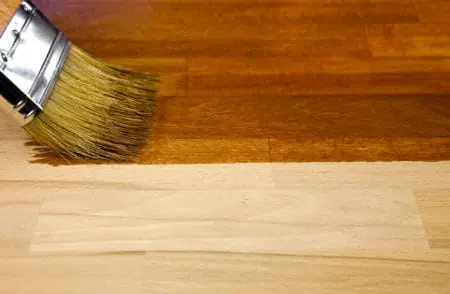
Your woodwork gets a lot of punishment, especially interior and exterior doors. While painting doors may look simple enough, getting the smoothest finish takes skill, patience, and the proper techniques.
We show you the best way to paint a door, including hints and tips for the best finish.
Key Takeaways
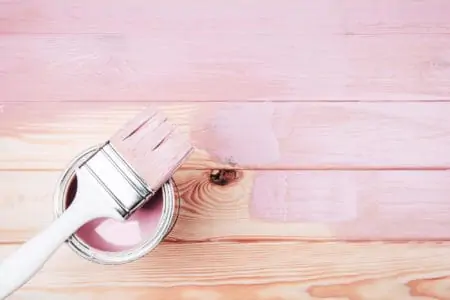
- Choose the right paint: Use durable gloss or semi-gloss paint for exterior doors and satin, matte, or chalk paint for interior doors.
- Use a brush and roller: Apply paint to flat surfaces with a roller and use a brush for detailed work around panels and windows.
- Proper preparation: Remove the door, fill in dents and gouges, and sand the surface before painting for a smooth finish.
- Apply multiple coats: Allow each coat to dry and sand in between coats for a long-lasting, professional-looking paint job.
What Kind of Paint Do You Use On Doors?
Knowing how to paint a door is essential, but so is choosing the right paint. A lot depends on the look you are trying to achieve, but that’s only half the story. If you select the wrong paint, your door will chip and flake, leaving them looking unsightly.
For Interior Doors
Interior doors get a lot of traffic, so while they don’t fade with rainwater and UV, they do get chipped and scuffed. You can use gloss paint on interior woodwork, but it’s outside where it comes into its own.
Satin
Satin paint like this Majic Paints Interior Satin has a much softer sheen and contains fewer resins and binders. It gives your door a faint shine when the light catches it. Satin paint is not as robust as other options, so while it is still ideal for doors, you may need to touch it up more often.
The trick with satin paint is to work the brush strokes in the same direction because they stand out when the light catches them.
Matte
Matte paint like this Rust-Oleum Painter’s Touch hides a multitude of blemishes and dents on wooden surfaces. This is thanks to the ultra-flat finish. Matte paint marks easily, so you might find yourself repairing scratches and scuffs more often.
Chalk
Chalk paint is ideal for interior doors when trying to achieve a vintage or shabby-chic look. This Rust-Oleum Ultra-Matte Chalk Paint goes on smooth and dries ultra-flat, so it hides all the dents and blemishes on the door.
It is wipeable, but it does mark more easily than other paint types.
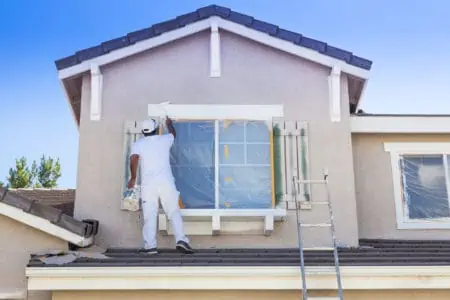
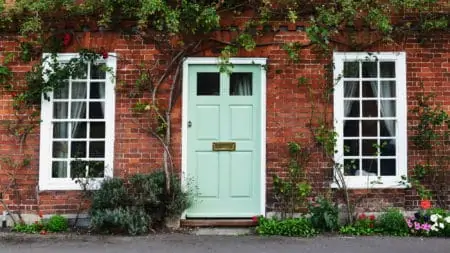
For Exterior Doors

Your front and back doors face the full wrath of Mother Nature. To keep the woodwork protected, you need the most durable type of paint. It has to repel water and stand up to damaging UV rays.
Gloss
Gloss paint is ideal for painting doors. This Krylon COLORmaxx contains high levels of resin and binders to help the paint dry to a hard shell. It is incredibly hard-wearing, which is useful for high-traffic areas like doors.
Gloss paint is wipeable, it withstands hard scrubbing, and prevents chips and scratches. However, gloss paint is also hard to get smooth. It also shows up every dent and blemish on the door’s surface.
Semi-Gloss
Semi-gloss paint like this Prestige Exterior Paint and Primer has many qualities of gloss paint, but it contains fewer resins and binders. It dries to a hard shell, but it has a softer sheen because it has fewer resins. Semi-gloss is an excellent alternative if you don’t want your doors to look like mirrors.
Because it is thicker, semi-gloss paint is also tricky to get smooth, making it challenging to leave the surface without brush marks.
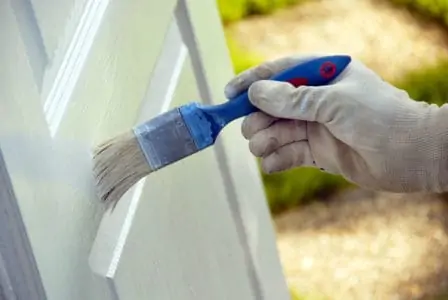
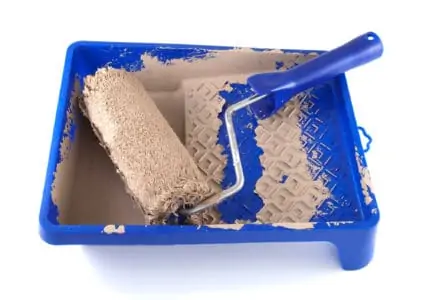
Do You Paint Your Door With a Brush or Roller?
The best technique is to use a brush and a roller to paint your doors. Cover the flat surfaces with a roller and use a brush for the detailed work around the panels. Doors with a window also need a greater level of detail, which is where the brush comes in.
Brush on the first layer of paint and then use the roller for the topcoats to get the smoothest finish without brush marks.
Can You Paint a Door Without Removing It?
You can paint a door without removing it, but it makes the task more challenging. You should only consider this method if you are in a hurry to get results.
It is always recommended that you remove it to get the smoothest finish. Laying the door flat helps spread the paint more evenly and reduces drips.
If you paint the door in situ, you risk the paint running. Plus, you would need to use masking tape to cover the hinges and remove all the door hardware. You would also need a sharp utility knife so you can cut the tape neatly around the hinges.
How to Paint a Door
Before we get into the detail of how you paint a door, you first need to gather the right tools and materials. That way, you have everything to hand, and you are less likely to make mistakes.
What You’ll Need
- Flashlight.
- Face mask.
- Safety goggles.
- Sander (orbital is the best).
- Paintbrush.
- Paint roller.
- Putty knife.
- Rags.
- Drop Cloths.
- Roller sleeve and tray.
- Sanding block.
- Sandpaper (150 and 220-grit).
- Vacuum cleaner.
- Utility knife.
- Decorator’s tape.
- Wood filler.
- Paint remover.
- Paint scraper.
Preparing the Door
Investing as much care and attention to the preparation work as you would for the topcoat reaps the rewards. Your DIY paint finish will look messy and unprofessional without the prep work.
Remove the door from the frame and lay it flat on two sawhorses for the best results. Painting a door takes about five hours from start to finish. However, it becomes an all-day job when you factor in the drying time.
1. Remove All Door Furniture
Remove the hinges and door handles because it is easier than painting around them. If you decide to leave the handles on, make sure you cover them using painter’s tape.
2. Fill Dents and Gouges
Before you start, don your safety goggles and face mask. Fill any dents and gouges with wood filler and wait for it to set. Grab the 150-grit sandpaper and smooth the filler, so it is flush with the door’s surface. Use a cloth to wipe away the dust.
Sanding the Door
The secret to sanding success is to use the finest grit sandpaper you can. Sanding not only smooths out blemishes but also creates a rough surface for the paint to adhere to. You can use the sanding block for detailed work and the orbital sander for flat surfaces.
1. Use Fine Grit Sandpaper
Use 220-grit sandpaper and rub the entire surface of the door to rough up the surface. This provides a basis for the first coat of paint to stick. Wipe away the excess sawdust and use the vacuum cleaner for the stubborn bits.
Keep In Mind
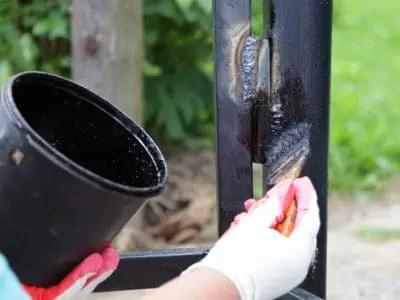
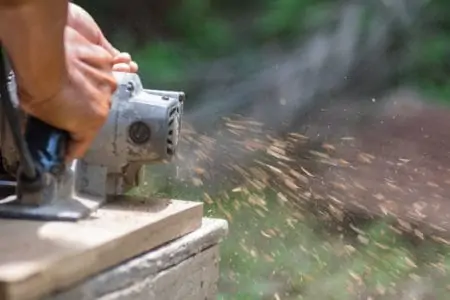
If you are sanding a door painted before the 80s, there is a strong chance that the paint contains lead. If that’s the case, consider removing the paint altogether with paint remover and a scraper.
2. Shine a Light
Use the flashlight to highlight imperfections on the door’s surface. Shine it across the door rather than from above, and you should be able to pick out the shadows made by the dents.
Painting the Door
Now comes the fun bit, but before we get creatively wild, does the door need a coat of primer? If it already has a layer of paint, sanding will do enough for the basecoat to adhere to.
You can use the paint remover and the scraping tool to remove the paint if you want to get the best results, but this takes time.
But if you are covering a new door, it will need two coats of a quality primer, like this Zinsser Bulls Eye primer. For this exercise, we are painting an old door with an existing layer of paint.
1. Paint the Edges First
Use the paintbrush and run a base coat along the edges of the door. You can use the roller, but the brush is better for the neatest finish.
2. Paint the Panels
To paint the door panels, use a one-and-a-half-inch brush to cover the recessed moldings. This ensures the paint gets into every corner. Then use the four-inch roller to coat the flat surfaces in the middle of the panel.
Top Tip
Make sure that you feather the edges of the panel moldings to make it easier to blend.
3. Paint the Vertical Strips
Keep the four-inch roller loaded with paint and coat the vertical strips down the center. Now paint the horizontal rails with the roller. Finally, cover the two vertical strips on the sides of the door with the roller.
Use the paintbrush to smooth out the rollered paint. Brushed paint smooths better, and it removes the stipple effect left by the foam roller.
4. Sand
Once you have covered the door and allowed the paint to dry, grab the 220-grit sandpaper and smooth the paintwork. Pay particular attention to areas where the brush marks are visible. Use the rag to wipe away excess sawdust and suck the rest up with the vacuum cleaner.
5. Recoat
Paint on a second coat, following the same process as before, starting with the edges. Flip the door over and perform the same technique for the other side. When dry, rehang the door and fit the hardware back in place.
Tips and Tricks for Painting a Door Without Brush Marks
Professional decorators get faultless finishes, but they don’t do it by chance. Their skill comes from years of practice but also from insider tips for getting the smoothest possible results.
Minimize Drips
Lay the door flat to minimize runs and drips for the best results. It also helps the paint to cover better because gravity isn’t pulling it to the bottom of the door.
Fill Gaps Twice
Filling gaps on your door is an essential part of the prep process. However, wood filler shrinks as it dries, so it’s always a good idea to fill twice to reduce shrinkage.
Minimize Air Flow
Once you have covered the door with the second coat, shut all the windows and door. Also, turn down the forced-air heating and cooling. You want to minimize airflow to reduce the chances of dust particles adhering to the wet paint.
Also, the slower the cure, the better the paint sticks to the door.
Keep Your Work Area Clean
Prep work creates a lot of sawdust, which is bad news when trying for the smoothest results. Clean up your work area after the prep work using the shop vacuum. You don’t want flecks of sawdust floating in the atmosphere while you are trying to paint.
Make the Door Flippable
Turning the door over to paint the other side means putting fingers into wet paint. Drive a screw into the top and bottom edge, so you can grip them and flip the door without touching the paint.
Keep Tweezers Handy
Occasionally, you will get stray brush hairs embedded in the paint. Tweezers make light work of picking them out. They also do minimal damage to the paint job.
Use a Paint Additive
Paint additives, like this Floetrol Paint Extender, extend the wet time of the paint and improve the way it spreads. You get a smoother finish with no brush marks.
DIY Door Painting Ideas
Painting your doors doesn’t have to be boring. You can get creative with custom effects and paint jobs to liven up your bedroom or bathroom door.
Add Glitter
Make your paintwork sparkle by adding a glitter additive like this Hemway Silver Glitter Paint Crystals. It transforms standard paint and makes your woodwork stand out.
Mix Colors
Painting your panel doors in multiple colors gives them a psychedelic look. If you are decorating a child’s bedroom, a multi-colored door makes the space more fun.
Stencils
Create paint effects and pictures using stencils like these Baker Ross Washable Stencils. They come in many designs, and you can have a lot of fun finding the image that’s right for your door.
Use Chalk Paint
If you want to create a distressed look reminiscent of vintage farmhouse furniture, chalk paint, like this Shabby Chic Paint is a perfect choice. You can paint it on and then sand it so it looks patchy, revealing the faded paint below.
FAQs

How Much Paint Do You Need to Paint a Door?
For the average interior and exterior door, you will need about one quart of paint. A quart tin covers approximately 100 square feet, whereas a door has about 40 square feet per side.

How Do You Paint Doors With Windows?
Using painter’s tape, you will need to tape off the window to avoid getting paint on the glass. Everything else is the same as the technique listed above.

Do You Paint Both Sides of a Front Door?
You should paint the inside the same color as the outside. You don’t need to use gloss paint because the interior gets less wear and tear, but it keeps things uniform.

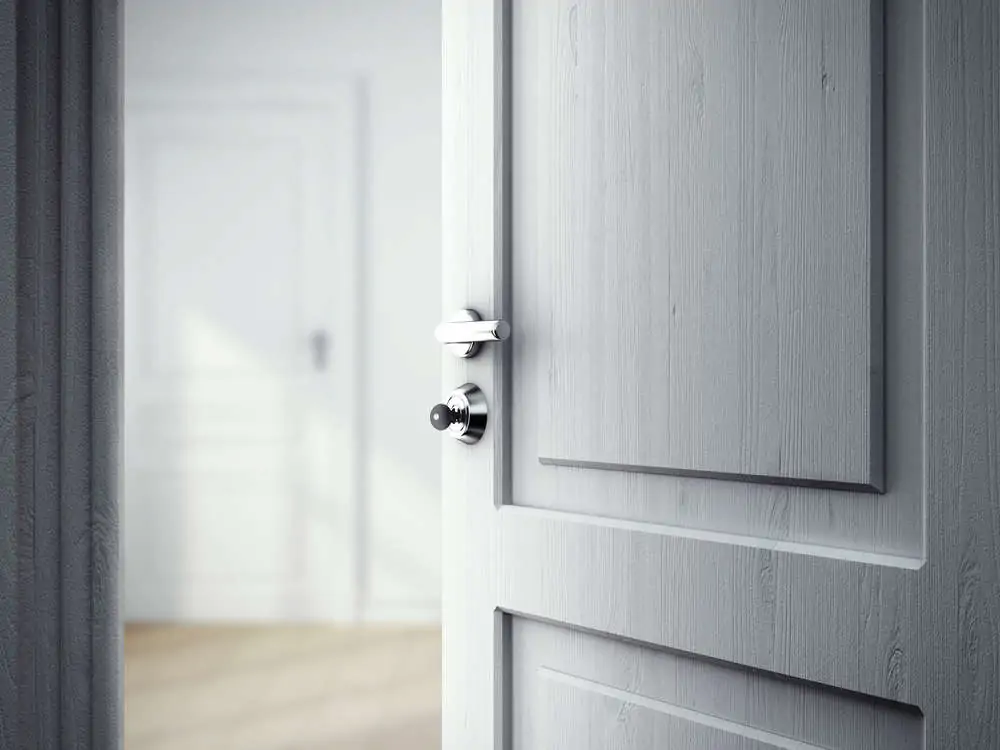
How Long Should You Leave a Door Open After Painting?
You should leave a door open for two days to let the paint cure, so it doesn’t stick to the door frame.

Is it Necessary to Apply a Second Coat?
If the new color is close to the old color, you might get away with one coat. However, it is advisable to lay down two coats to stop the paint from chipping and peeling. You should also paint two coats if you are changing to an entirely different color.

What Do You Do With Brushes While the First Coat Dries?
And Finally
When painting doors, the secret to success is in the preparation. Don’t be tempted to skip this part because you will end up with a low-quality finish. And don’t forget to sand between layers to remove even the faintest remnants of brush marks or roller stipple.
If you put the effort in, your doors will genuinely stand out as beacons to your perfectionism.