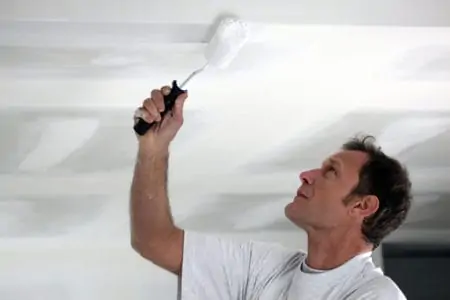
Painting a ceiling can be a tedious job, so seeing roller marks after the paint dries can be a real nuisance. That’s why we’ve chosen to focus this article on how to paint a ceiling without roller marks.
Stay tuned for some really on-point tips to ensure that your freshly painted ceiling isn’t an eyesore.
Key Takeaways
- Remove lint from the roller before painting to prevent debris and ensure a smooth application.
- Apply moderate pressure and paint amount to avoid streaks and uneven coverage.
- Use a short-napped roller cover and paint close to the edges for a clean finish.
- Paint the entire ceiling in one go and keep the edge wet to reduce roller marks and ensure even drying.
What Causes Roller Marks When Painting?
Purchasing paint from a discount store can be the root of your streak issues, but you can also encounter a plethora of roller marks if you utilize low-quality rollers.
Roller markings most frequently appear when you do not load your roller sufficiently with paint. Or when there is no more paint in the roller, and you are attempting to cover more of the wall or ceiling.
Using too much pressure might cause paint to push out around the edge of the roller, resulting in a streak.
Will Roller Marks Go Away When Paint Dries?
If you spot streaks while the paint is still wet, they are almost certain to remain once it dries. As a result, you’re going to have to put in a lot of effort to get rid of them. That’s why it’s best to put in the prep work and get it right the first time.
9 Tips for Preventing Roller Marks
If you want to avoid roller marks when painting a ceiling, the following tips are something to look into.
1. Remove Lint
Before using your roller, remove any lint that has accumulated with a vacuum or some painter’s tape. Even if the roller is brand new, it may include a small amount of dust or debris, so ensure that it’s removed before using it.
Out With The Old
If you’re using an old roller, make certain it’s free of dried paint, which could result in bumps or lumps in your paint job.
2. Apply a Moderate Amount of Pressure
Excessive pressure can force excess paint to ooze out the side of the roller. Rather than that, gently press the roller against the wall. If the paint begins to streak or produce lines, you’re definitely pushing too hard.
This is quite subjective, and finding the optimal pressure point for your paintwork may take some practice.
3. Use a Short-Napped Roller Cover
Roller covers that are too cheap can result in streaks and paint marks. When purchasing supplies, choose a 14-inch short-napped roller cover made from synthetic material.
This roller cover has no visible seams, allowing for a smooth application of paint on any surface. Roller coverings with a longer nap are preferable for textured walls.
4. Use a Moderate Amount of Paint
Excessive paint might splatter and result in harsh lines. Fill a paint tray halfway with paint and dip your roller into it. Before applying the roller to the wall, roll it back into the grooves of the paint tray.
This will help remove any excess paint, which is a super-important part of the no-streak painting process.
On the other hand, using too little paint can result in a streaky and thin finish. Strike a balance between excessive and insufficient.
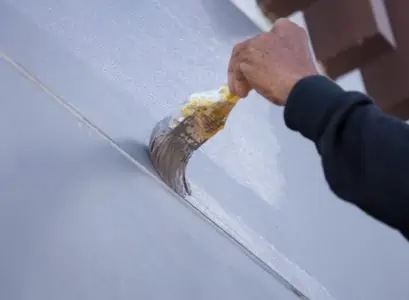
5. Keep the Edge Wet
Each time you roll paint on the wall, be sure to overlap it with the wet paint. This will assist in ensuring that your edges do not appear overly defined.
There does not have to be a significant overlap (about one inch will suffice). This is the simplest and most effective approach to ensure that your cured paint is streak-free.
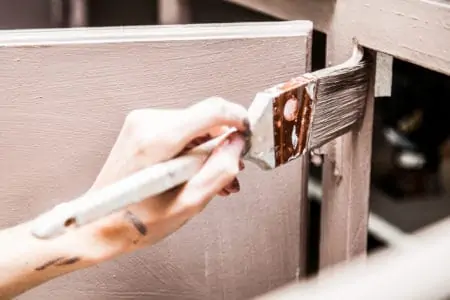
6. Paint Close to the Edges of the Surface
Where the ceiling meets the wall, carefully drag your brush along the edges. Make sure the angled tip of the brush is cutting the line and just carry that as far as you can before reloading your brush. This will create perfectly cut lines.
7. Paint the Entire Ceiling in One Take
Avoid pausing in the middle to allow the paint to dry. Once you’ve begun on a wall, it’s critical to finish it to eliminate roller markings.
Stopping and starting a paint job in the middle might result in uneven drying, which results in streaks. Performing a complete ceiling paint session at once ensures that you maintain a moist edge throughout the process.
8. Try to Spot Roller Marks Early
If you catch roller marks early enough, they can be repaired. Reload your roller with paint and lightly press against the ceiling to cover all the roller markings you can spot early on.
Straighten the roller marks and spread the paint out by painting in the same direction as you did before. This is often referred to as back rolling, and it is a critical step in smoothing out your paint lines.
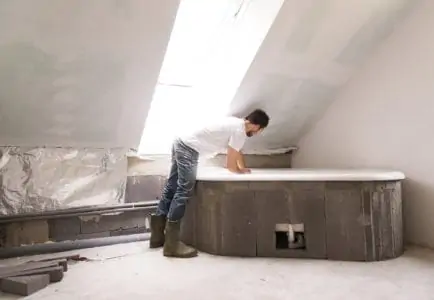
9. Smooth the Walls Before You Start
One of the most effective painting strategies for avoiding roller markings is to begin with a smooth ceiling. Even the most skilled painter cannot avoid marks and bumps on a ceiling that is not perfectly flat and smooth.
Before you begin painting, fill in any nail holes or blemishes and smooth away any old paint lumps. It’s easier to prevent roller marks and other complications if you start with a smooth wall.
How to Remove Roller Marks Without Repainting
It’s inconvenient to discover roller markings after the paint dries. But, if this is the situation you find yourself in, get a sheet of sandpaper, like these multi-purpose sandpaper sheets, and sand the paint streaks away from the wall.
Wipe down the walls to remove dust but note that you may still need to apply some paint if the sanded spot is too visible.
You can sand between coats to remove streak markings as they occur.
However, one of the most fool-proof ways to remove roller marks without repainting the entire ceiling is to use a brush and apply a thin coat of paint on the marks.
What is the Best Roller to Paint a Ceiling?
One of the best and most affordable options out there has to be the Purdy Contractor paint roller. It is designed to generate a smooth, professional finish. It’s made from quality polyester fibers and is a good buy for those looking for products that offer great value for money.
Additionally, it is compatible with all types of paint and comes in various sizes and nap styles, making it simple to pick the ideal one for your requirements.
FAQs

Does a Ceiling Need Two Coats of Paint?
If you get a high-quality product that includes a primer or if you prime beforehand, one layer should suffice. Additional coats may be required if the surface is darker, severely discolored, made of raw drywall, or porous.

Which Direction Do You Paint a Ceiling?
The first thing you must select is the direction you will roll in. You want to maintain consistency throughout the ceiling. Most professionals agree on the optimum strategy: roll toward the dominant source of natural light, like a large window, to conceal any roller lines.

Why Does My Ceiling Look Patchy After Painting?
Using too much or not enough paint might create a patchy appearance on the ceiling. If the paint is applied too thickly, it settles in particular areas, creating an uneven appearance. Paint might accumulate on the edges of your roller, creating uneven regions. On the other hand, when applied insufficiently, the paint is thin and has a spotty appearance.
The Bottom Line
Since you’re not a professional painter, leaving roller marks while painting the ceiling or walls is perfectly normal. If you follow the above tips, you will be able to keep them to a minimum and, if not, remember that there is an easy way to fix them.