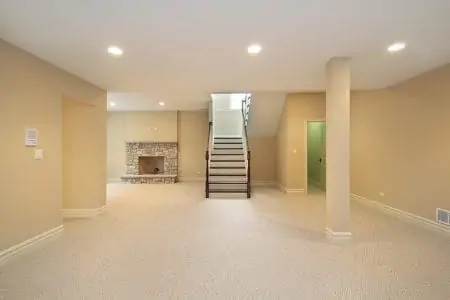
Basement floors are hard-wearing and durable, but a large slab of concrete can be a little ugly. So, giving it a fresh coat of paint not only protects the floor but also brightens it up.
Knowing how to paint basement floors means you get the job done right, and it stays looking good for longer. We take you through the steps and techniques for the best results.
Key Takeaways
- Choose the best paint for basement floors, such as 2-part epoxy paint or Drylok, for durability and waterproofing.
- Prepare the floor by filling cracks, sanding, and cleaning with detergent and water before priming.
- Apply primer and let it dry for 24 hours before painting with epoxy paint or other recommended paint.
- For optimal results, follow the manufacturer’s instructions for drying time and applying a second coat if necessary.
What Is the Best Paint for a Basement Floor?
The best paint for basement floors is 2-part epoxy paint containing epoxy resin and a hardening agent. The drying process allows the paint to harden rather than evaporate, which leaves you with a watertight seal on the floor that is resistant to chemicals and is incredibly durable.
This paint is waterproof, sealing the floor against moisture.
Another great paint for your basement floor is Drylok, which has excellent waterproofing qualities. You can use basement paint and then seal the surfaces against cracks, chips, and the paint peeling.
What You Need
Before we launch headfirst into the hows and whys, we first need to establish the tools and materials you will need to complete the task.
Tools
- Trowel.
- Grinder or sander with coarse paper.
- Vacuum cleaner.
- Dehumidifier or fan.
- Detergent.
- Bucket and mop.
- Old towel.
- Paint tray.
- Paintbrushes.
- Masking tape.
- Roller.
- Roller covers.
Materials
- Concrete patching compound.
- Concrete primer.
- Epoxy concrete paint.
Safety Gear
- Face mask or respirator.
- Goggles.
- Latex gloves.
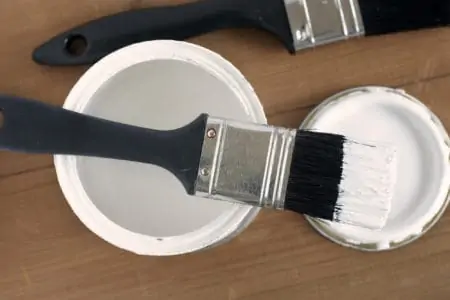
How To Paint a Basement Floor
Okay, so now we have the tools, equipment, and safety gear, it’s time to get started.
1. Don Safety Gear
Working in the basement is confined, so dust and fumes get everywhere. Put on your face mask or respirator, as well as your goggles and gloves.
2. Prepare the Floor
The floor needs to be completely smooth, so if there are any cracks, fill them with the concrete patching compound. Some are premixed, while others come in powder form that you mix with water and trowel into the cracks.
Wait until the cracks are filled, and the compound has set, then grab the grinder or sander to smooth them out. Make sure you get rid of all the bumps because they will really show after you have finished painting.
3. Clean the Floor
Once you have finished sanding, you need to get rid of the dust before you start painting. Grab the vacuum cleaner and suck it up, making sure you get every last speck.
After removing the dust, grab the mop and bucket and wash the floor with detergent and water. Now rinse away the suds using clean water and wait 24 hours while the concrete dries. Use the dehumidifier or fan to help remove any traces of moisture.
4. Set the Temperature
The best temperature for drying epoxy paint is 50 to 90 degrees Fahrenheit, but it is worth consulting your instruction label to see if your chosen paint differs. Set the thermostat on the heating to help the paint cure properly.
5. Apply Masking Tape
Stick down the masking tape on the walls and surfaces that you want to be paint-free. By doing this now, you give yourself more time to work with the epoxy paint before it starts to set.
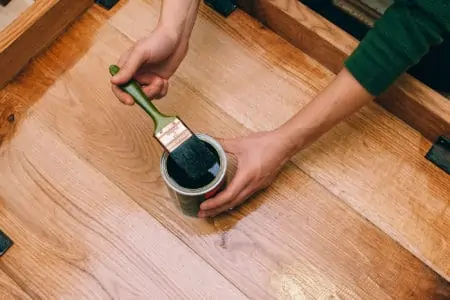
6. It’s Time To Prime
Some paint products are self-priming, so double-check to see if you need to prime first. Assuming you do, apply the primer using a paintbrush or roller, starting at the farthest wall from the door. This is so you don’t paint yourself into a corner.
Work in long strokes, applying the paint evenly. Remove bubbles and air pockets with a dry roller. When the floor is coated, wait 24 hours before laying down the paint.
7. Mix the Paint
Mix the paint in accordance with the manufacturer’s instructions. 2-part epoxy paints should be mixed in small batches with the hardener to prevent it from setting before you have finished. If you have a single epoxy paint, give it a thorough stir.
When you have finished mixing, pour the required amount into your paint tray and replace the lid on the can to stop it from setting.
8. Start Painting
Start with a paintbrush to cut into the corners and the edges of the walls. Once the perimeter is painted, swap to the roller and fill in the middle, starting on the farthest point from the exit.
Make sure there are no gaps, and the floor area is evenly coated by working in long strokes. After the second sweep of the floor with the roller, use the paint tray to load more paint and repeat the process until it is covered.
9. Time for the Second Coat
Follow the instructions for the drying time. Most epoxy paints dry within 12 to 24 hours, but it does vary between products. Some paints require you to apply the second coat when the first coat is touch-dry, which typically takes between 4 to 6 hours.
After 24 hours have expired, your basement floor is ready to use.
FAQs

Can You Paint Basement Floor With Drylok?
You can paint a basement floor with Drylok. In fact, it is one of the leading floor paints for waterproofing qualities, making it ideal, especially as basements tend to hold more moisture than other rooms in the house.

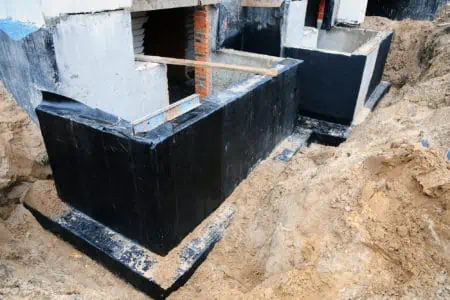
How Do You Waterproof a Concrete Basement Floor?
Several products give your basement floor enhanced waterproofing. The first is epoxy. It sets hard and creates a water-resistant seal that lasts for years. The second is liquid rubber that applies like paint but dries like rubber.
This is an excellent option if you have a slightly porous concrete floor as the rubberized paint fills gaps and cracks, forming a watertight seal.
The third is Drylok, which has one of the best waterproofing qualities out there.

Can I Just Paint My Concrete Floor?
You can, but you shouldn’t if you want the paint to last the distance. Without priming the surface, it is more porous, which means you use more paint, adding to your cost-base. Primer also helps the paint adhere better, so when it goes down, it stays down.

Do I Need To Prime Basement Floor Before Painting?
It makes sense to prime your basement concrete floor before laying down the paint. Primer seals and makes it less porous, so the paint has less work to do and has a better surface to stick to.
Some paints are self-priming, so if it states it on your tin, go ahead and paint it straight onto the bare concrete. For all other paints, you should always lay down a layer of primer.

Should You Seal Concrete Basement Floor?
It depends on the type of product you use. Basement paint should be sealed to protect it and stop it from scuffing, chipping, and peeling. Epoxy resins, especially 2-part applications, are hard-wearing and dry rock hard, so you probably don’t need a sealer.