Ready to paint your car or the exterior of the house and want to use a spray gun to do it? Or maybe your interior needs a fresh coat of paint, and you have a good sprayer on hand.
Regardless of the scenario, you must know how to mix paint for a spray gun. The process is way simpler than you think.
Key Takeaways
- Check paint viscosity: Stir the paint and observe its consistency. If it drips easily, it’s likely thin enough. If it’s clumpy, it needs thinning.
- Choose the right paint: Use paint that’s appropriate for the spray gun you’re using, whether it’s oil-based, water-based, latex, or acrylic.
- Follow a 4:1 ratio: Mix four parts paint to one part thinner for best results. Adjust as needed based on the paint type and environmental conditions.
- Test before painting: Always test the thinned paint on a piece of cardboard or wood to ensure proper consistency and spray pattern.
Do You Need to Thin Paint for a Sprayer?
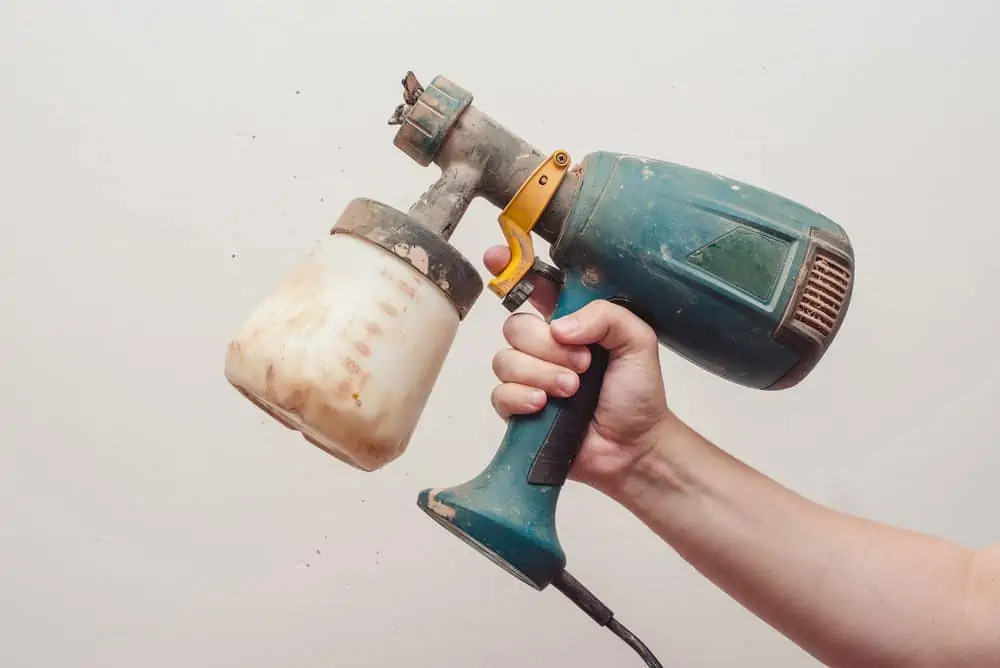
There are wide varieties of paint and primer, each made for a particular purpose. You should look for paint that can be applied with a spray gun and is appropriate for the kind of job you are working on.
It is not necessary to dilute all paints to spray them. Some of them are too watery to require any additional ingredients. You will need to perform certain tests on the paint to determine whether it should be thinned before being used.
Paints made of latex can be blended with water, for instance. However, water alone will not be sufficient to dilute oil-based paints. You will need paint thinner or mineral spirits.
To test if the paint is too thick, open the paint can and stir it with a clean stick. Pull the stick out of the paint and hold it above the container.
If the paint drips easily from the stick into the container, it’s likely thin enough. You need to thin it if it’s clumpy and mostly sticks to the stick.
Important Note
The paint’s finish doesn’t impact the need to dilute it. You could be using satin, eggshell, or semi-gloss paint and still need to thin it.
What Paint to Use with a Paint Spray Gun
The paint must flow unobstructed and uniformly through the sprayer’s hose and out the nozzle without clogging any of these parts.
When using a sprayer, it is best to work with paint that has a reduced viscosity, also known as consistency.
- If you’re using an HVLP paint sprayer, you can use oil-based or water-based paint. Make sure that thicker paints are diluted first.
- Airless sprayers work with stain and oil-based paint.
- Pneumatic sprayers can be used with latex and acrylic paints, as well as oil-based enamel.
Paint-to-Thinner Ratio for a Spray Gun
The best approach to this is to remember the 4:1 ratio. Four parts paint, one part thinner is what you need for best results.
How to Mix Paint for Spray Guns
Mixing paint for a spray gun is easy, but you should first determine if it’s required. Regardless of the surface, you’re painting (be it a bedroom wall or your auto), some paints must be thinned first.
What You’ll Need
- Paint strainer.
- Clean stick.
- Piece of cardboard.
- Ladle.
1. Strain the Paint
When the paint is left to sit in its container, it has the potential to clump together. These clumps almost always go to the bottom of the container. If they are not removed, they have the potential to clog a spray cannon as well as cause other issues.
To prevent this, you will need to pass the paint through a strainer to remove any lumps before you begin blending it.
2. Determine Paint Thickness
This step is easy. Use the viscosity cup that comes with the spray gun and pour your paint into it. If the paint runs through nice and evenly, you’re good.
If the paint runs too fast, it’s too thin. If it runs too slowly and has clumps, it’s too thick.
3. Mix the Paint
You will need to dilute your paint with the appropriate thinner, which will vary from paint to paint. Check the label on the paint can to ensure you’re using the correct thinner.
First, thoroughly stir the paint in the can it came in. Then pour the amount of paint required into a separate container. Slowly add the thinner, stirring simultaneously, until you reach the desired consistency.
Test the paint once again with the spray cannon once it appears to have lost some consistency.
Your spray gun, the sort of paint you’re using, and the environment’s temperature all impact how much paint you’ll need. In general, you will require roughly a quarter cup of thinner for every gallon of paint you use.
4. Start Painting
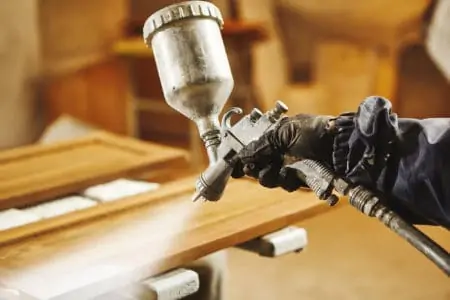
Spraying can begin once the mixture has been transferred to the spray gun container. Hold about 10-12 inches away from the surface and spray back and forth in even, sweeping movements.
Tips For Spray Painting
Now that you know how to thin paint for the sprayer, your job is halfway done. If you want to spray paint like a pro, here are some tips to help you out:
- Regardless of the type of paint used, buy good quality paint. Dulux, Sherwin-Williams, Benjamin Moore, and Behr are some of the top brands.
- Never add all the paint thinner/water at once. Instead, do it gradually and check the consistency of the paint each time.
- Test the spray paint by using the sprayer on a piece of wood or cardboard.
- Use even, side-to-side motions when applying the paint with a sprayer.
- Avoid painting in direct sunlight.
- Don’t paint in humid conditions.
- Always wear protective gear when spraying, especially goggles and a face mask.
- Work in well-ventilated spaces.
- Read the instructions on the paint can for spray paint recoat times.
- Clean your sprayer valve after using it.
FAQs

Why is My Paint Sprayer Spitting?
If your sprayer is putting, the most common culprit is that the nozzle isn’t tight enough. Check the nozzle to see that it’s tightened correctly. If it is, but your sprayer is still spitting, it may be time to buy a new paint sprayer.

Can You Run Paint Thinner Through a Paint Sprayer?
Yes, but with great caution. For example, if you submerge the entire sprayer in paint thinner, corrosive solvents might damage it. Don’t run the same thinner more than once, and never use lacquer thinner because it can damage the sprayer.

Can You Use Normal Paint in a Spray Gun?
In general, you can use any type of paint in a spray gun, but it needs to have the proper consistency to be released through the sprayer’s nozzle. Thinning the paint is mandatory in a lot of cases, especially if you use latex paints.
Bottom Line
The biggest “issue” with learning how to mix paint for a spray gun is determining whether the paint in question needs thinning in the first place. Always check the label or the manufacturer’s instructions to see if the paint you want to use needs to be diluted.