When your home is colder than a snowman’s fridge, you know it’s time to reglaze your windows. Replacing the putty is an excellent way of sealing the window against rainwater and wind. It also protects the frame from the elements.
We show you how to glaze a window in easy steps and share hints and tips to help you achieve brilliant results.
Key Takeaways
- Window glazing refers to the glass and the putty used to secure the glass in the window frame.
- Reglazing a window involves removing old putty, replacing the glass if needed, and applying new glazing compound.
- Reglazing a window can improve insulation, preventing drafts and saving energy.
- Alternatives to window putty include silicone and mitered moldings for a professional finish.
What Is Window Glazing?
Window glazing can refer to both the glass in your window and the putty used to fix the glass in place. We’ll be taking you through how to replace the putty that keeps the glass in place, ensuring you’re more protected from the elements.
How to Glaze a Window
Older wood-framed windows typically secure the glass with putty rather than with silicone or other window compounds.
Before getting into the detail of reglazing windows, first, you need to gather the right tools and materials.
For The Best Results
Remove the window pane and clamp it onto a flat surface. You can reglaze without removing it, but it makes the task harder.
What You’ll Need
- Heat gun with heat shield.
- Putty knife.
- Utility knife.
- Shellac primer.
- Acrylic caulk.
- Glazing points (to protect the glass).
- Putty (oil or latex).
- Mineral spirits.
- New glass (if needed).
Removing Old Window Putty
1. Remove the Old Putty
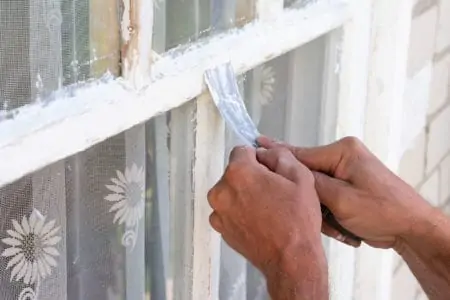
If the old window putty is cracked and split, use the putty knife to chip it away from the window frame. If the putty isn’t cracked, you can use a heat gun, warming the compound to make it pliable.
Hold the heat gun about two inches above the putty and move it gradually as you work along the line. You can then scrape it away with the putty knife.
Bear In Mind
To protect the glass, use a heat shield attachment on the heat gun. If it doesn’t have one, use a sheet of metal to cover the glass.
Once the putty is out, prime the bare wood with a shellac primer like this Rust-Oleum Bulls Eye Shellac primer. Shellac primer is the best choice because it dries in minutes.
2. Replace the Glass (If Needed)
To replace a single pane of glass, measure the opening and subtract 0.125 inches from the original measurement. This is to allow for frame expansion in certain weather conditions. Get the glass cut professionally rather than try the DIY approach.
While you are at the hardware store getting the glass cut, pick up some glazing points. These help secure the glass while you wait for the putty to dry.
You will also need an oil or latex-based glazing compound. Oil-based putty takes longer to dry, whereas water-based products dry faster and have a longer lifespan.
3. Set the Glass In Place
When using an oil-based compound, lay a line of latex caulk before pressing the glass in place. Now grab the glazing points, and press them in place along the edge of the glazing about eight inches apart.
Let the compound that oozes out from under the glass harden. Then cut away the excess with a utility knife.
Applying Glazing Compound
Once the glass and glazing points have been set in place, it’s time to apply the glazing compound. Make sure you keep your putty pliable by kneading it with your hands like dough.
Also, try and keep your putty knife clean by wiping it in a clean rag. Hardened putty on the blade will spoil the smoothness of the finish.
1. Spread the Compound
Start in the top corner with a generous scoop of the glazing compound on the putty knife. Press the putty into the frame, ensuring there are no gaps or hollow spots. Do this around the entire frame.
2. Smooth the Putty
Clean your putty knife and then dip it into some mineral spirits to increase lubrication. Run the knife along the compound, wetting it with mineral spirits as many times as necessary. Keep doing this until the putty is smooth.
Oil-based compounds work better when heated. Place the can in a bowl of hot water to warm it through. Oil putty takes days to cure, so be prepared to wait before you can paint.
3. Clean the Excess
Using the putty knife, press the blade on the edge of the putty seam, dragging away any excess material. Be careful you don’t touch the smoothed surface.
The Benefits of Reglazing a Window Without Replacing It
If you want to replace the putty that sits between the window frame and the wall, you will need to remove the window. However, you can still reglaze with the window in position.
The benefit is you don’t risk damaging the window frame by prying it out, and the reglazing takes half the time. You can only replace the putty between the panes and the frame, but you could save a ton of time if that’s where your air leaks are.
Window Glazing Alternatives
There are alternatives when it comes to fixing your window panes with compound. If you don’t have any window putty, all is not lost. Try some of these different methods to achieve great results.
Silicone
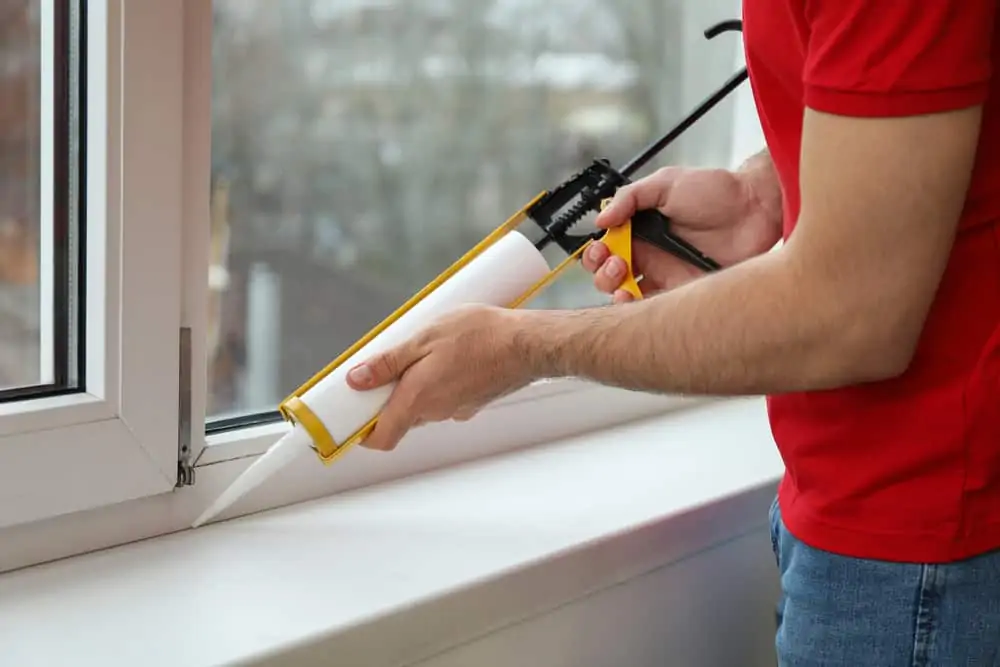
Silicone is an excellent alternative to window putty. It adheres to the frame and glass and is paintable when it sets. Use oil-based silicone for exterior surfaces because they cope better with the elements.
Water-based sealant works well for interior glazing; just be aware that latex or acrylic caulk dries faster. You will have to work quickly to get that smooth surface.
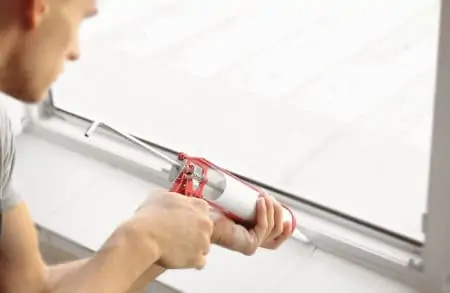
Mitered Moldings
Applying a window compound can be messy and time-consuming work. Using mitered moldings is a great way to get a super-professional finish. For the best results, use 0.25-inch quarter-round moldings, which are thin strips of wood with mitered 45-degree corners.
You don’t need glazing points to set the glass in place. Lay it on a thin seam of latex caulk and then insert the moldings and secure them in place with brad nails. You can use a hammer for this or a pneumatic brad nail gun.
Caution
Using a hammer or nail gun requires precision because you risk breaking the glass.
Tips and Techniques for Reglazing Windows
Reglazing your windows sounds simple enough, but for those with limited experience, it can seem daunting. Look to the professionals for the best hints and tips because they do this day in, day out.
Use Mineral Spirits
We’ve already mentioned using mineral spirits to lubricate your putty knife, but it is also useful for removing dried putty from glass. The ideal is to clean the glass when the putty is still wet, but mineral spirits remove spots with ease when this is not possible.
Safety First
Welders wear leather to protect them against burns, so take a tip out of their book. Safety is paramount when using a heat gun, and leather gloves protect your hands.
Know Which Putty to Use
Knowing the correct putty to use is crucial. If you are working outdoors, an oil-based product is better because it has antifungal qualities and withstands UV and the weather.
Working with caulk is better for interior surfaces because caulk is not as weather-resistant as oil-based putty.
FAQs

Can You Glaze Over Old Glazing?
You can’t glaze over old glaze, but you can glaze over the glazing “bed” that the glass sits on. The bed is the thin line of acrylic caulk that protects the glass while it sits against the wood frame. It also helps to fix the glass in position.

Do You Glaze a Window From Inside or Outside?
You can do both depending on the type of window. If the line of putty runs down either side of the glass, you can glaze from inside or out. If you have double-pane windows, you may have to reglaze from the outside if the outward-facing pane is cracked or leaking.

How Long Does It Take to Glaze a Window?
Depending on your skill levels, it should take between 15 minutes to an hour to reglaze a single pane.

How Much Does it Cost to Glaze a Window?
The average cost is about $330 to reglaze a window professionally. Factors such as the glass, the type of frames, and the materials used affect the price. If you are just replacing the putty, it will cost you about $15 for a pot of window compound.
Amazing Glazing
If you have cracked glass or leaky windows, choosing not to repair them could lead to costly renovations later down the line. For such a simple task, it is worth tackling it head-on, especially when winter is coming.