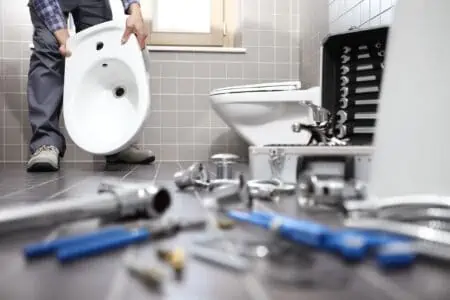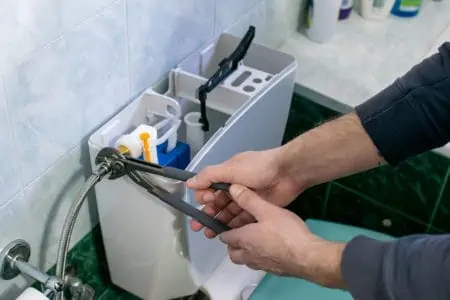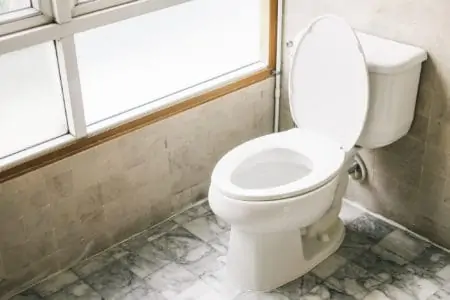
A wobbly toilet could be a sign of a bigger problem. Loose toilets could spring leaks, or it could cause seals to break and pipes to crack. So, when your toilet rocks, don’t ignore it.
We show you what might cause your toilet to move and how to fix a wobbly toilet in easy steps.
Key Takeaways
- To fix a wobbly toilet, first determine the cause: flange, flange gasket, or uneven floor.
- Gather necessary tools and materials, such as a wrench, pliers, putty knife, and new wax ring.
- Empty the toilet of water, disconnect the water supply, and remove the toilet to access the flange and wax ring.
- Replace or repair the flange and wax ring as needed, then reinstall the toilet, ensuring it’s level and secure.
What Causes a Toilet To Wobble?
How to fix a rocking toilet is one thing, but knowing why it wobbles in the first place puts you closer to solving the problem. Here are some common reasons why your toilet moves.
The Flange
The flange fixes your toilet to the waste pipe, and it should be flush with the floor. If for some reason, it is no longer level with the bathroom floor, it could be the cause of the wobble. And if you leave the issue unsorted, it could grow worse until the toilet springs a leak.
The Wax Ring
Check for water leakage under the toilet to tell you if the wax ring has failed. The ring seals the toilet to prevent water leakage, and when it stops working, water escapes from the base of the toilet and seeps onto the bathroom floor.
Uneven Floor
If the floor is uneven, your toilet will move. Wooden floors are the worst offenders because wood flexes and expands, and retracts with moisture. This causes the toilet to work loose over time.
Tools and Materials You Will Need
Before attempting to fix your wobbly toilet, first, you need to get the correct tools together, along with some fresh materials.
Here’s what you need:
- A wrench or pair of pliers.
- Bowl and sponge.
- Knife.
- Plumber’s putty.
- Putty knife.
- Spirit level.
- Bolt caps.
- Washers.
- A new wax ring (if the old one is faulty).
- Plastic shims.
- Caulk and caulk gun.
How To Fix a Wobbly Toilet
1. Empty the Water
The first thing you need to do is isolate the water supply and empty the toilet of water. Turn the small tap at the base of the flush tank and then flush the toilet a couple of times to empty the tank.
Grab the bowl and sponge and mop out the last remnants of water from the toilet bowl. Now grab the wrench and disconnect the water supply pipe at the base of the tank.
2. Remove the Toilet
Remove the caps located at the base of the toilet to reveal the hex nuts. Grab the wrench and loosen the hex nuts and remove them. Keep them in a safe place because you will need them later.
If the toilet has a line of caulk at the base, use the knife to score along to break the seal between the floor and the toilet. You’ll also need to scrape away all the excess caulk when the toilet is removed.
To avoid staining the floor with toilet water, grab some old newspaper, cardboard, or sheeting and place it on the floor around the toilet. Lift the toilet free of the locking bolts and put it on your chosen floor covering.
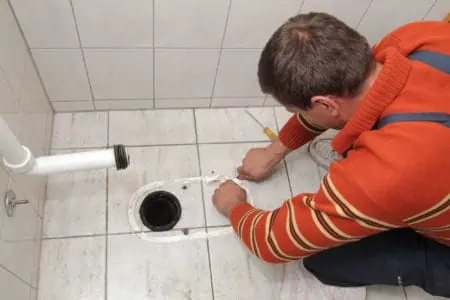
3. Mending the Closet Flange
If the closet flange has minimal damage, fit a repair plate, but if the damage is too significant, you will need to replace the entire flange.
Sometimes you need to use a bit of brute force to get the repair plate to fit, but be careful not to crack the waste pipe. Slot the plate under the old groove and tighten the bolt to hold it in place. When the toilet slots back in, it locks the repair plate in position and won’t leak.
4. Changing the Closet Flange
Use the pliers to pull the old closet flange free from the pipework. Swap it with the new one, which should slot into place in the same position as the old one.
Place the rubber gasket inside the flange and insert the new brass ring inside the gasket. Press down on the flange using the heel of your palm until it slots into place. Now replace the 4 bolts and tighten them with the wrench.
5. Fit the Toilet Back in Place
While the toilet is removed, use the putty knife to scrape away the old caulk. Install the new bolts and wax ring to make sure you get a watertight seal. Lift the toilet and lower it into position, making sure you line up the bolts. Put the washers onto the bolts, thread the hex bolts down to the base, and tighten with the wrench.
Use the spirit level to check the toilet is level.
6. Turn the Water Back On
Reconnect the water supply pipe using the wrench, and seal it with a plumber’s putty to protect it against leaks. Turn the tap back on and wait while the toilet tank fills.
Flush the toilet and check for leaks. Feel around the base of the toilet for wet patches. If the floor is dry, you have succeeded.
7. Seal the Base
Use the caulk and caulk gun and run a bead of caulk around the base of the toilet to seal it into position. Some plumbers recommend this practice, while others say it is pointless because the toilet is bolted down, and the flange and wax ring provides all the seal you need.
How To Fix a Wobbly Toilet Using Shims
If you don’t fancy going down the whole “removing the toilet” route, there is an easy and quick fix: shims. You’ll still need your caulk and plenty of paper towels, but it is a lot faster.
First, gently rock the toilet from side to side and locate the gaps. If nothing is obvious, slide a plastic shim under the base to see how far it goes in. Insert the shims into the identifiable spaces using a bit of trial and error to make sure you have them in the correct position to stop the wobbling.
Check the toilet by sitting on it to see if it moves. If it feels stable, you have succeeded. Now grab a sharp utility knife and trim the shims, so they are not visible. Apply an even bead of caulk around the base of the toilet to seal it in place.
Hints and Tips for Fixing a Wobbly Toilet
Let’s make life easier by showing you the little hacks, hints, and tips that speed up the task and give you a better result.
Caulk the Shims
If you want to make double-sure that the shims stay in place, dab a spot of caulk on the base before you insert the shim under the toilet. When the caulk dries, it holds it in place. Wait until the next day before trimming the shims to allow the caulk to dry.
Leave a Gap in the Caulk
It has become common to either not seal the base of the toilet with caulk or to leave the back uncaulked to allow any leaking water to escape. If you plug the entire base, it becomes difficult to spot a leak because the water has nowhere to run.
You might not even suspect you have a leak until it is too late and the floor rots.
Check the Bolts
Before launching into removing the toilet, it’s always a great idea to focus on the obvious faults first, which means checking that the fixing bolts that hold the toilet to the floor haven’t worked loose. If they have, tighten them with the wrench.
FAQs

Do I Need To Call a Plumber?
It depends on your skill levels and confidence. If you think tackling the removal of the toilet is beyond your capabilities, maybe calling a plumber is a wise move. It could save you a lot of heartaches, and the job gets done right the first time.
However, you will increase your costs considerably.

How Much Does a New Toilet Cost?
A new toilet will set you back anywhere between $150 to over $1,000, depending on your budget and the type of toilet you want. The average cost of toilets comes in at about $300 to $500.

Can I Fix a Wobbly Toilet Myself?
As long as you have the right tools, you can fix a wobbly toilet yourself. It takes about an hour or two and involves draining the toilet of water. However, because you are replacing like-for-like parts, it shouldn’t challenge you too much.
The only thing to bear in mind is that toilets are heavy, weighing in at around 80 to 100 pounds, so you might want to enlist help when lifting it.